After the success with my first try at sewing up an asymmetrical spinnaker for the Prairie Mermaid, I thought it would be fun to give sail-making another go. The cat ketch rig on the Mana presents a possibility that intrigued me the first time I saw photos of a similar rig sporting a mizzen staysail. Once again I went to the good folks at SailRite for their assistance. Sailmaker Jeff Frank came back with a mizzen staysail custom designed for the Mana 24.
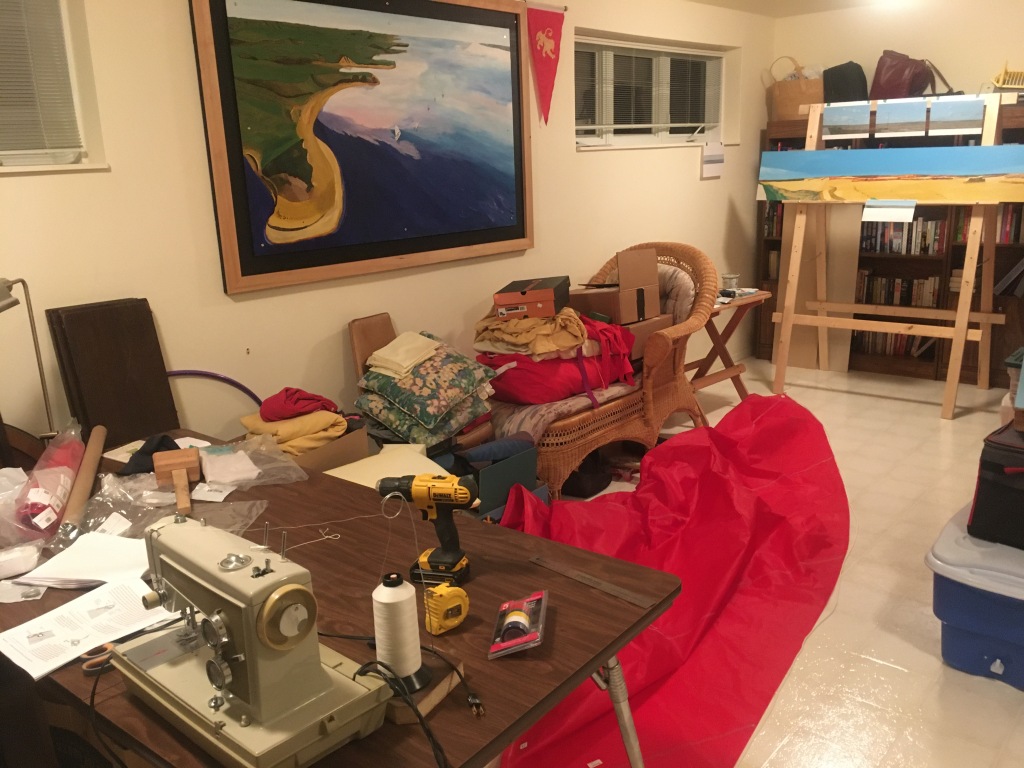
After fall had turned into winter, I again took over a large part of the basement and set to sewing up the kit.
SailRite provides excellent instructions with their sail kits. In addition, they are a phone call away to answer questions and I took advantage of the service to get some clarification from Jeff on one issue that arose.
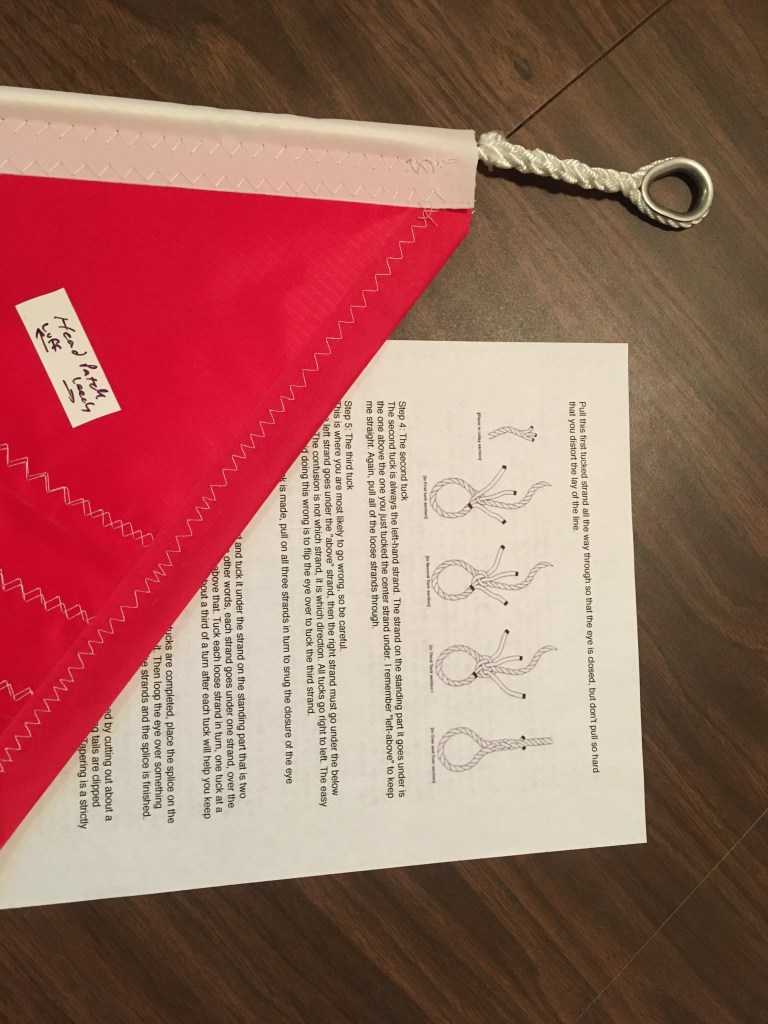
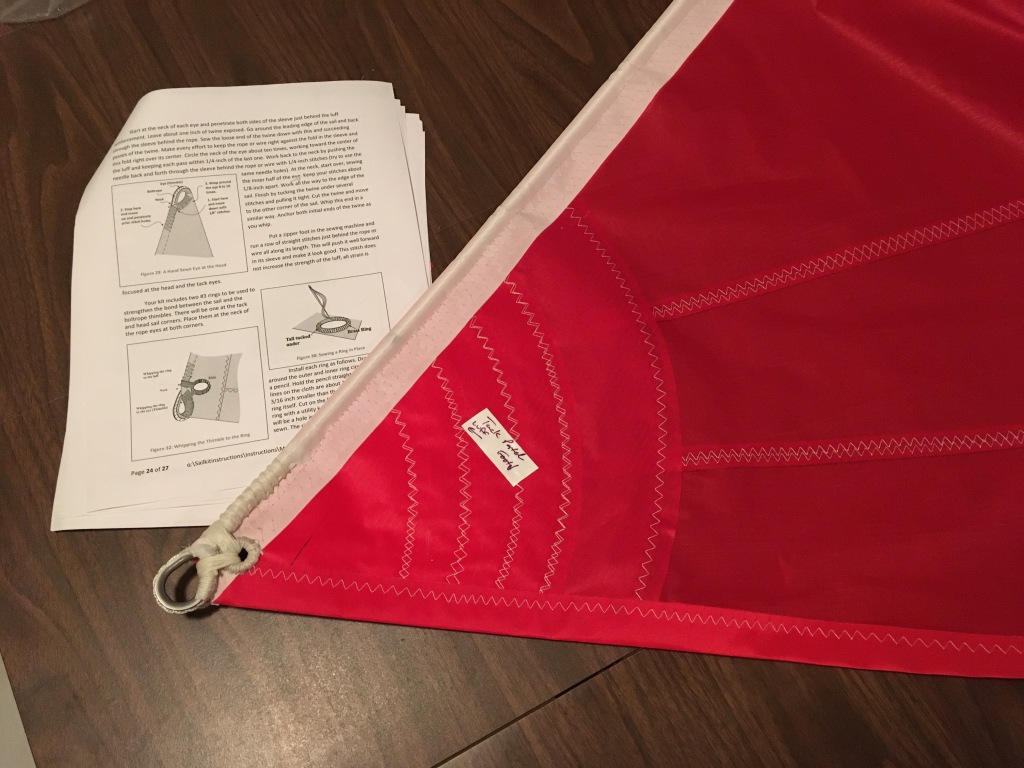
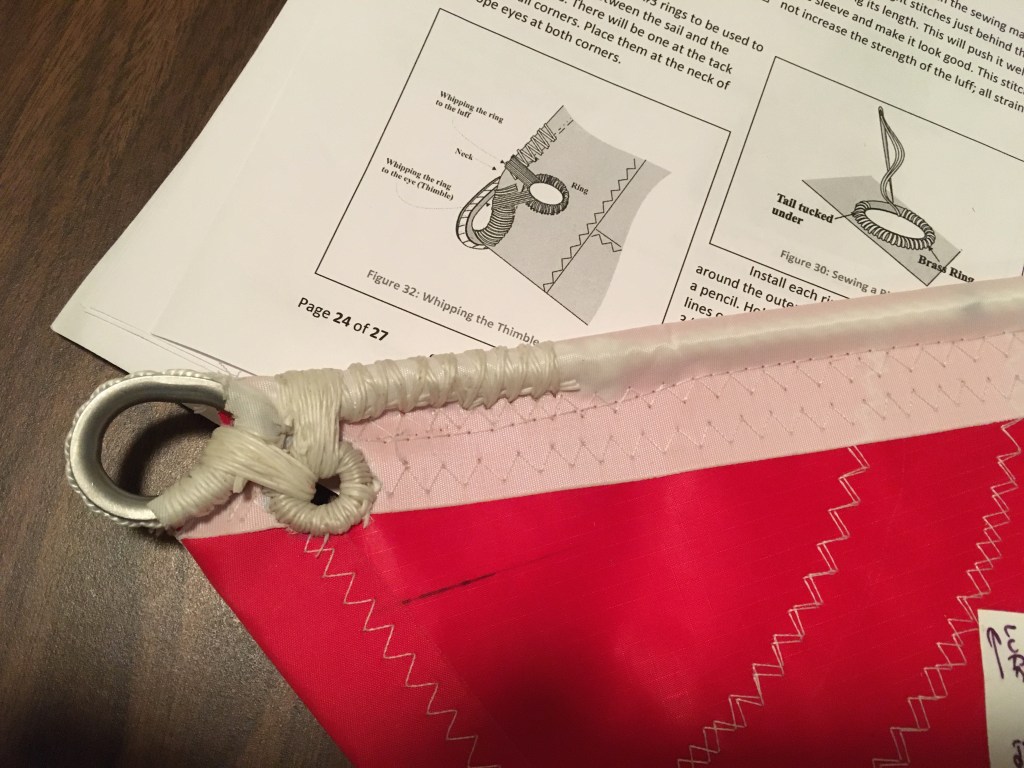
Sewing up the panels is quite straight forward. A double zig zag stitch is used and soon the sail has been produced. The detailing requires hand stitching. Clearly drawn diagrams make it easy for a rookie sail-maker like me to end up with a professional looking product.
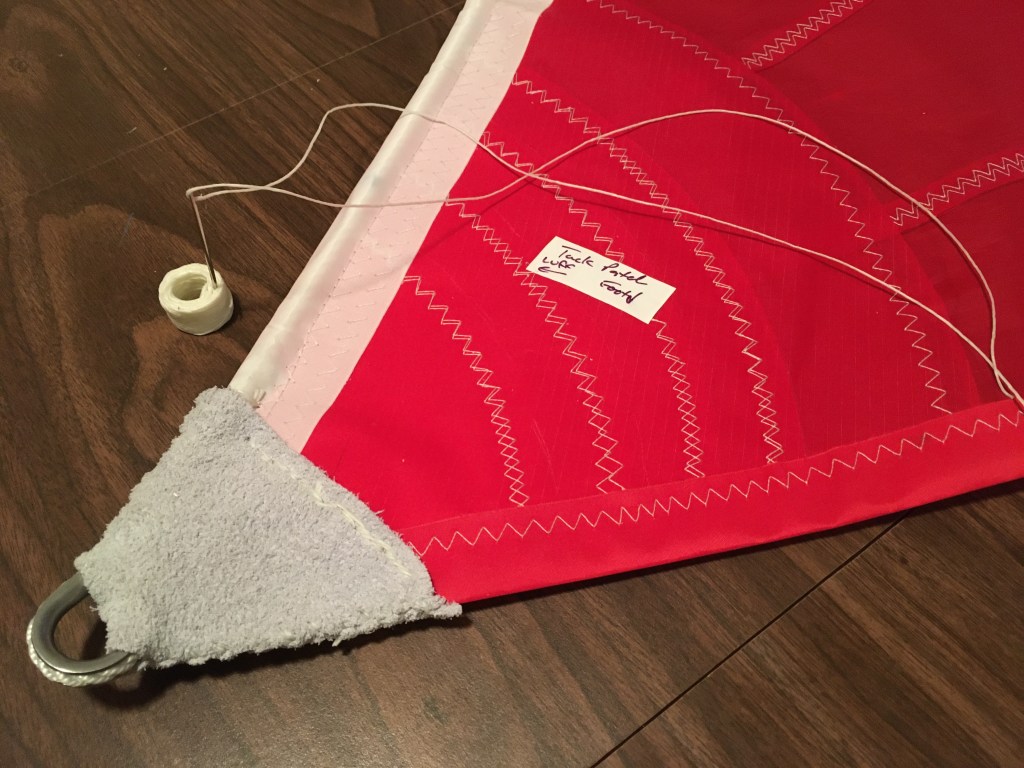
Clew with D-ring sewn inThimbles are sliced onto each end of the bolt rope – first time for splicing 3 stranded rope for me – great fun.Tack with boltrope and thimble sewn into placeClose-upLeather protection added to the three corners of the sailThe SailRite logo
The project was soon completed. The sail (and sailor) wait until sailing season for the first trial. Stay tuned.
Not all ideas are manifest to be successful. Ideas drawn out on a piece of paper, no matter how carefully they may have been drawn to scale become something quite different when reproduced in reality. These are two truths that I learned this past year.
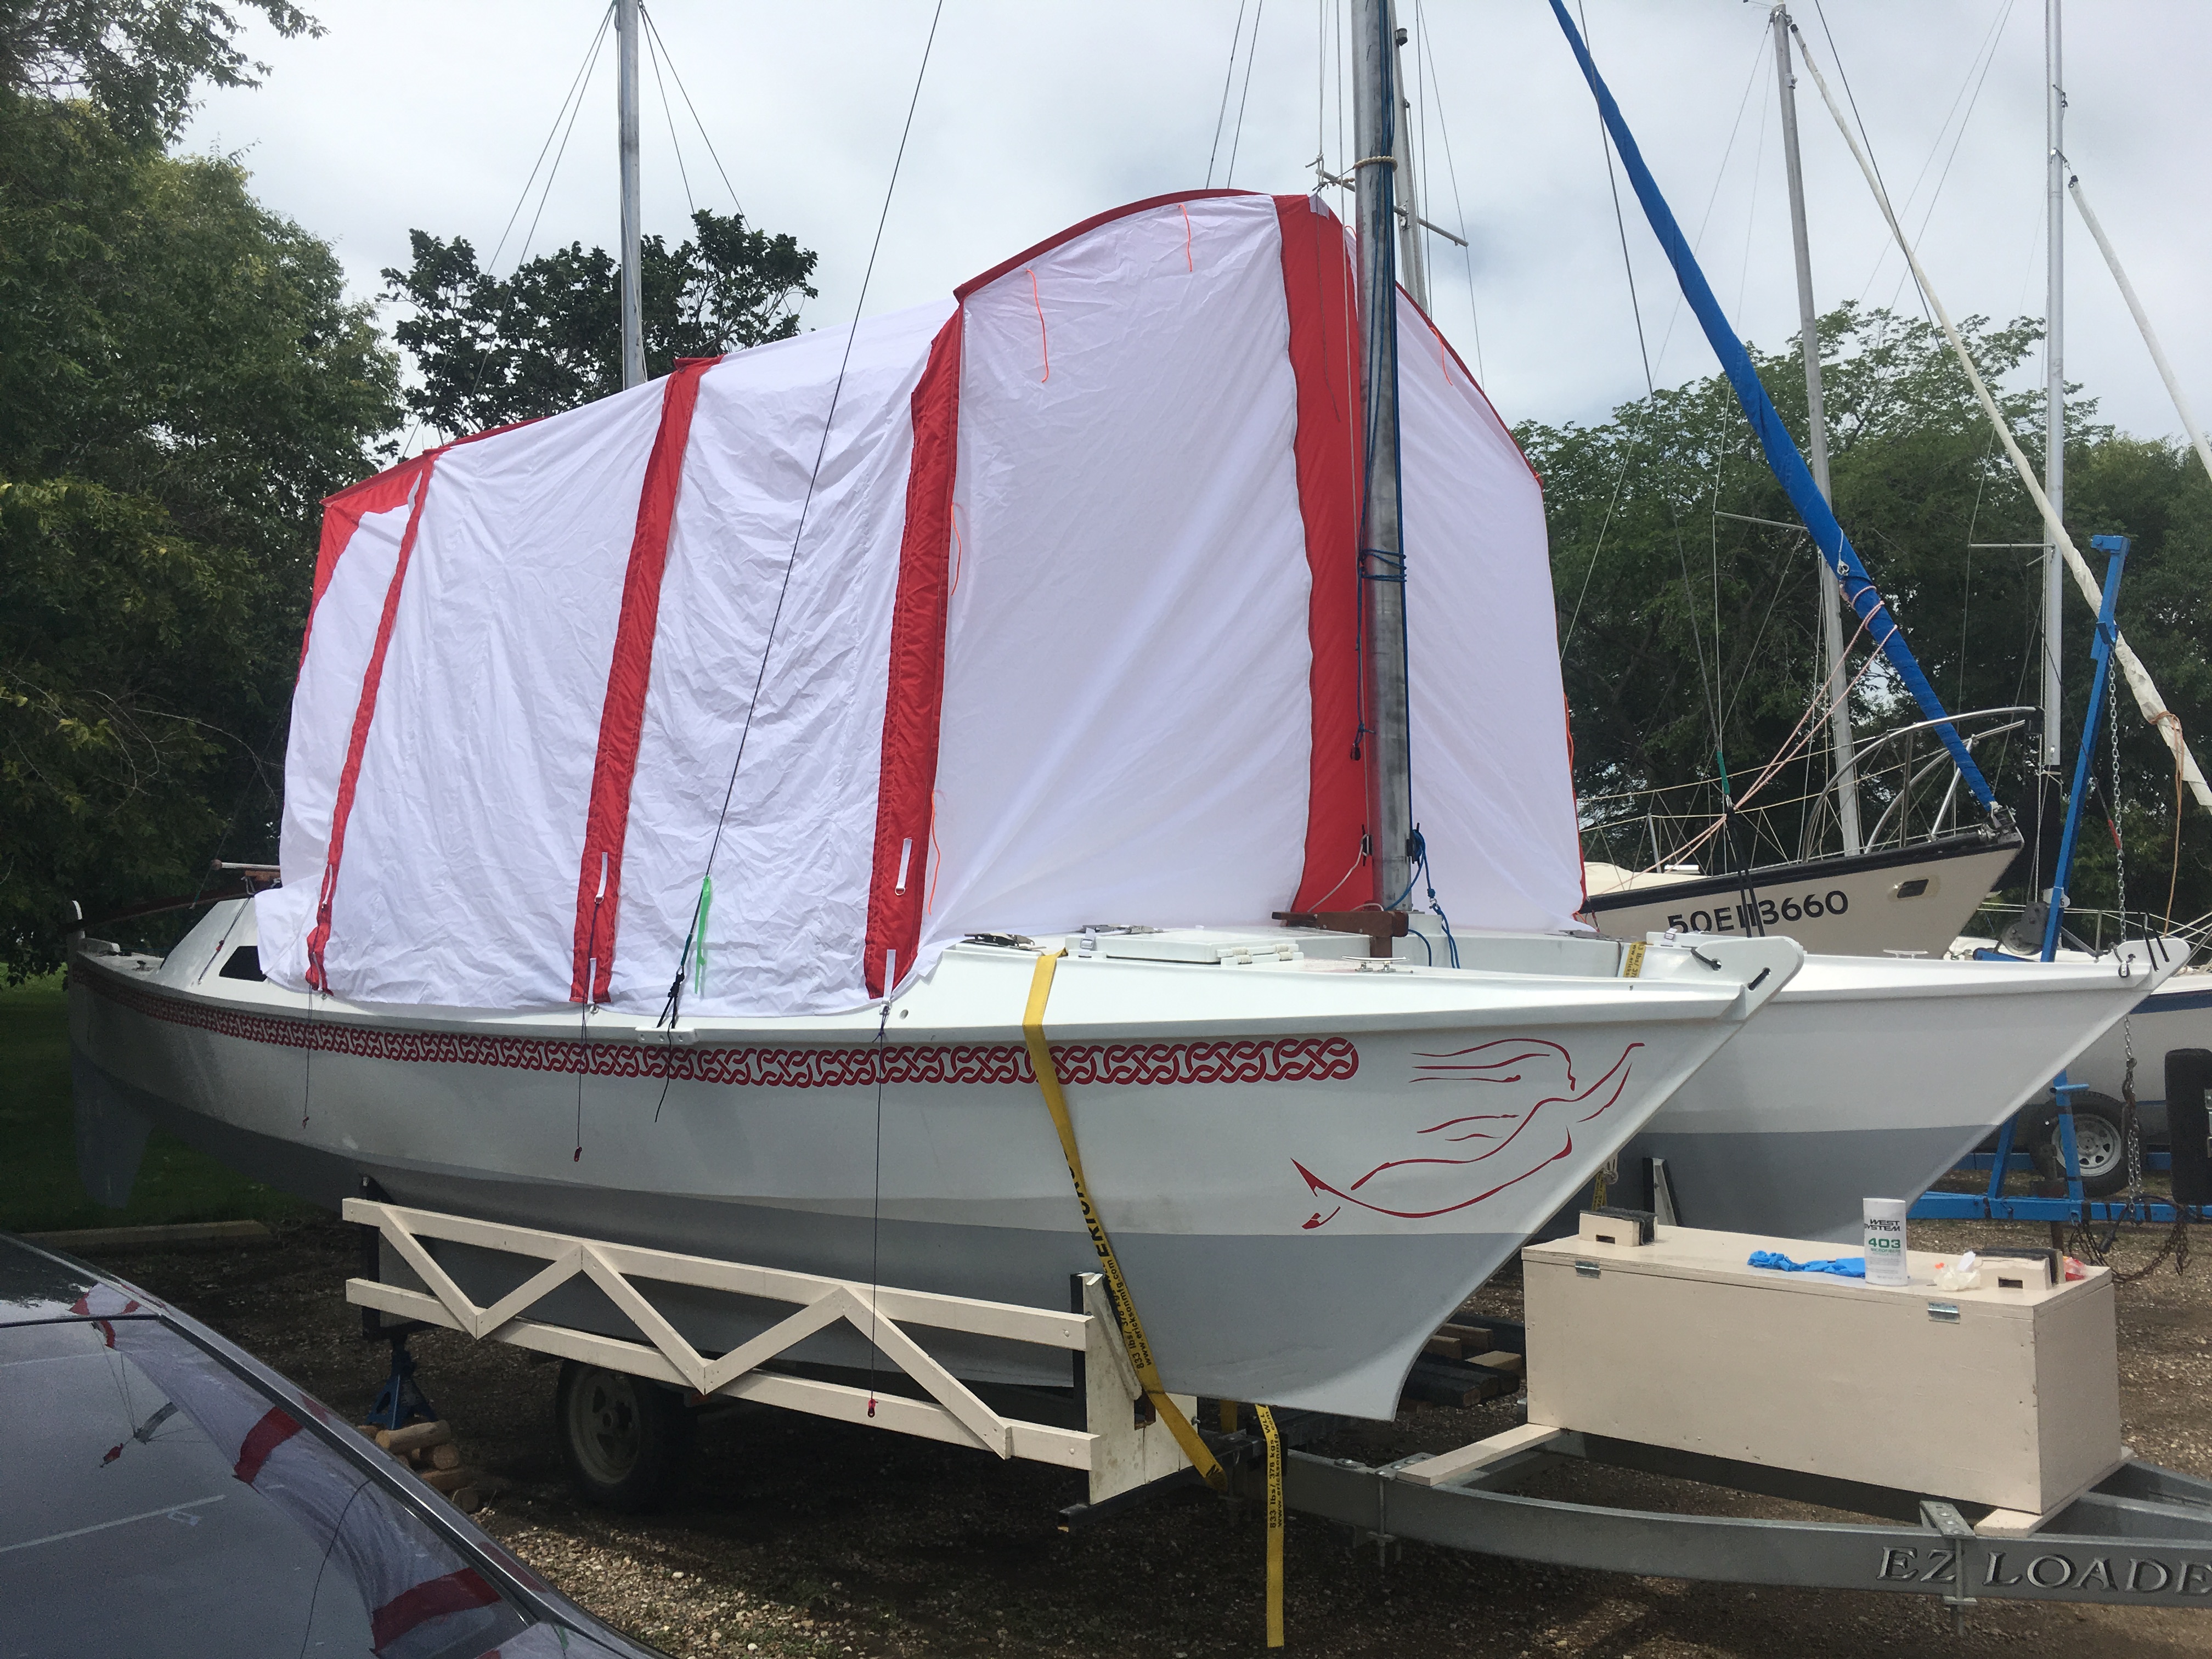
My Mana 24 catamaran has a large and very open deck which is ideal for sailing but provides no shelter when camping on board. Last winter I set about to design and sew a tent which would fulfill that limitation. I was partially successful, but my design was deficient in one important aspect. More on that later.
The tent project followed the completion of a sewing ‘first’ for me – a new sail for the boat, an asymmetrical spinnaker and launching chute (another post coming soon). There was an incentive for a new sewing project – the acquisition of my mother’s 1956 Singer Model 191B sewing machine.
The tent design attempted to address the desire for shelter on the deck while being still being able to access the hull cabins. I wanted to be able to easily open the hatches without impediment from the tent and so I came up with the idea of an arched roof, suspended between the two masts and formed by flexible tent poles. My scale drawing called for a height of 96 inches in order for the hatch to clear the tent wall.
Two ingredients were required – tent material and tent poles. A search on the internet came up with willing suppliers. Ripstop By the Roll have an extensive selection of materials available and from them I ordered 35 yards of 1.9 ounce white rip-stop nylon plus 8 yards of 2.2 ounce ripstop nylon in racing red. From another accommodating supplier, Tent Pole Technologies came four tent poles, each 129.5 inches long. Time to get to work.
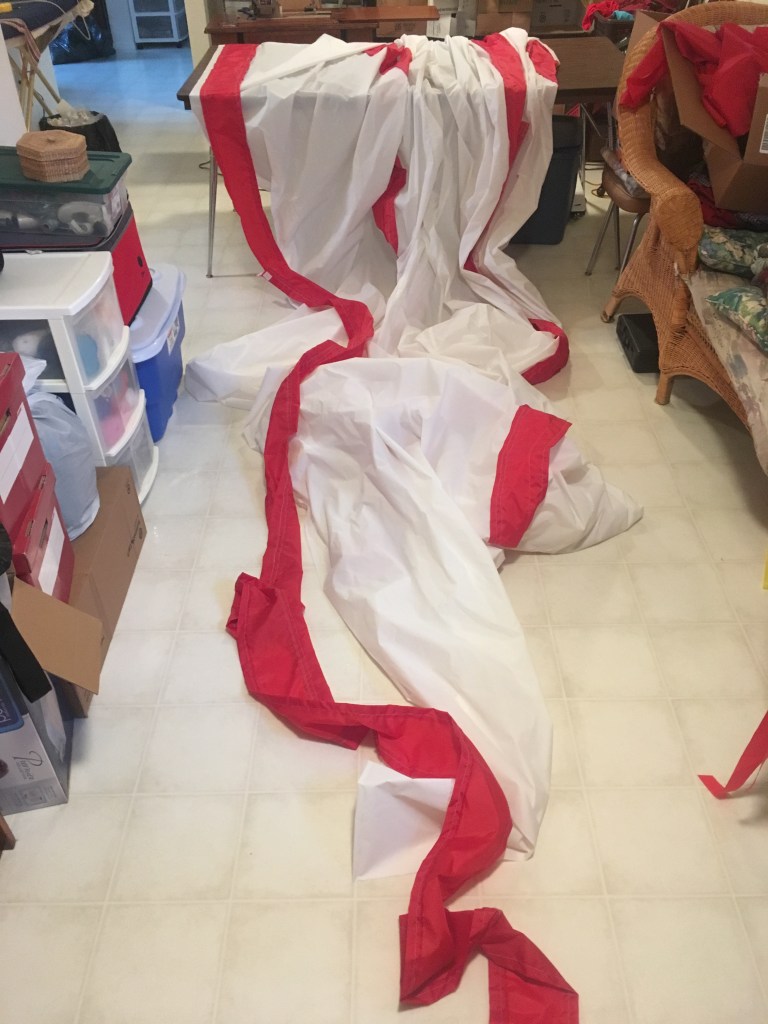
Of course, when I was doing the drawing and ordering the material, I really had no clear sense of just how big the tent would be or how much material it would involve. It was only after starting to cut and piece and sew it together did I fully appreciate the undertaking. I was soon sewing 24 foot long seams to join panels forming the top and walls of the tent. Mom’s old Singer machine was not nearly so phased by that as I was.
The end panels came with their own challenge, with 8 foot zippers sewn in just off-centre to allow access from from both the bow and the stern of the boat. The basement seemed at times to be filled with rip-stop nylon!
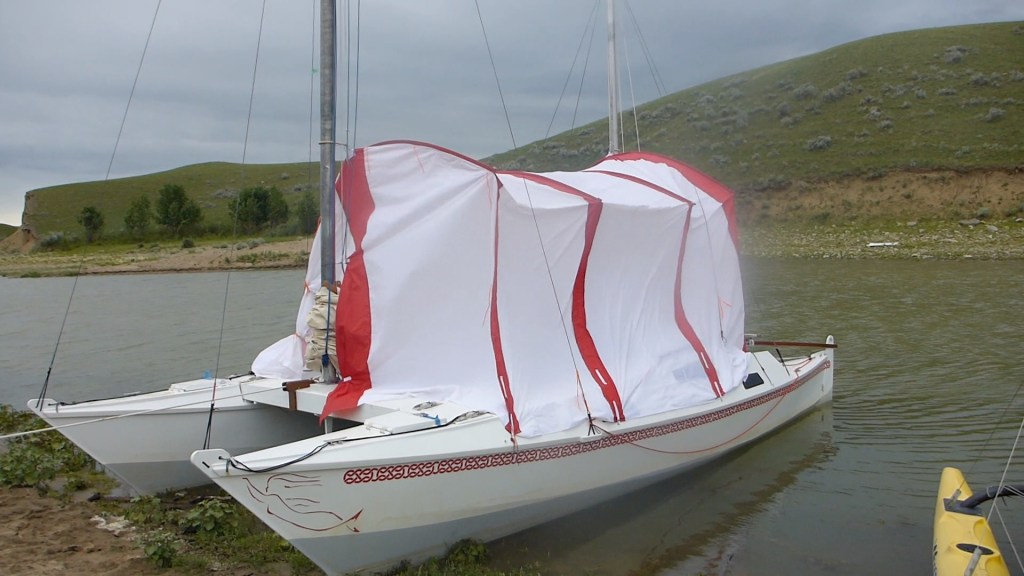
The big test came in July during our annual camping/sailing event, the Elbow Run 2019, on Lake Diefenbaker, with seven sailboats and ten sailors gathered. The new tent looked rather impressive that first night, and the guys teased me about the size, suggesting that it was large enough to be a dance hall, or better yet, a floating conference room.
My crew mate and cousin, Russell, and I set about making our living quarters comfortable and cooking our evening meal on board while others were resigned to cooking in the open beside their tents. Life was good.
Things were not so congenial however when the wind started to blow later in the week, as you can see in the following photos.
Yes, things did get a bit wild, and on two separate nights we decided we would fare better in the wind without the tent!! The big sidewalls, having nothing to support them, could not hold their shape. There were other issues also. I had not taken into account that the main sail would prevent closure of the bow entrance to the tent, and so half of that end wall flapped continuously in the wind.
BUT, the sewing did not come unravelled. AND the rip-stop nylon proved that it could easily handle the wind. AND most importantly, the tent proved the worthiness of a shelter when camping on an open deck catamaran. So, its back to the drawing board and Mom’s old Singer machine this winter to come up with Mana Deck Tent Mark II.
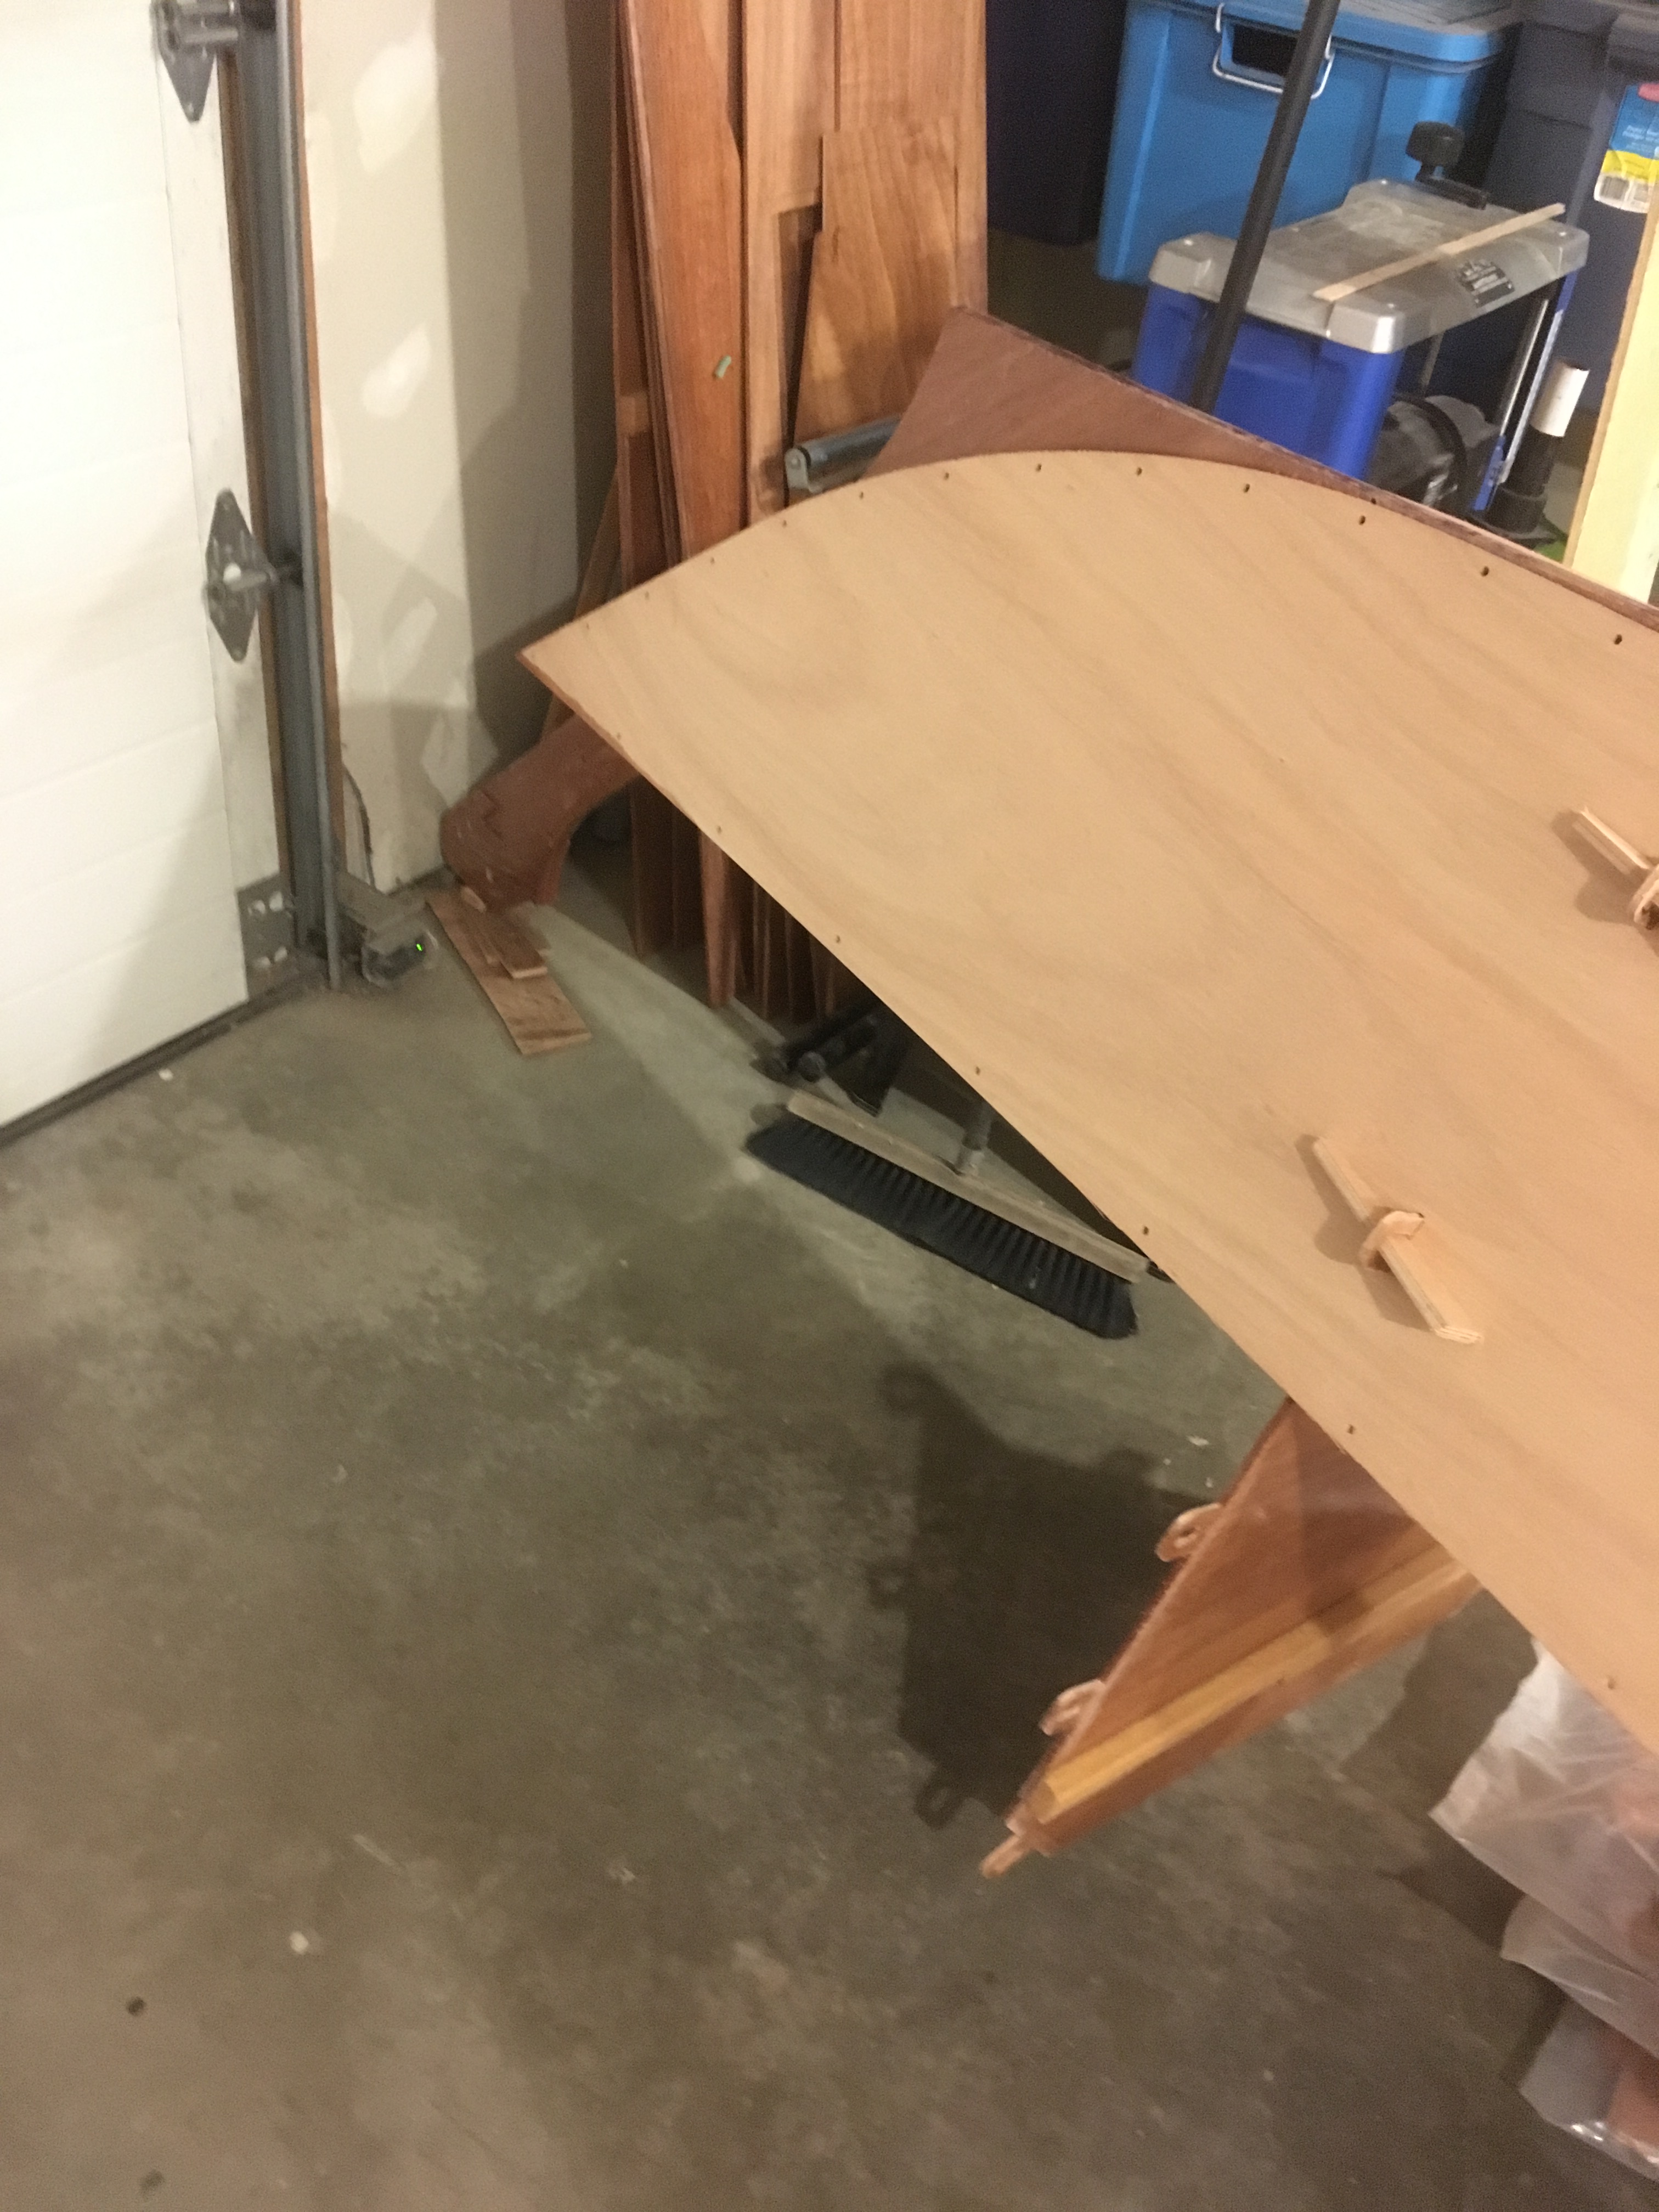
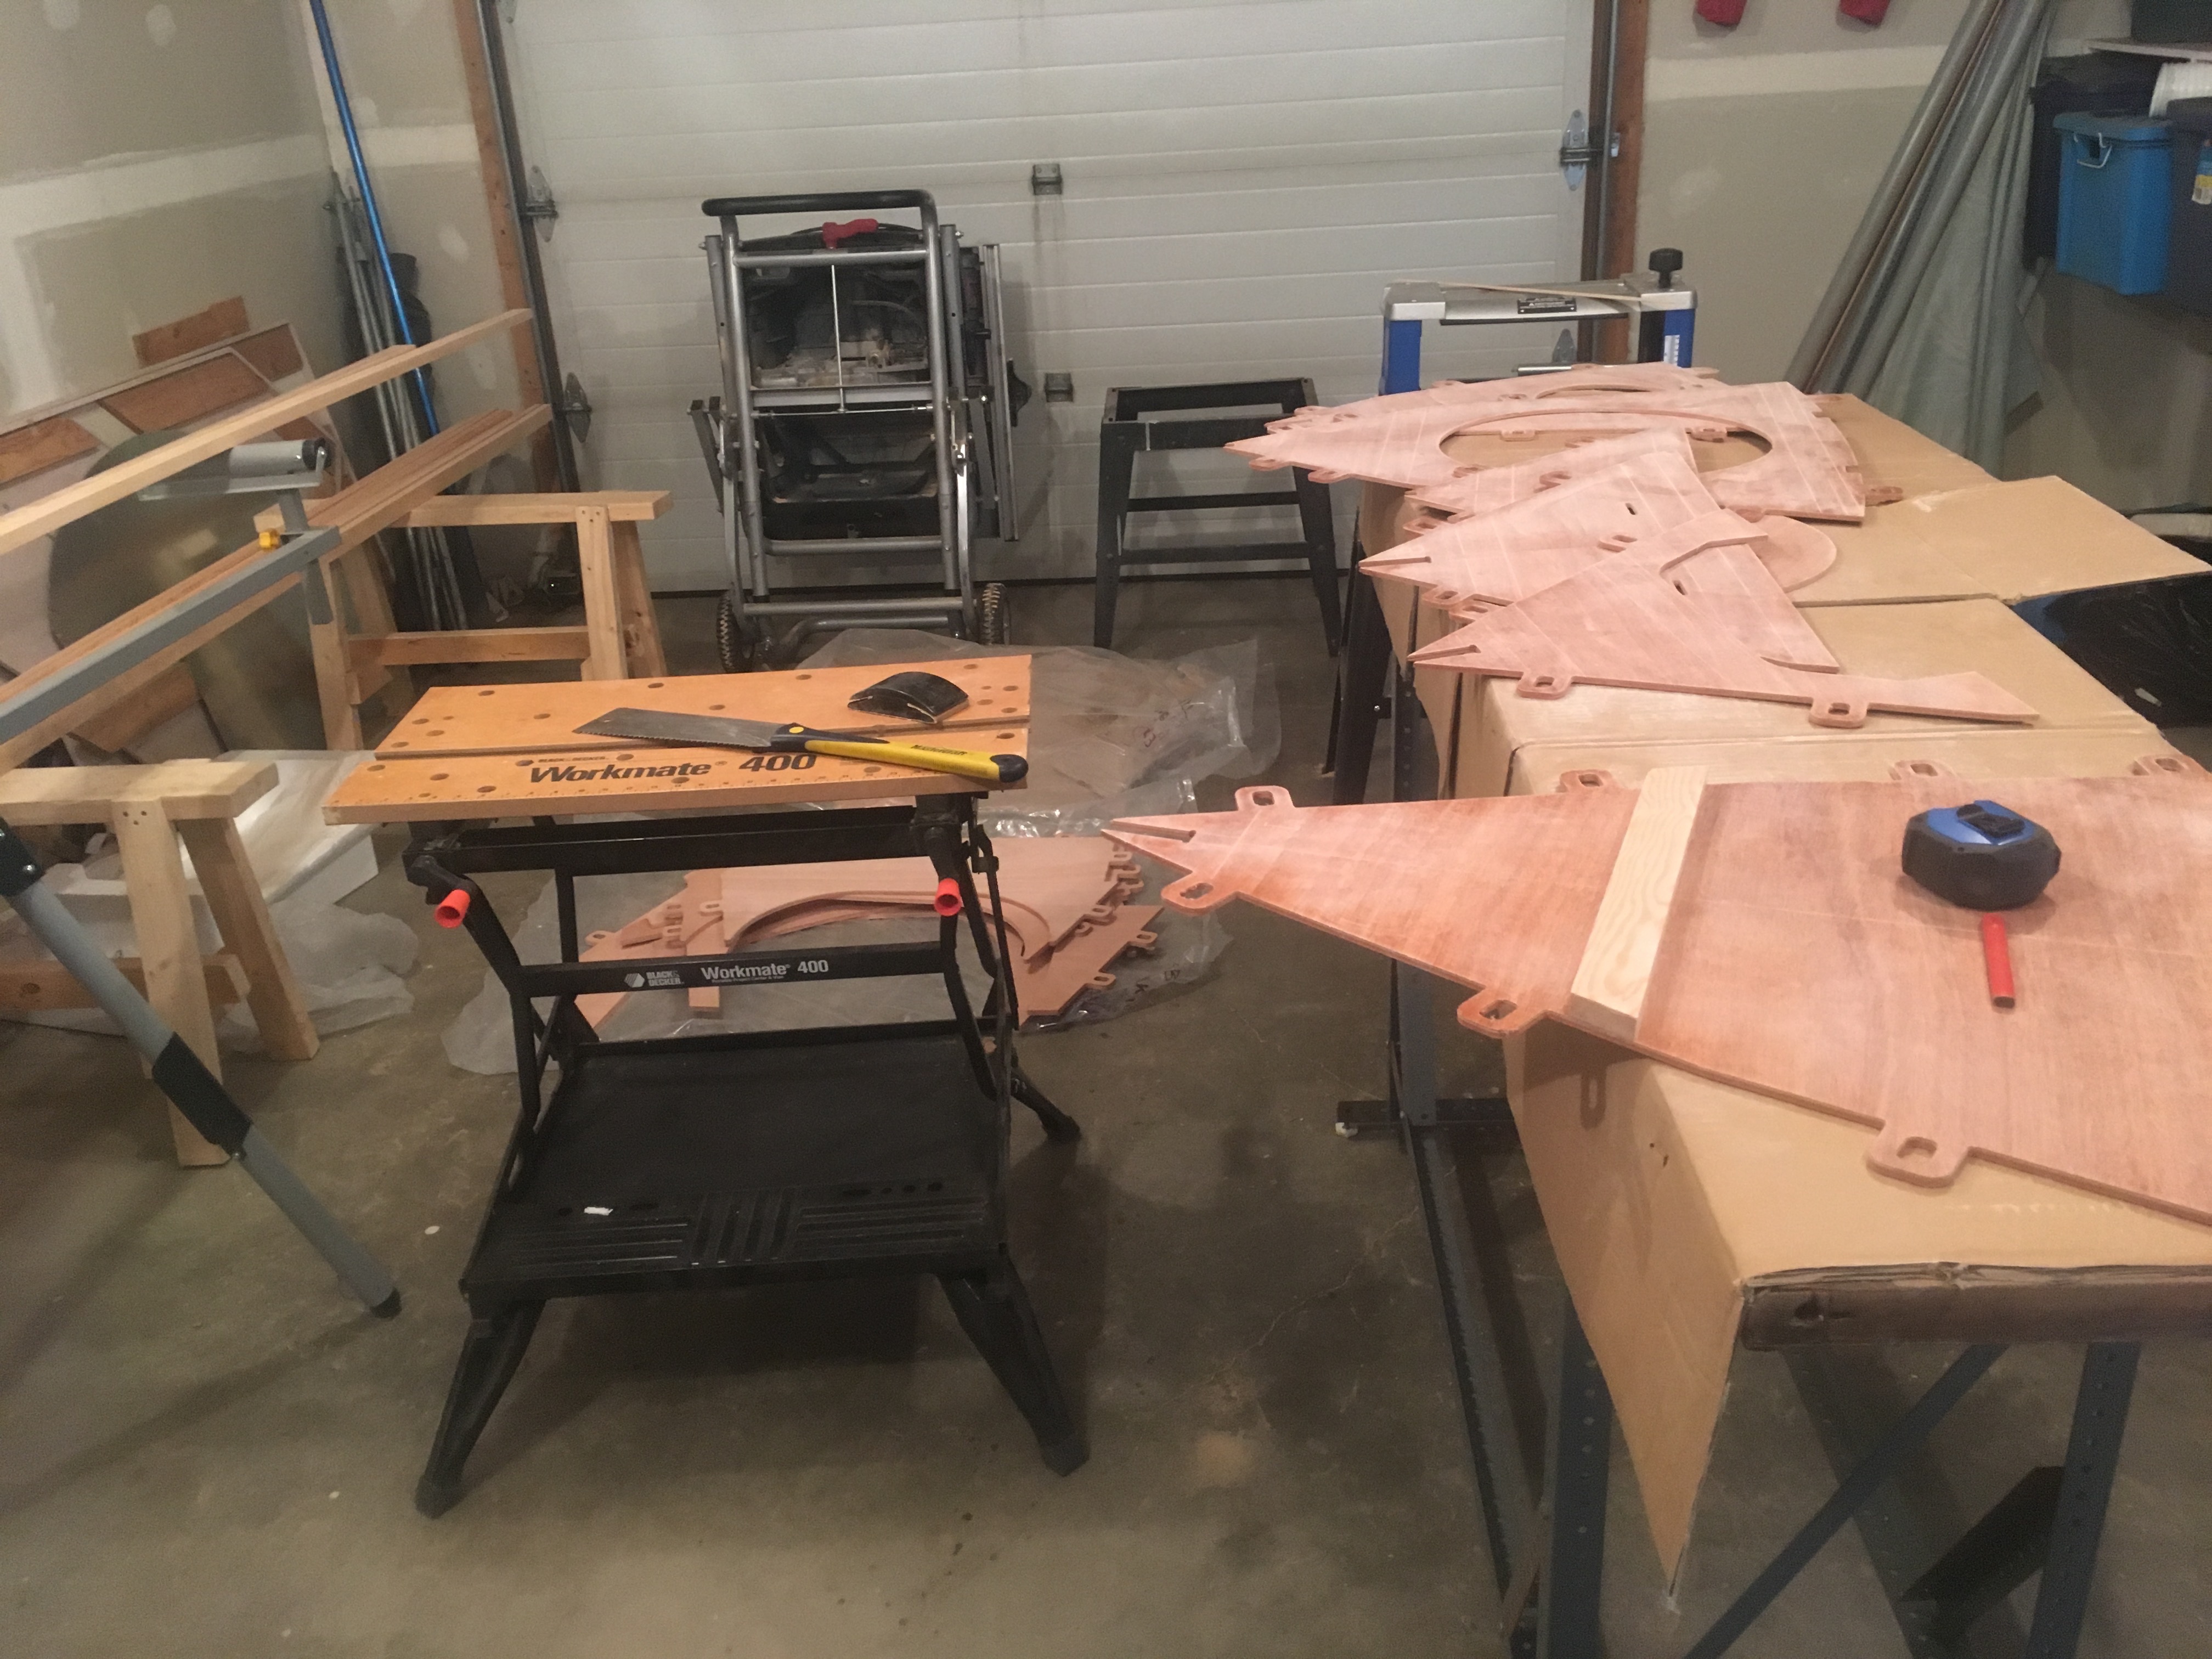
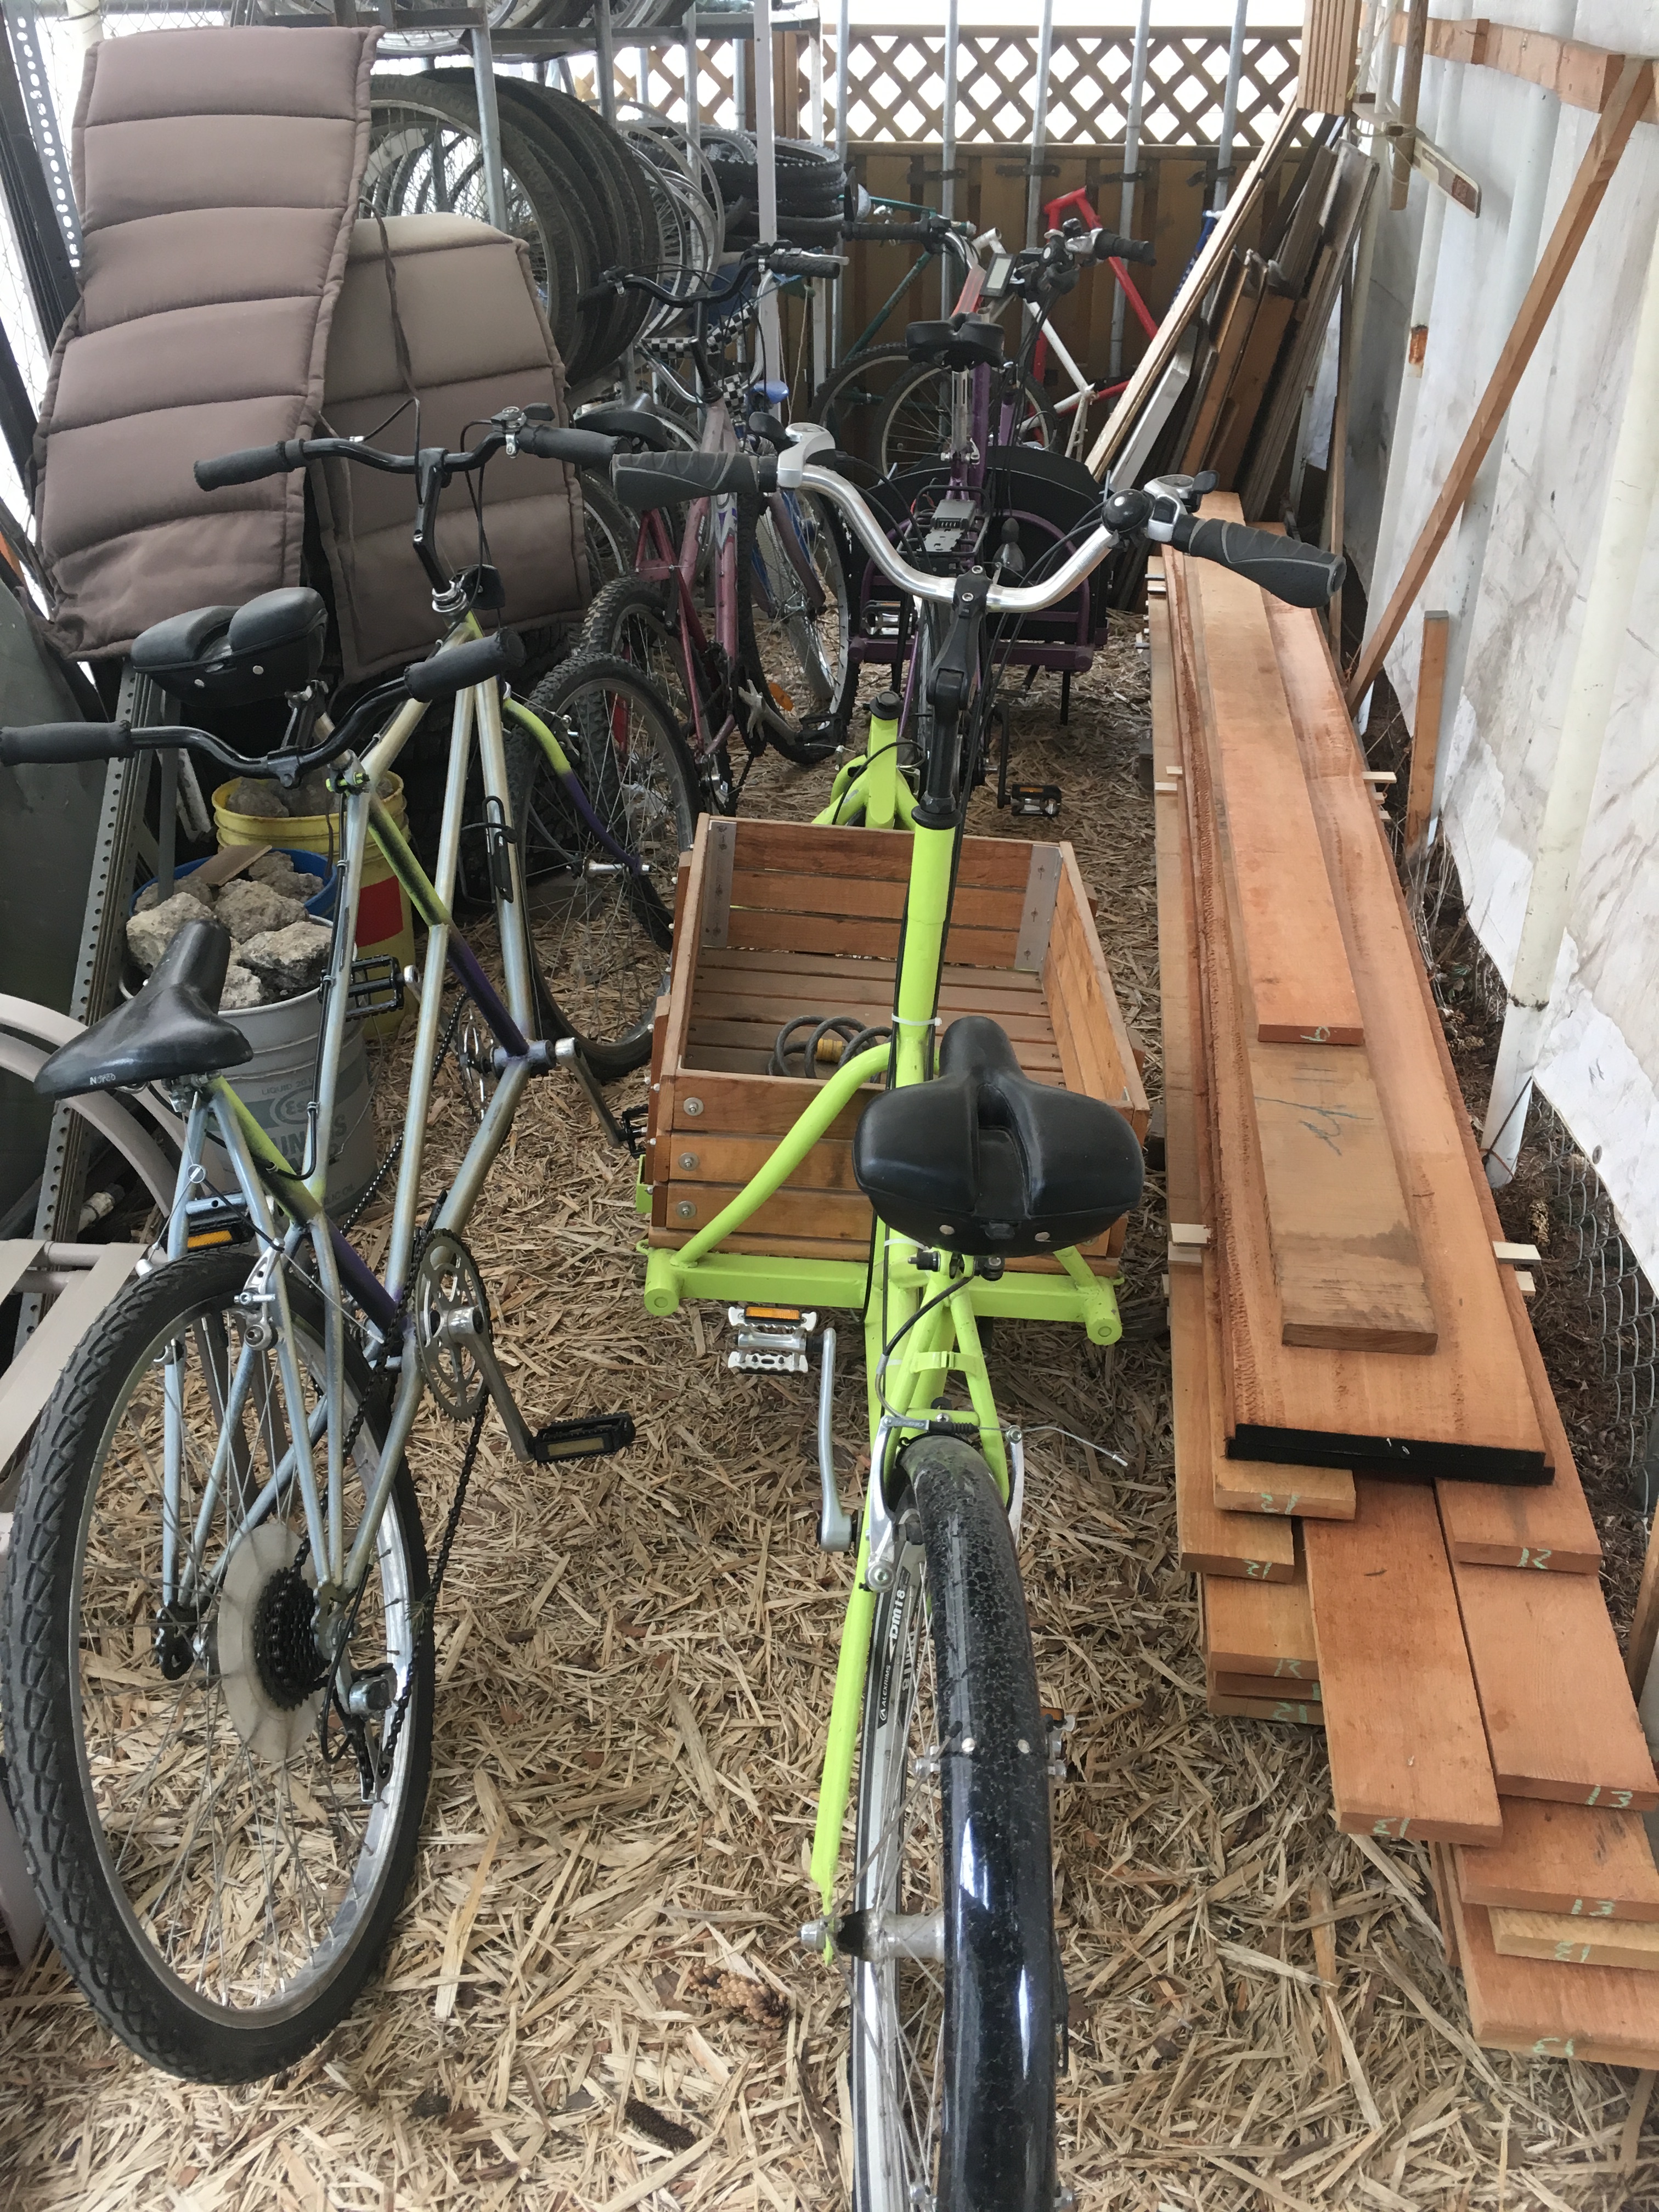
What are the necessary ingredients for a boat building workshop? For starters, adequate space is an essential element, and it was clear when I began building the Mana 24 our garage was not long enough for two 23 1/2 foot hulls to be constructed at the same time.
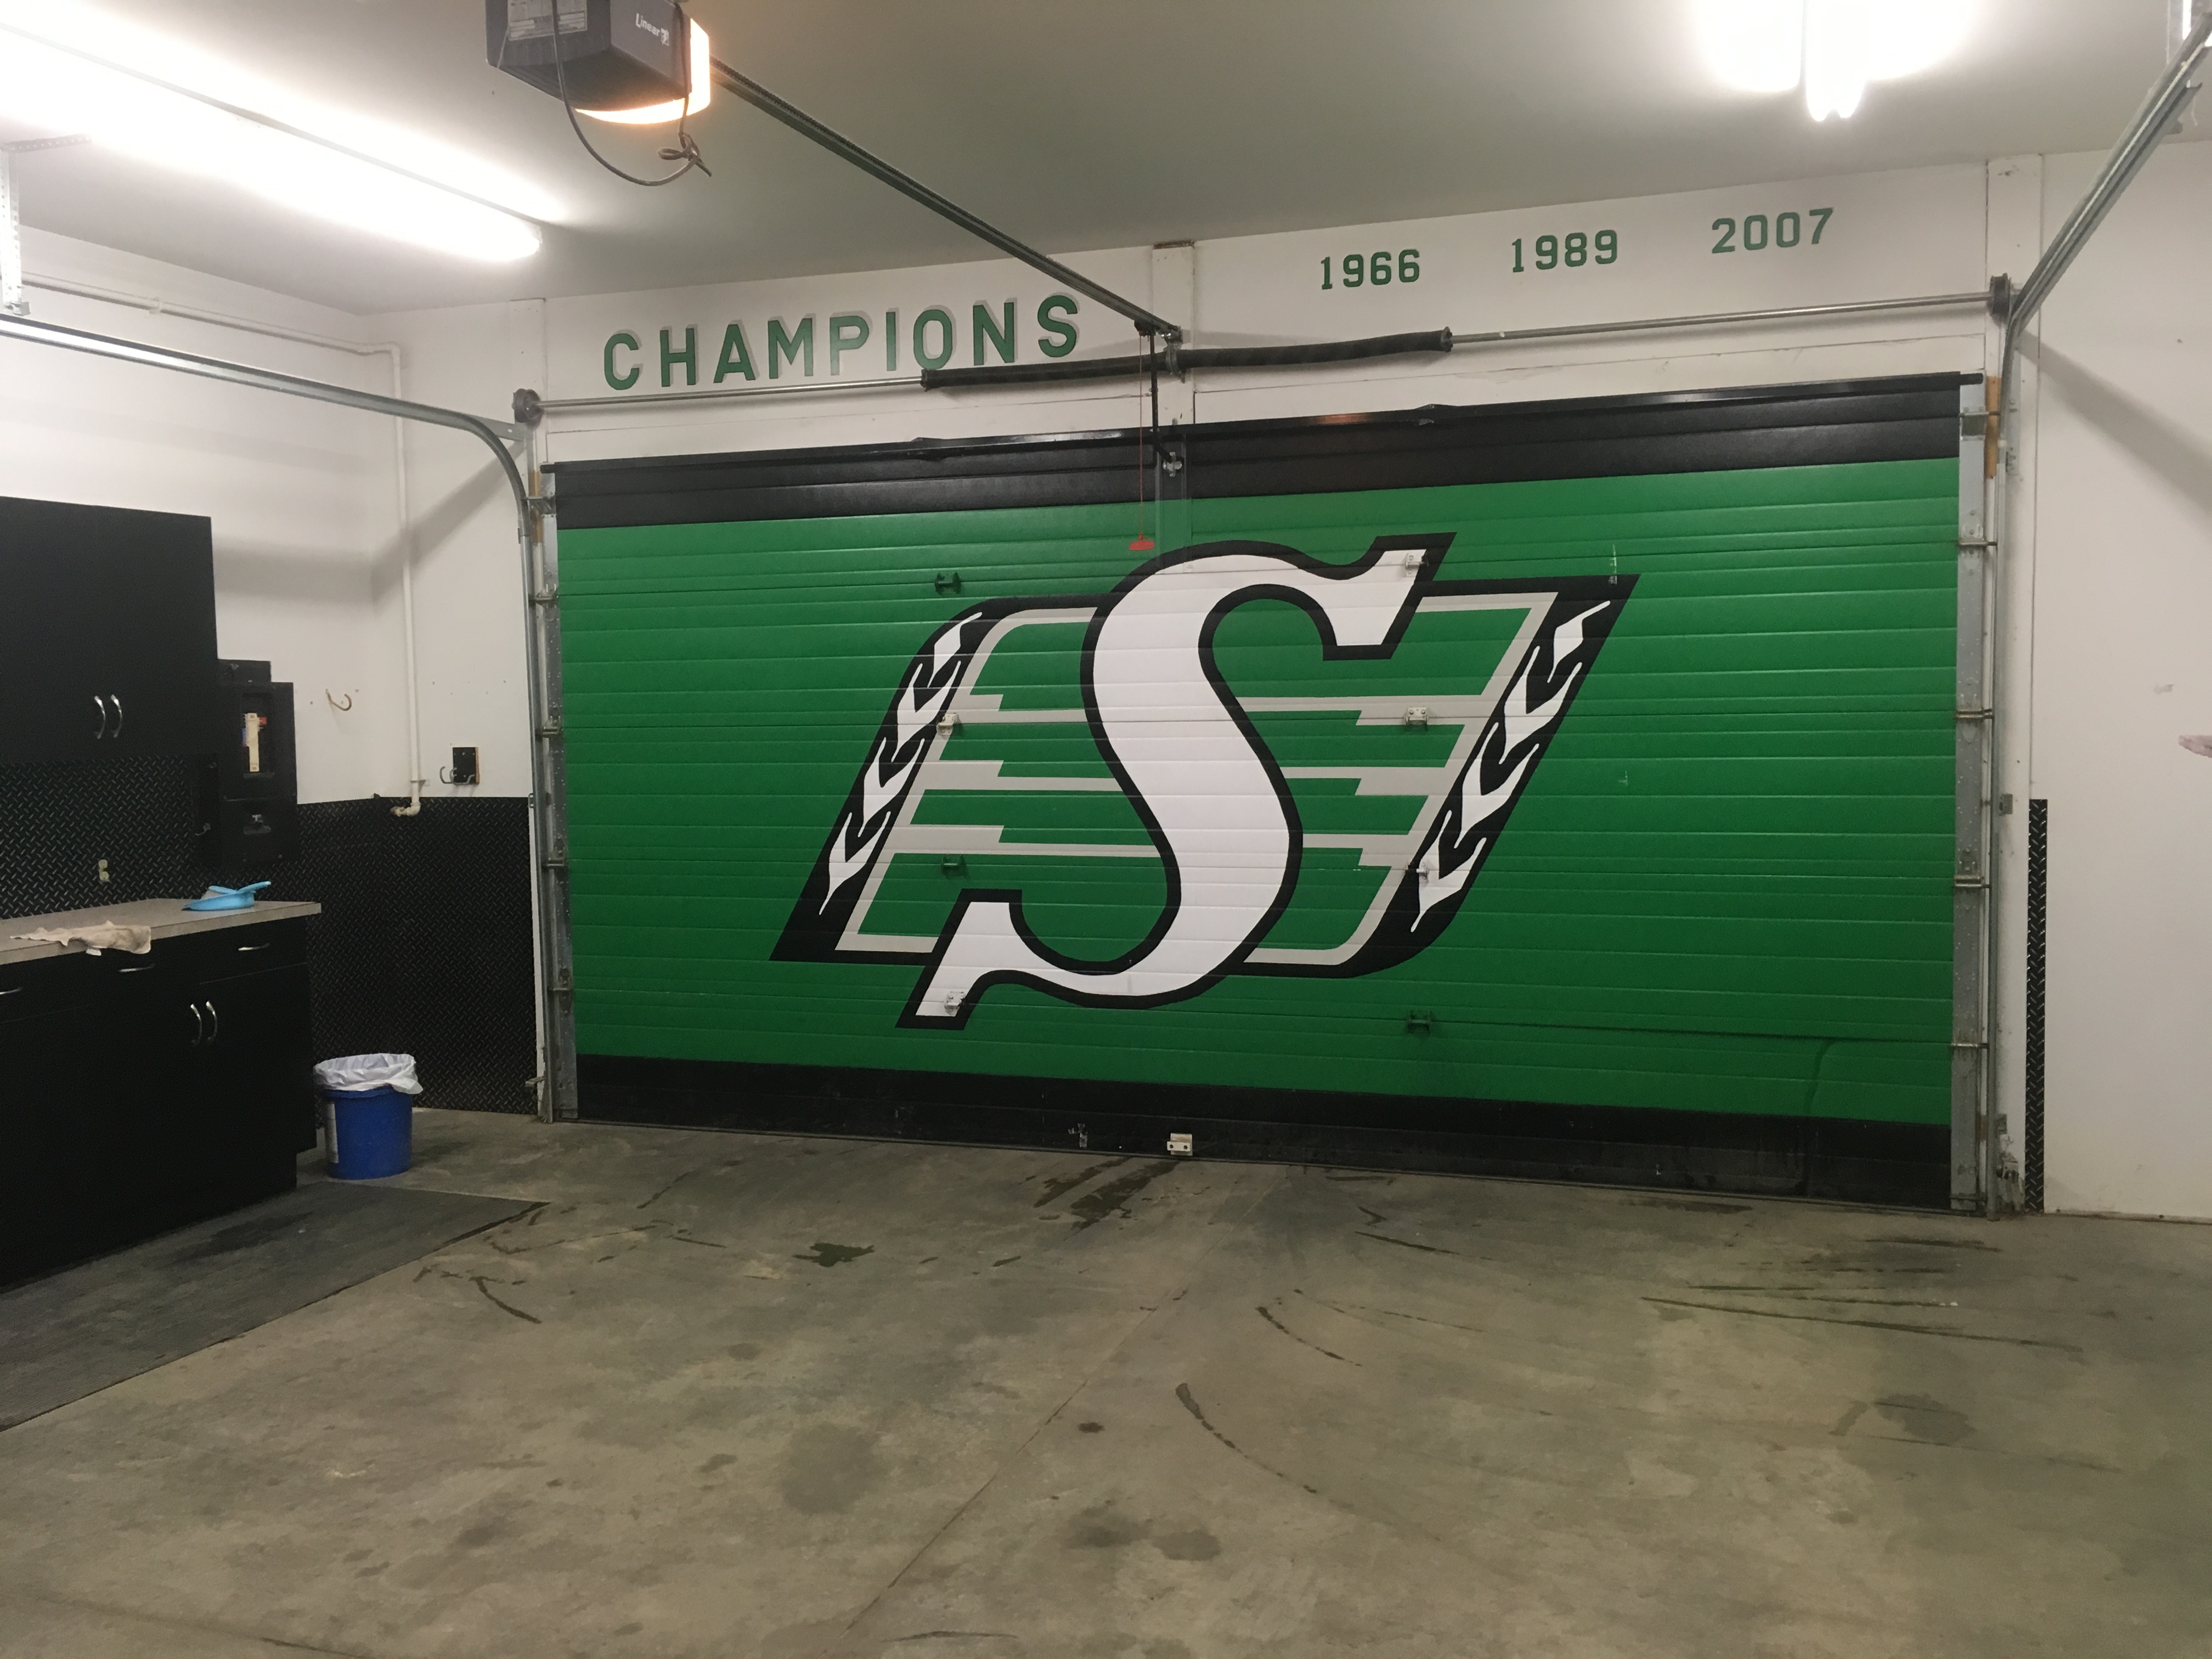
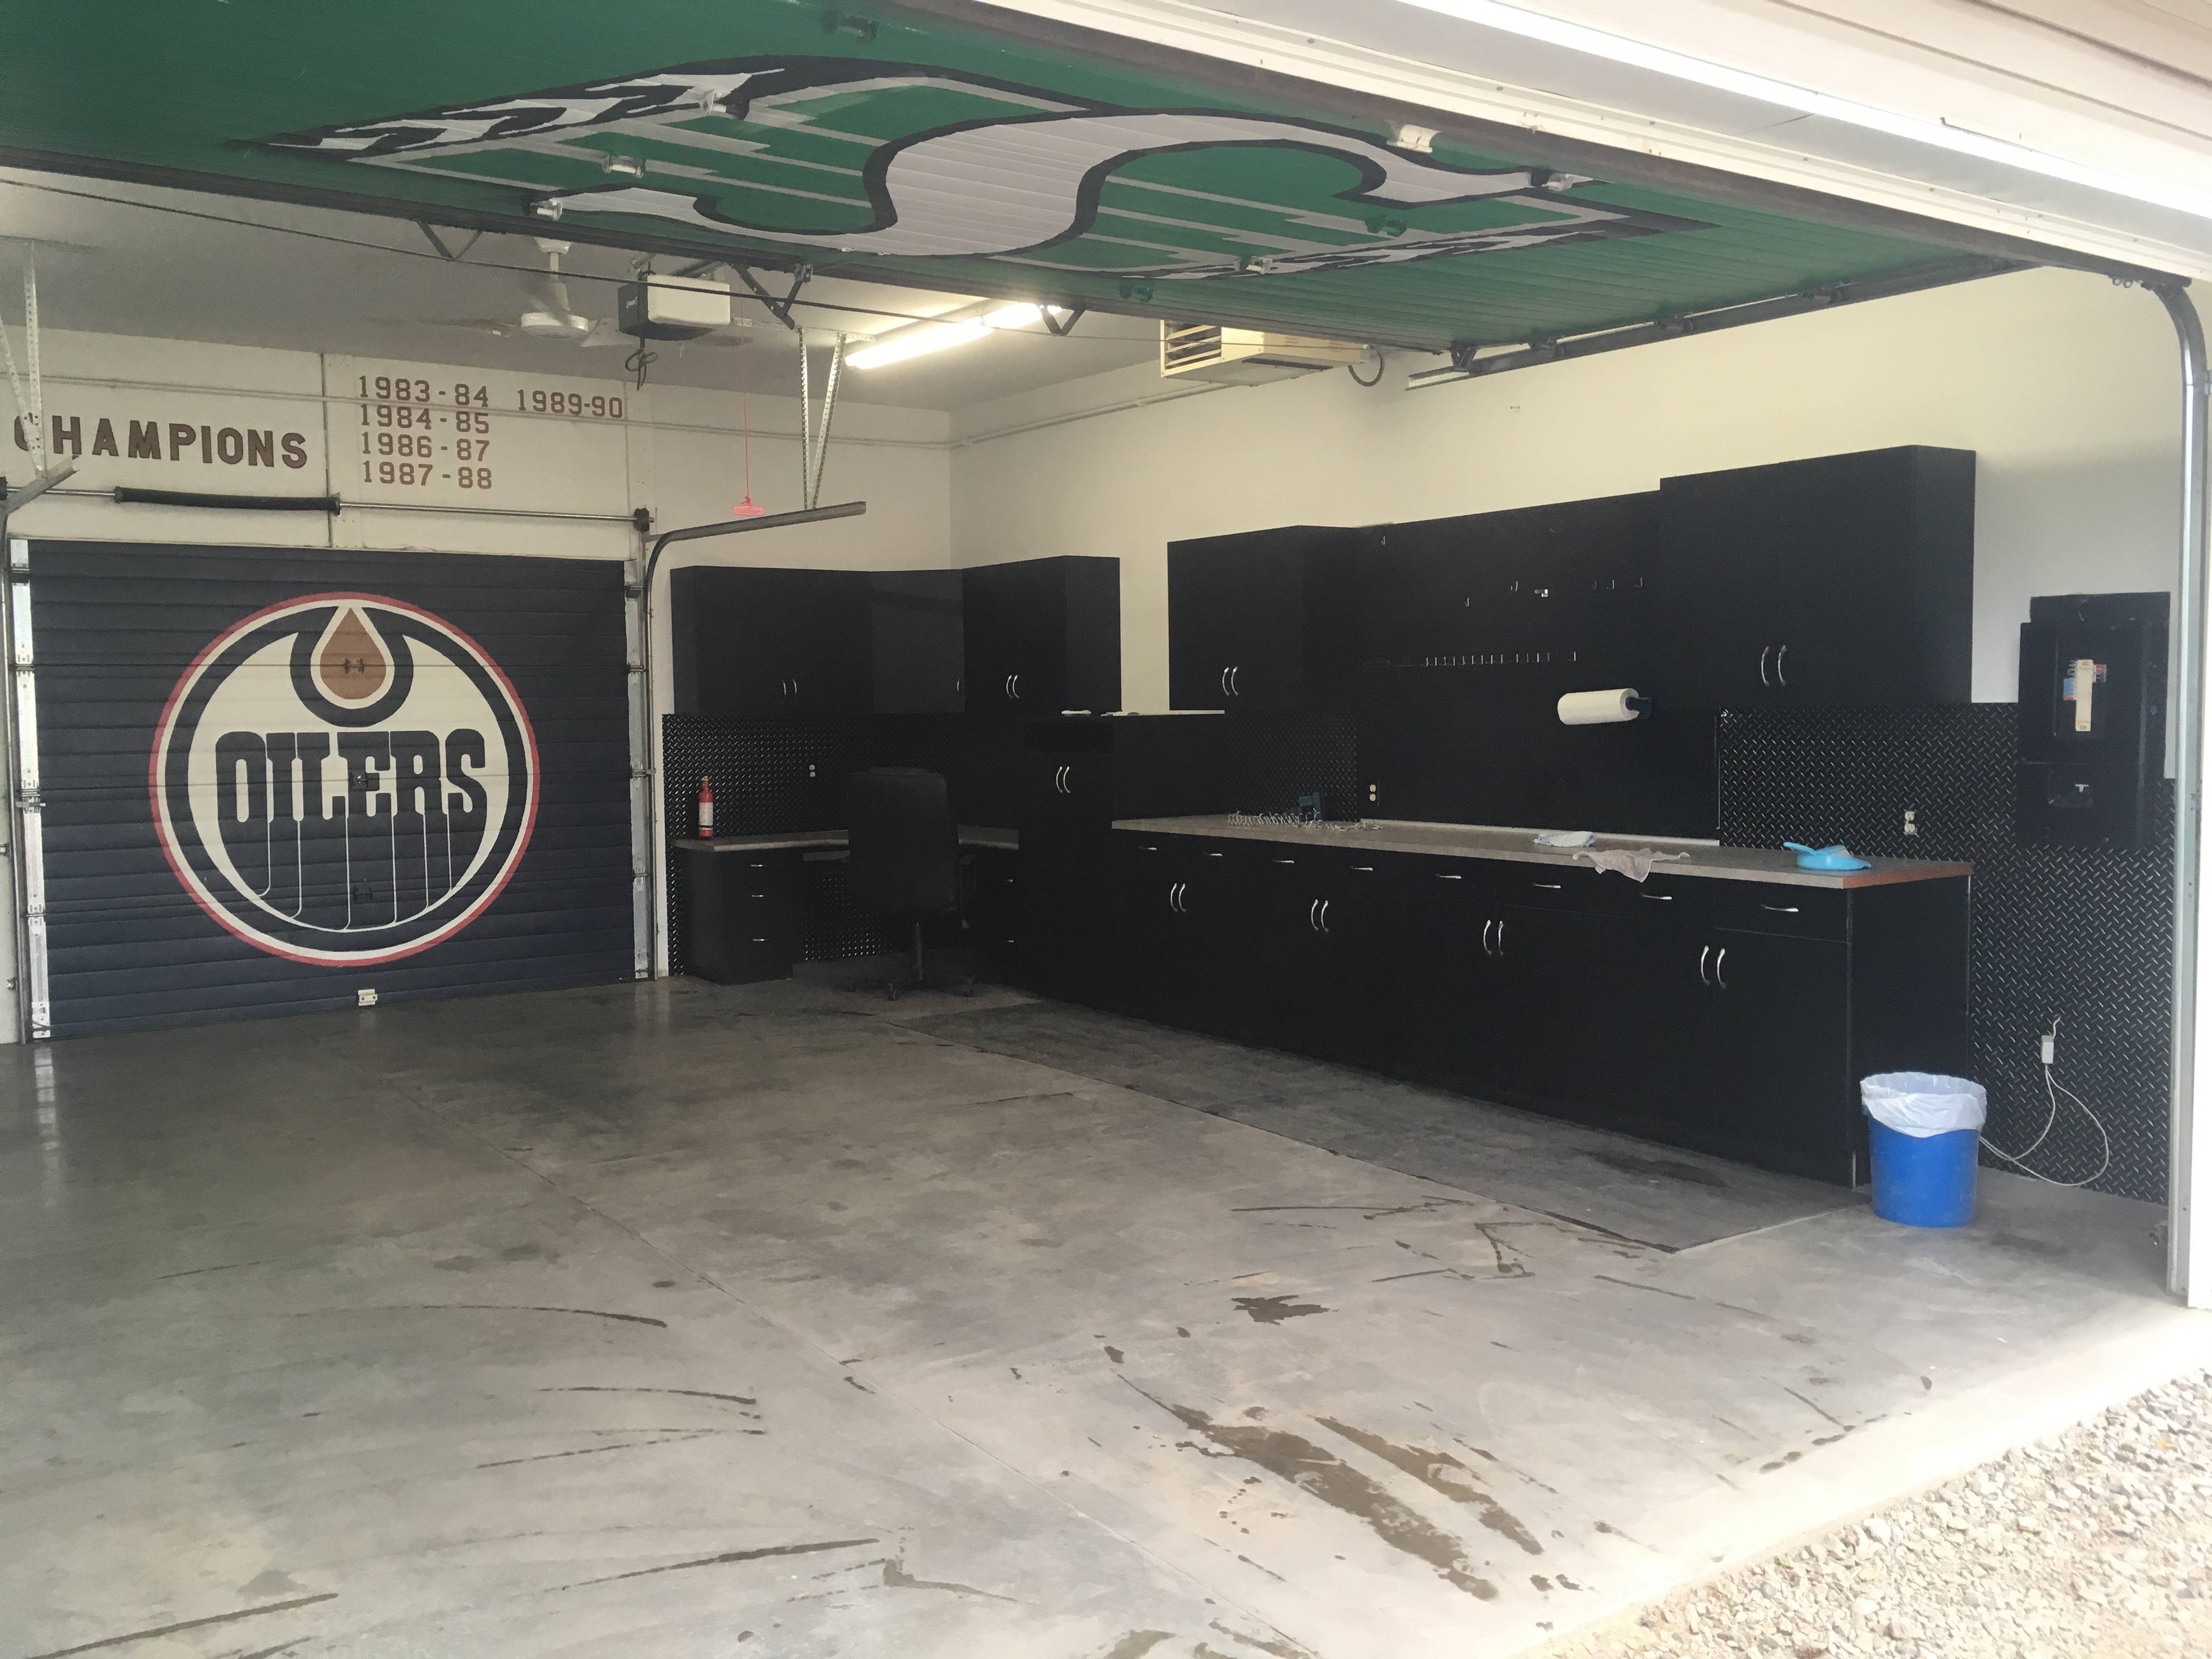
Even with only one hull set diagonally in the garage, the stem and stern posts could not be added. Fortunately, my quest for a better option was successful and a new place became available just a block from home – a heated two car garage, inside dimensions 23 feet x 23 feet, leaving space for two hulls to be constructed at the same time when placed diagonally. The garage is well lit, with cupboards, pegboard and counter on one wall for tools and supplies. It also features graphics that would gladden the hearts of professional sports fans in this part of the world – check these out:
Yes, the Saskatchewan Roughriders and the Edmonton Oilers have a solid fan base here. I do hope they are not offended to learn that I have no interest in professional sports – I just want to build a sailboat and go sailing!
Still, the new workspace is pretty fancy and I consider myself greatly blessed to have found it. With the help from a good sailing buddy, I have moved in and set up shop. As they say in the cartoons, on with the show, this is it!
One of my favourite stories from my summertime job in a Vancouver Island sawmill in 1967 was the joke that workers liked to pull on naive newbies to the mill. They would tell the unsuspecting victim that a certain pile of lumber had been cut too short and would then send him in search for the “lumber stretcher” to remedy the problem. The unfortunate victim would go from one area of the mill to another, asking for the device, only to be told that he should try in yet another place, until he had covered most of the mill and someone would relent and let him in on the joke. Fortunately for me, the mill workers thought that a farm boy from the prairies would have too much common sense to be caught by such a prank and they didn’t pick on me!
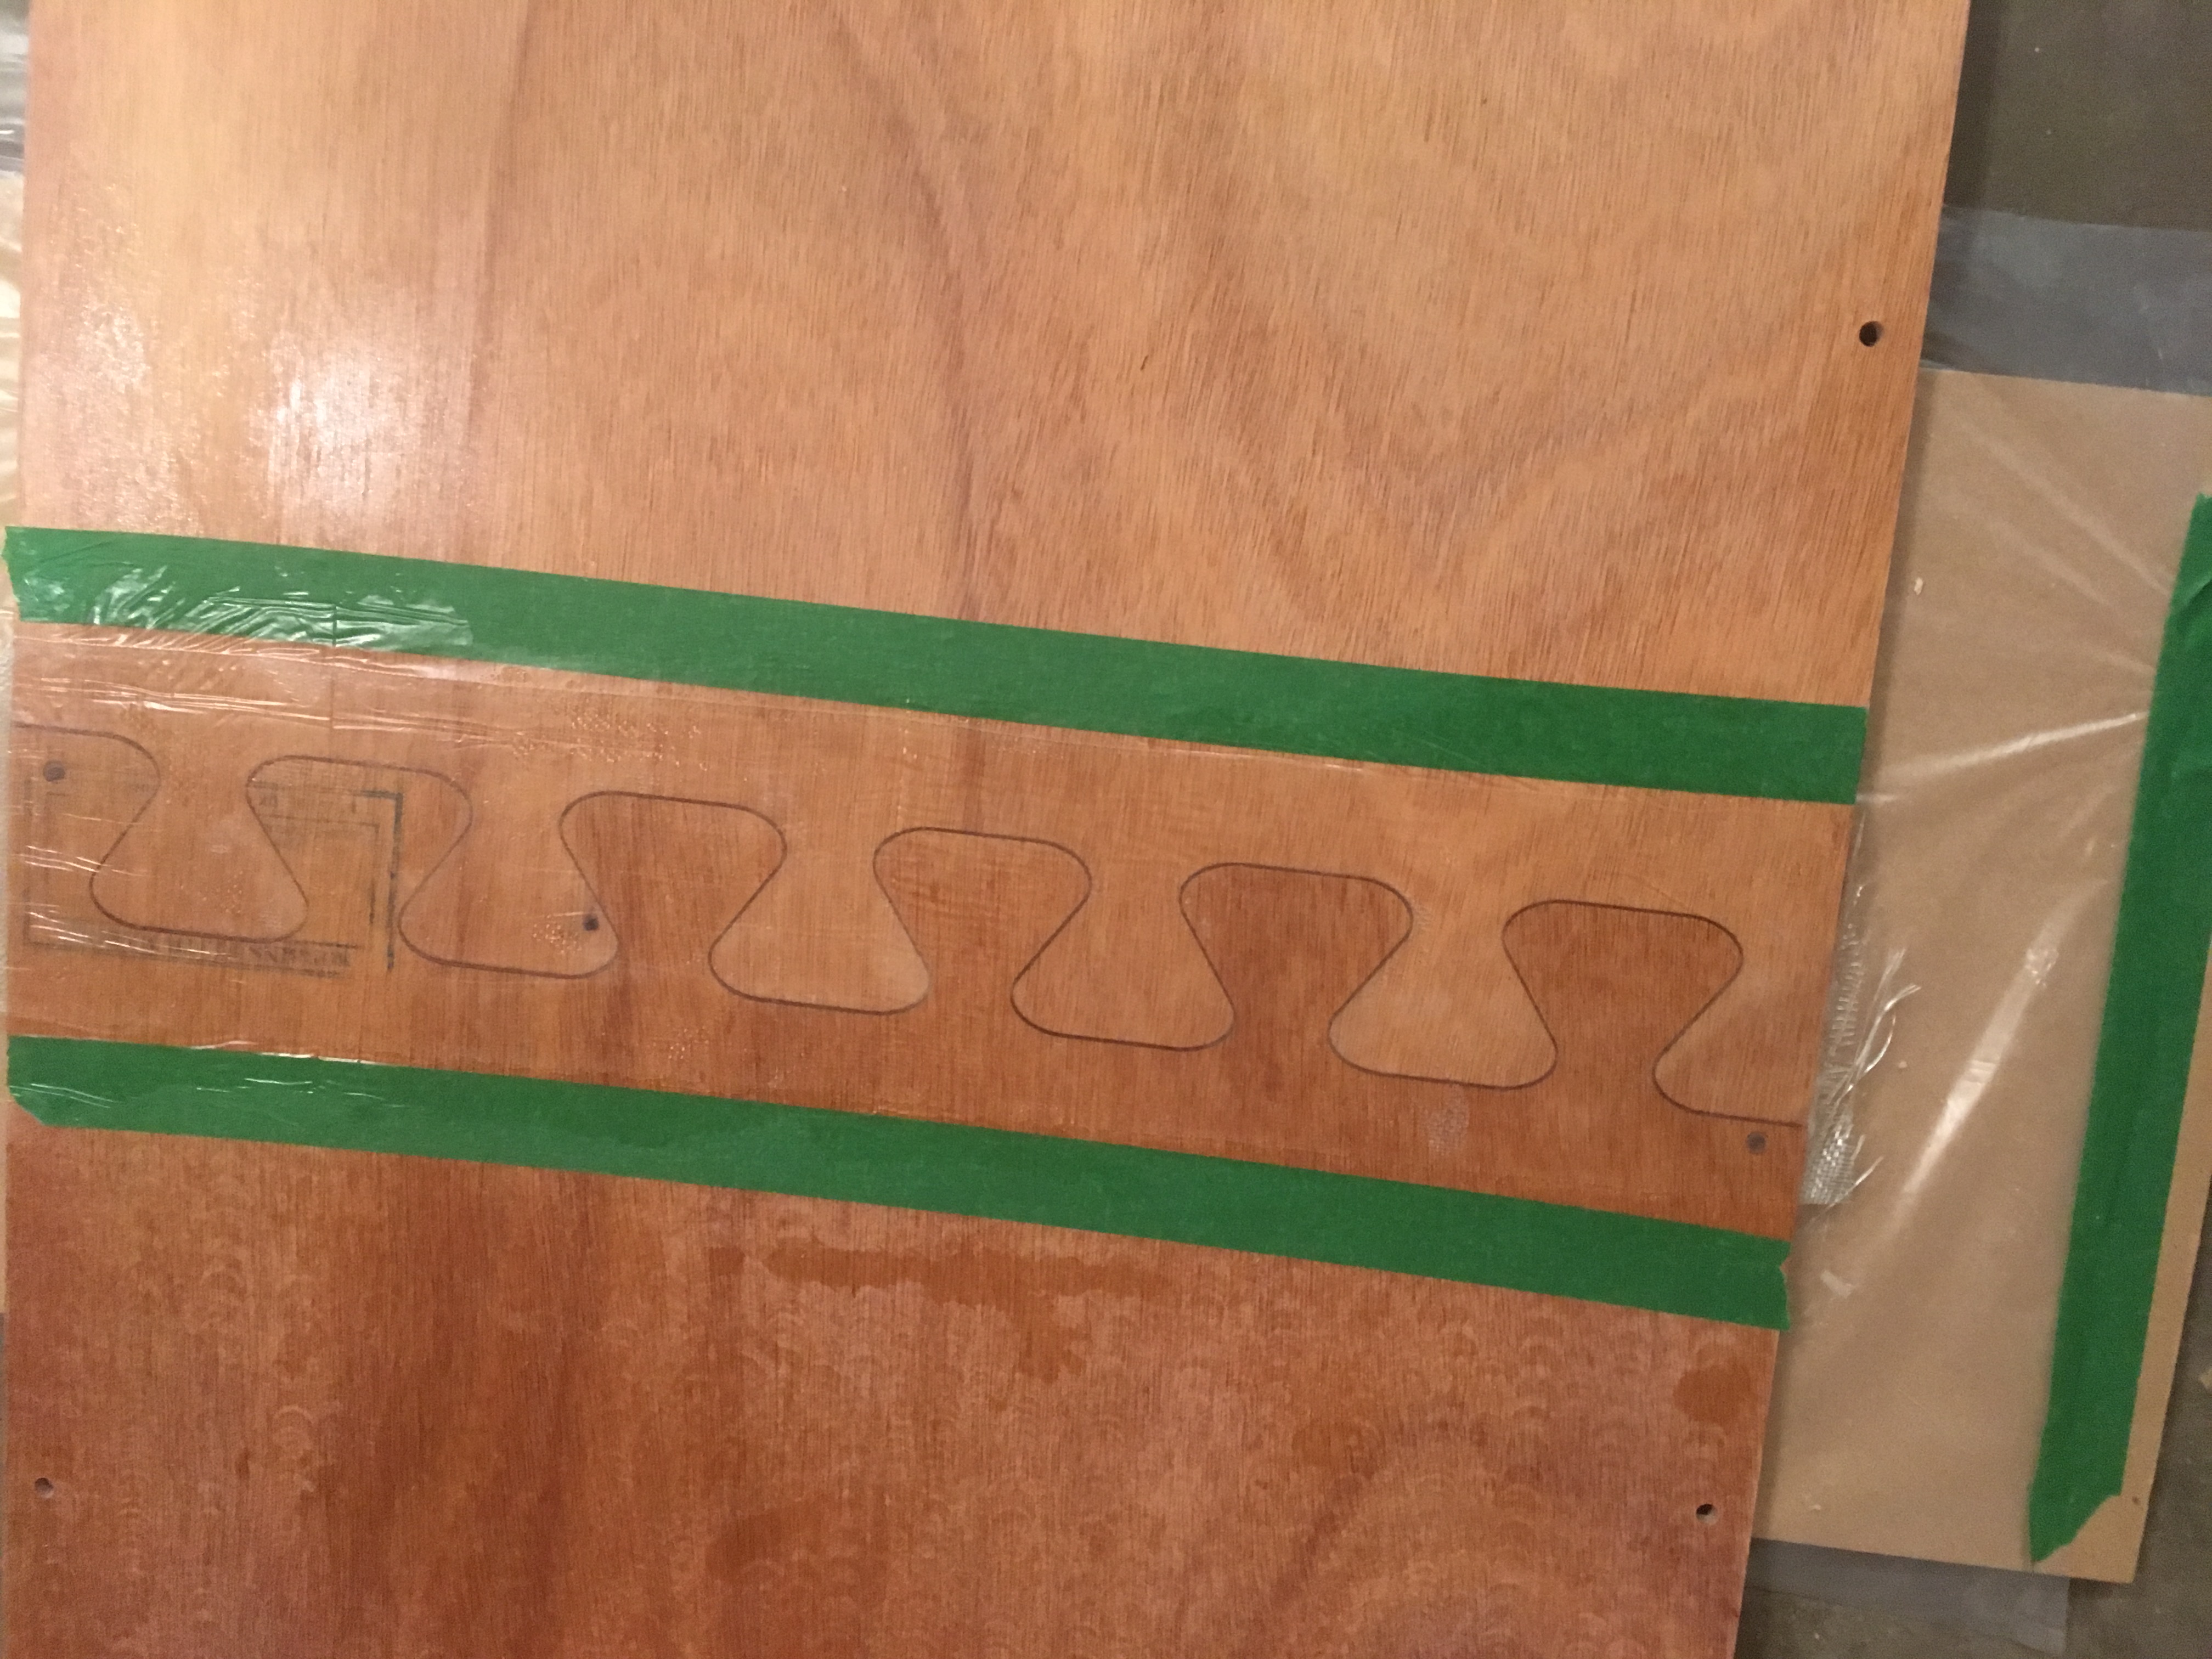
Boat building does have a similar problem to that posed by the mill workers – how to make short boards into longer ones in order to build boats beyond the length of available lumber. Various methods have evolved in the history of boat construction, including the scarf joint (which we will encounter in a future post). The advent of CNC directed routers, able to cut out patterns with great precision, has enabled one modern version of “lumber stretching” that the Mana “cat kit” incorporates – the jigsaw puzzle joint.
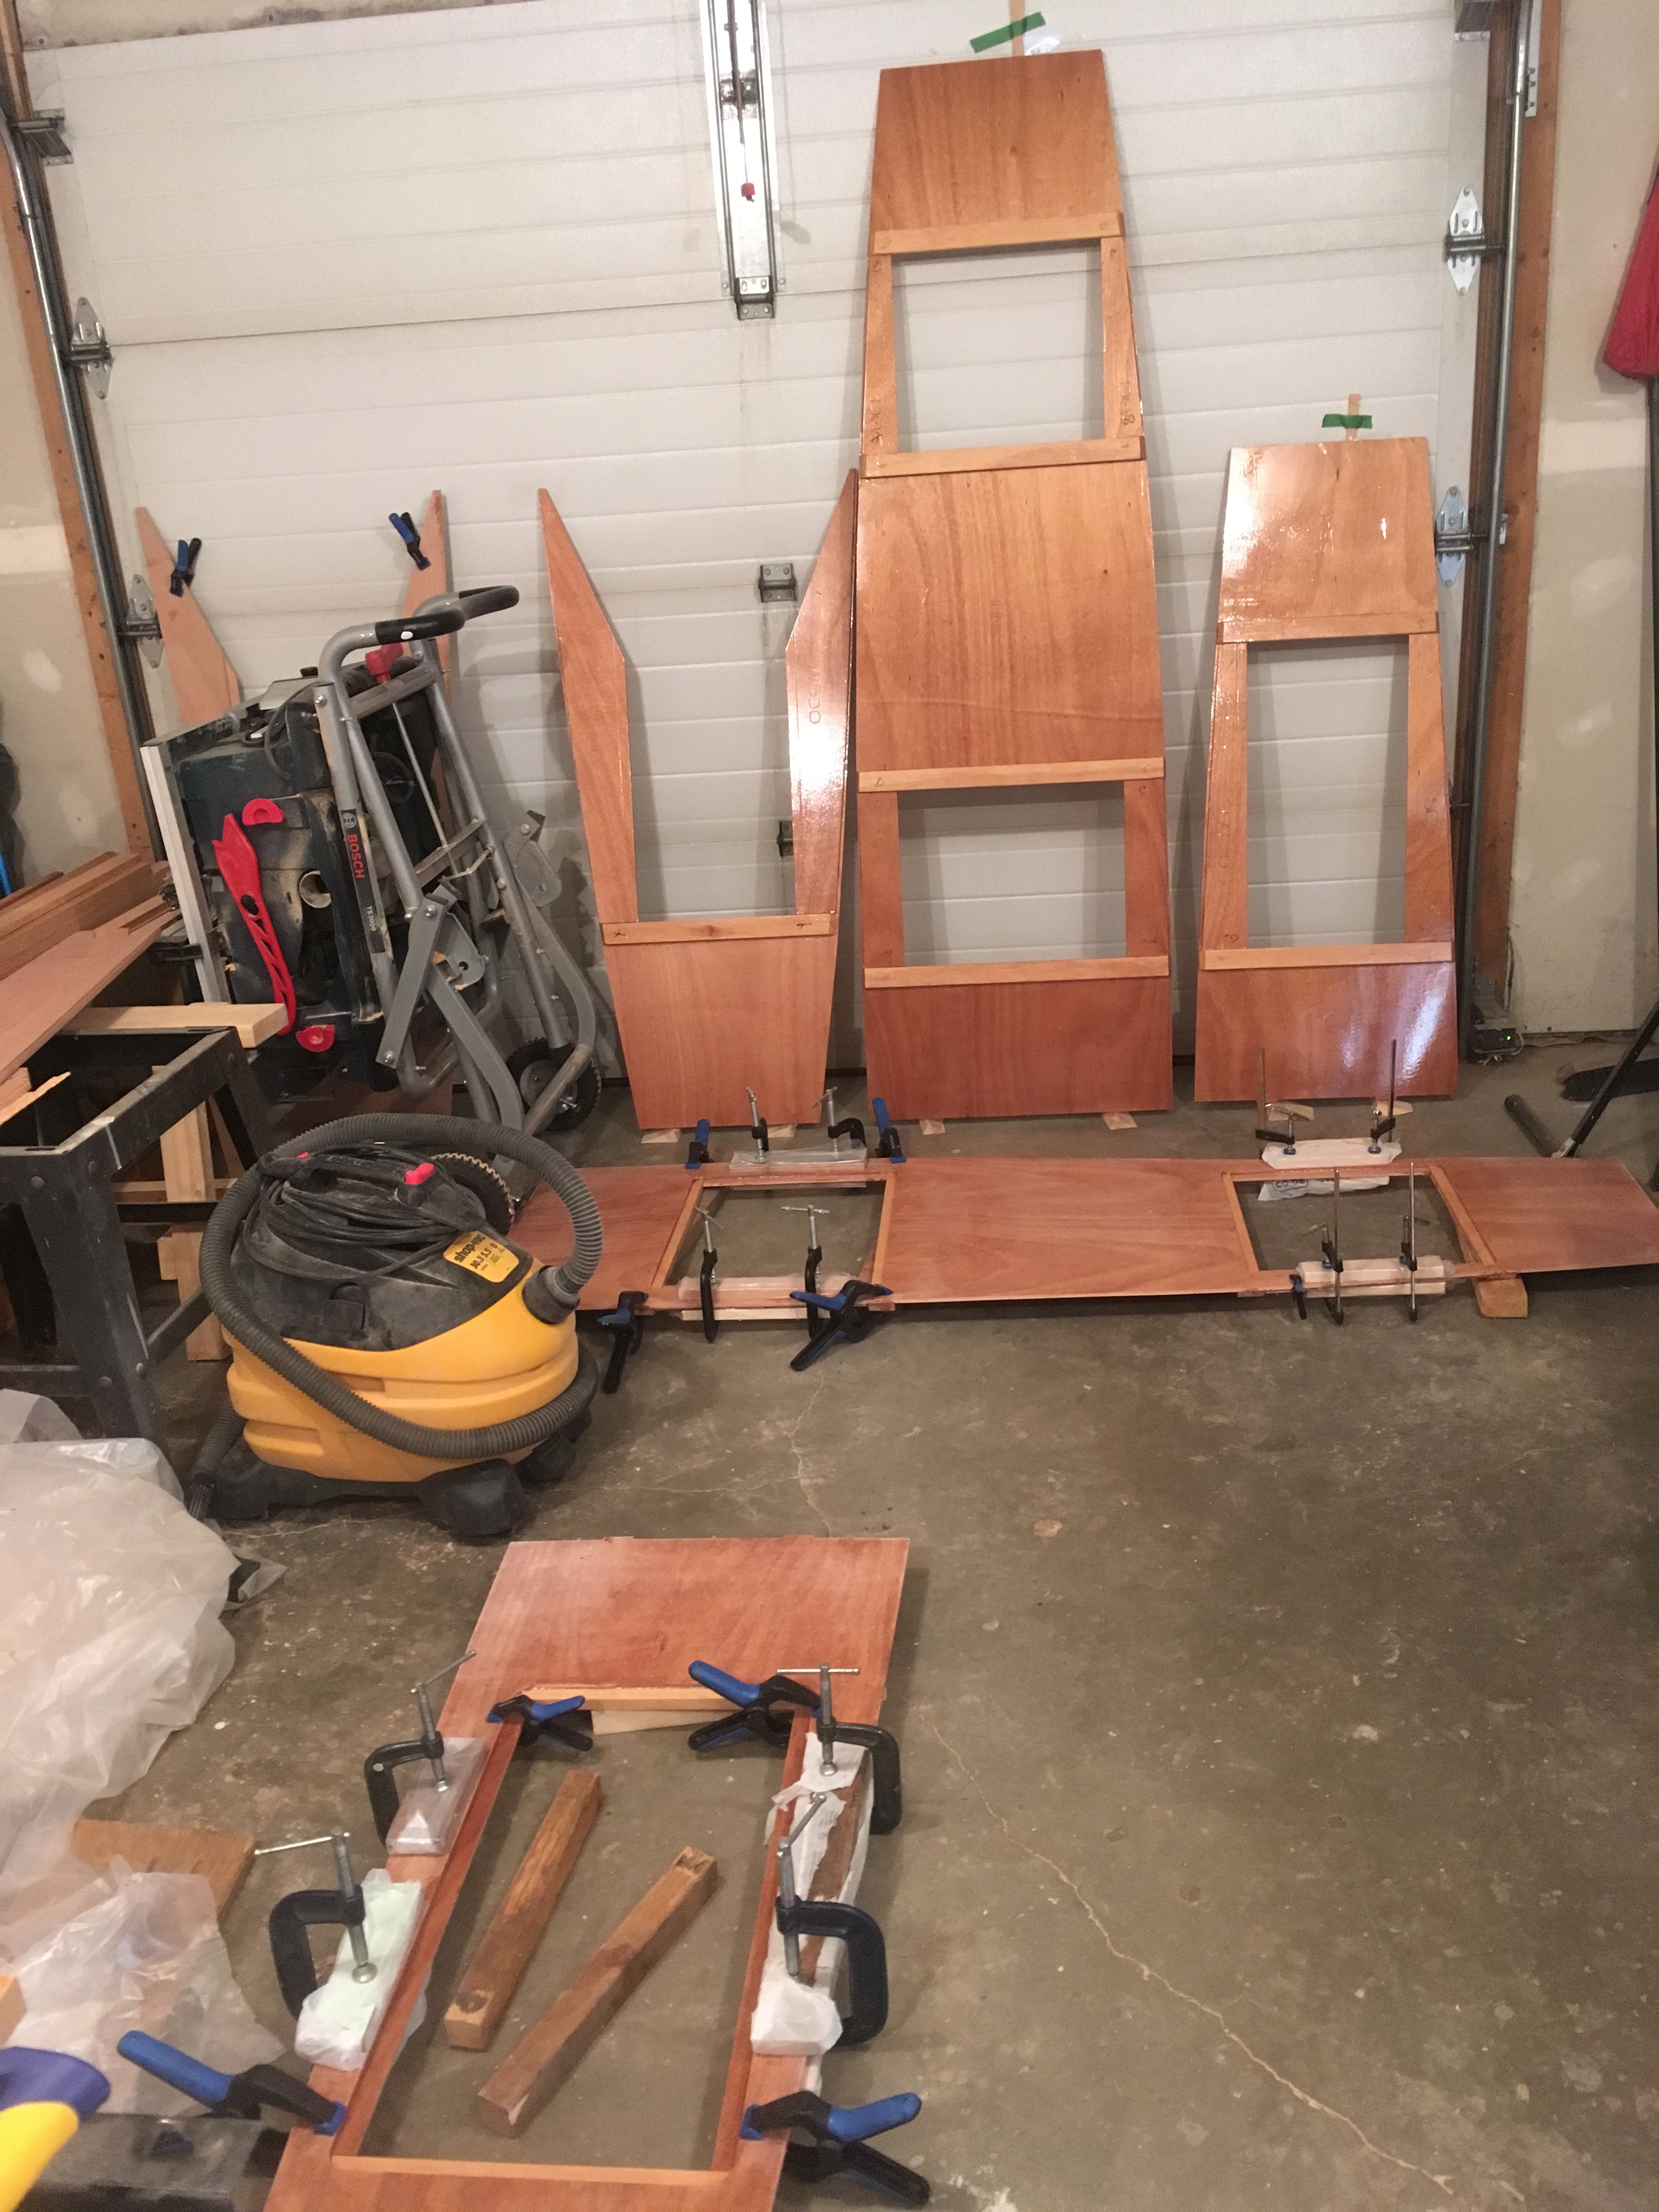
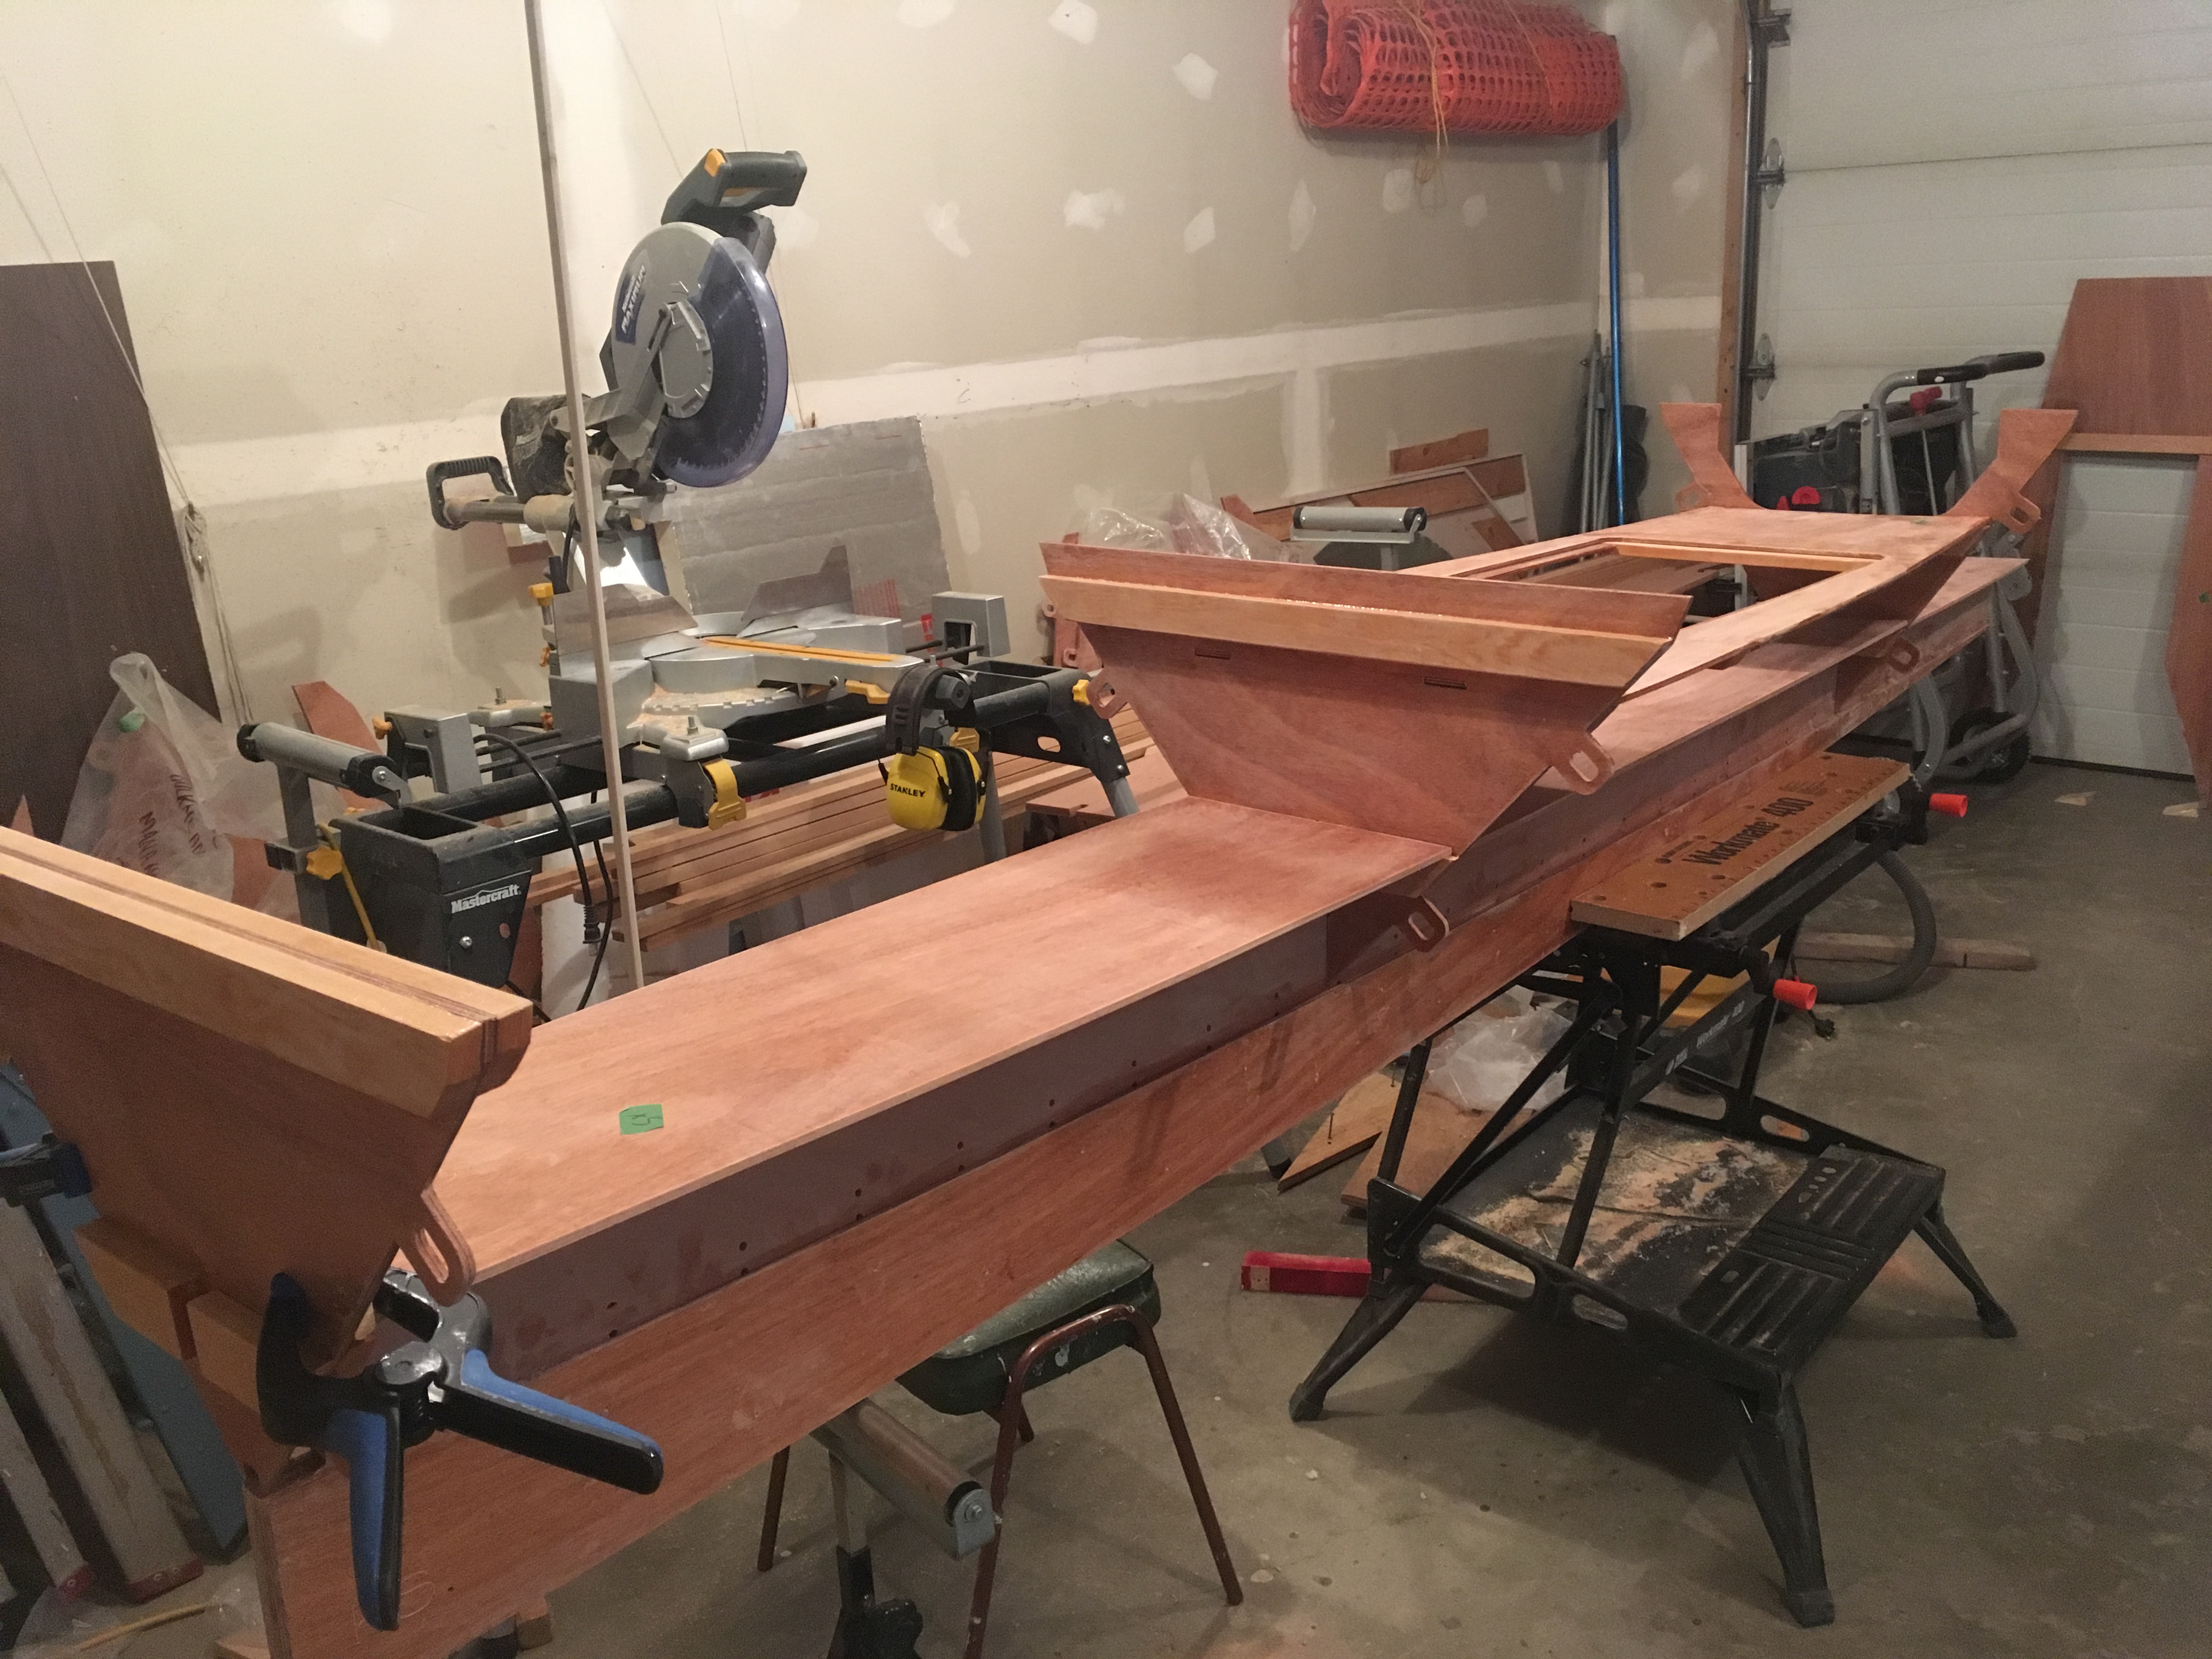
On the Tiki 21 that I built in the 90’s and on most of the modern designs from James Wharram Designs, plywood panels are joined, end for end, in a butt joint with a piece of plywood epoxied over top of the joint. This method is effective and requires no specialized scarfing equipment or expertise but it does not leave a smooth panel on the interior of the hull. The jigsaw joint used on Mana 24 gets around that limitation – a 100mm strip of fibreglass tape reinforces the joint instead of a piece of plywood.
The puzzle joint ensures that the joined panels line up correctly. I followed the advice from JWD and placed MDF board above and below the joint along with plastic sheeting, weighed things down overnight while epoxy cured, and the results were a nice smooth, 23 foot long panel.
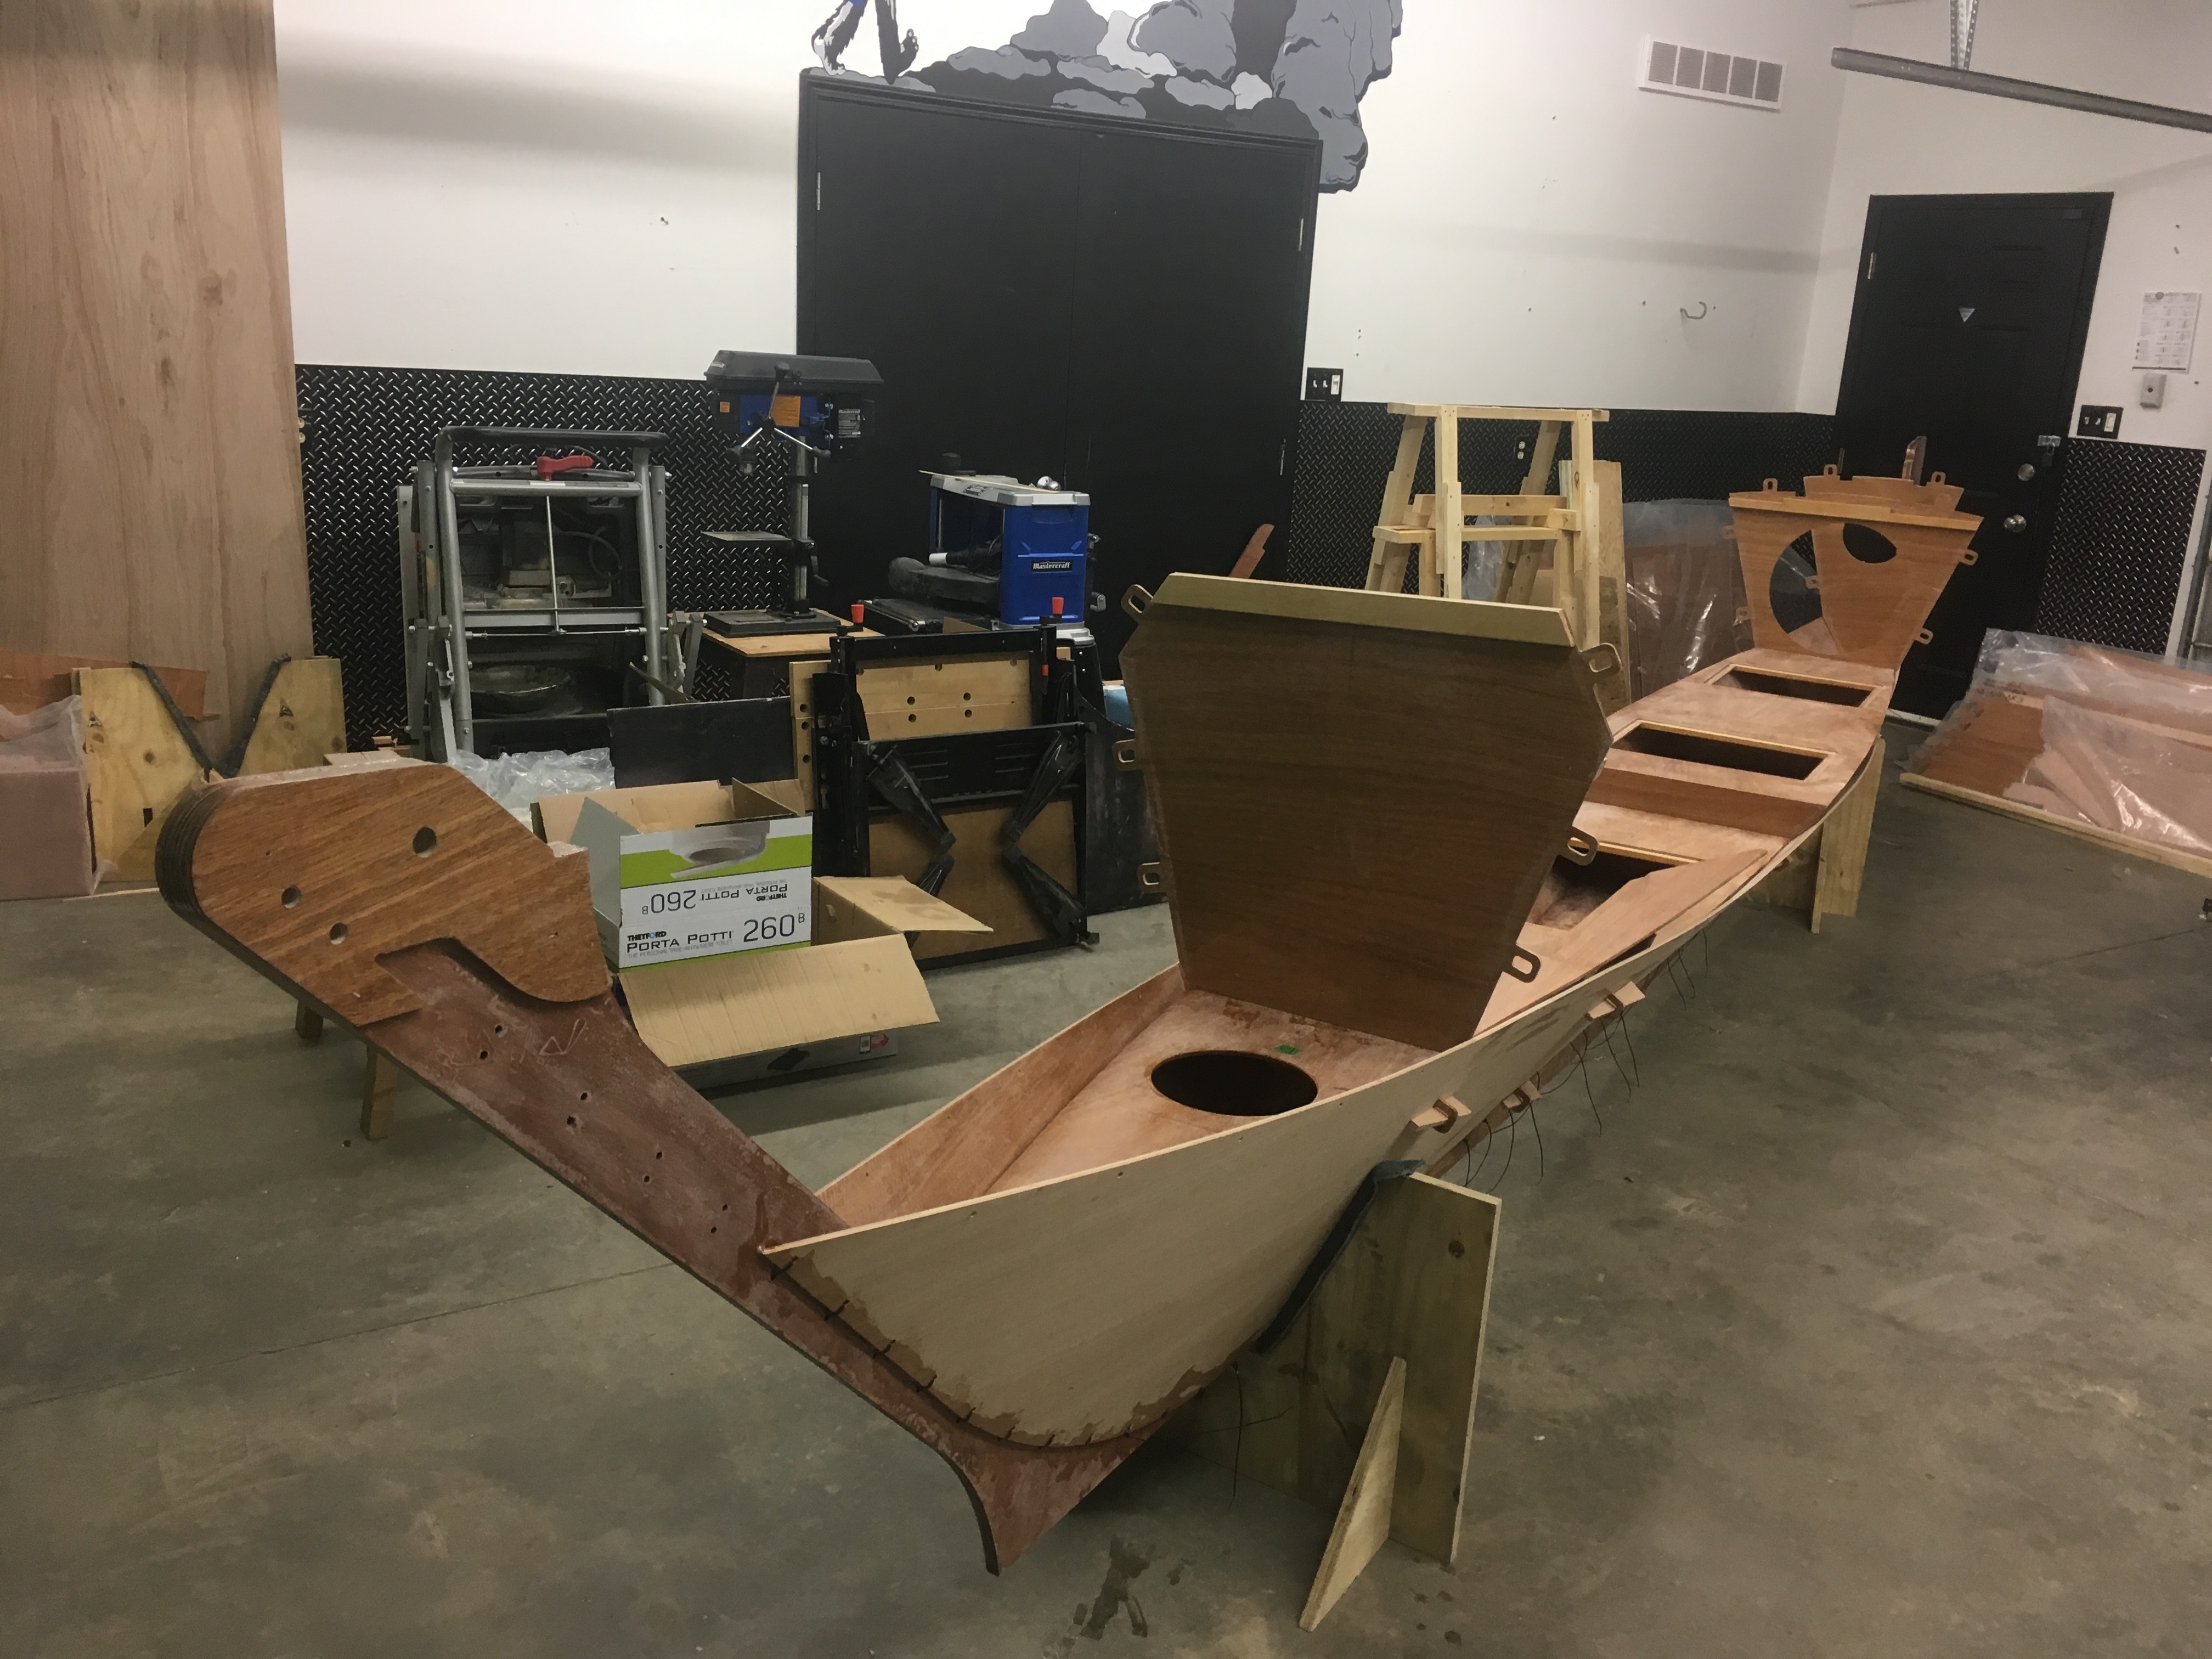
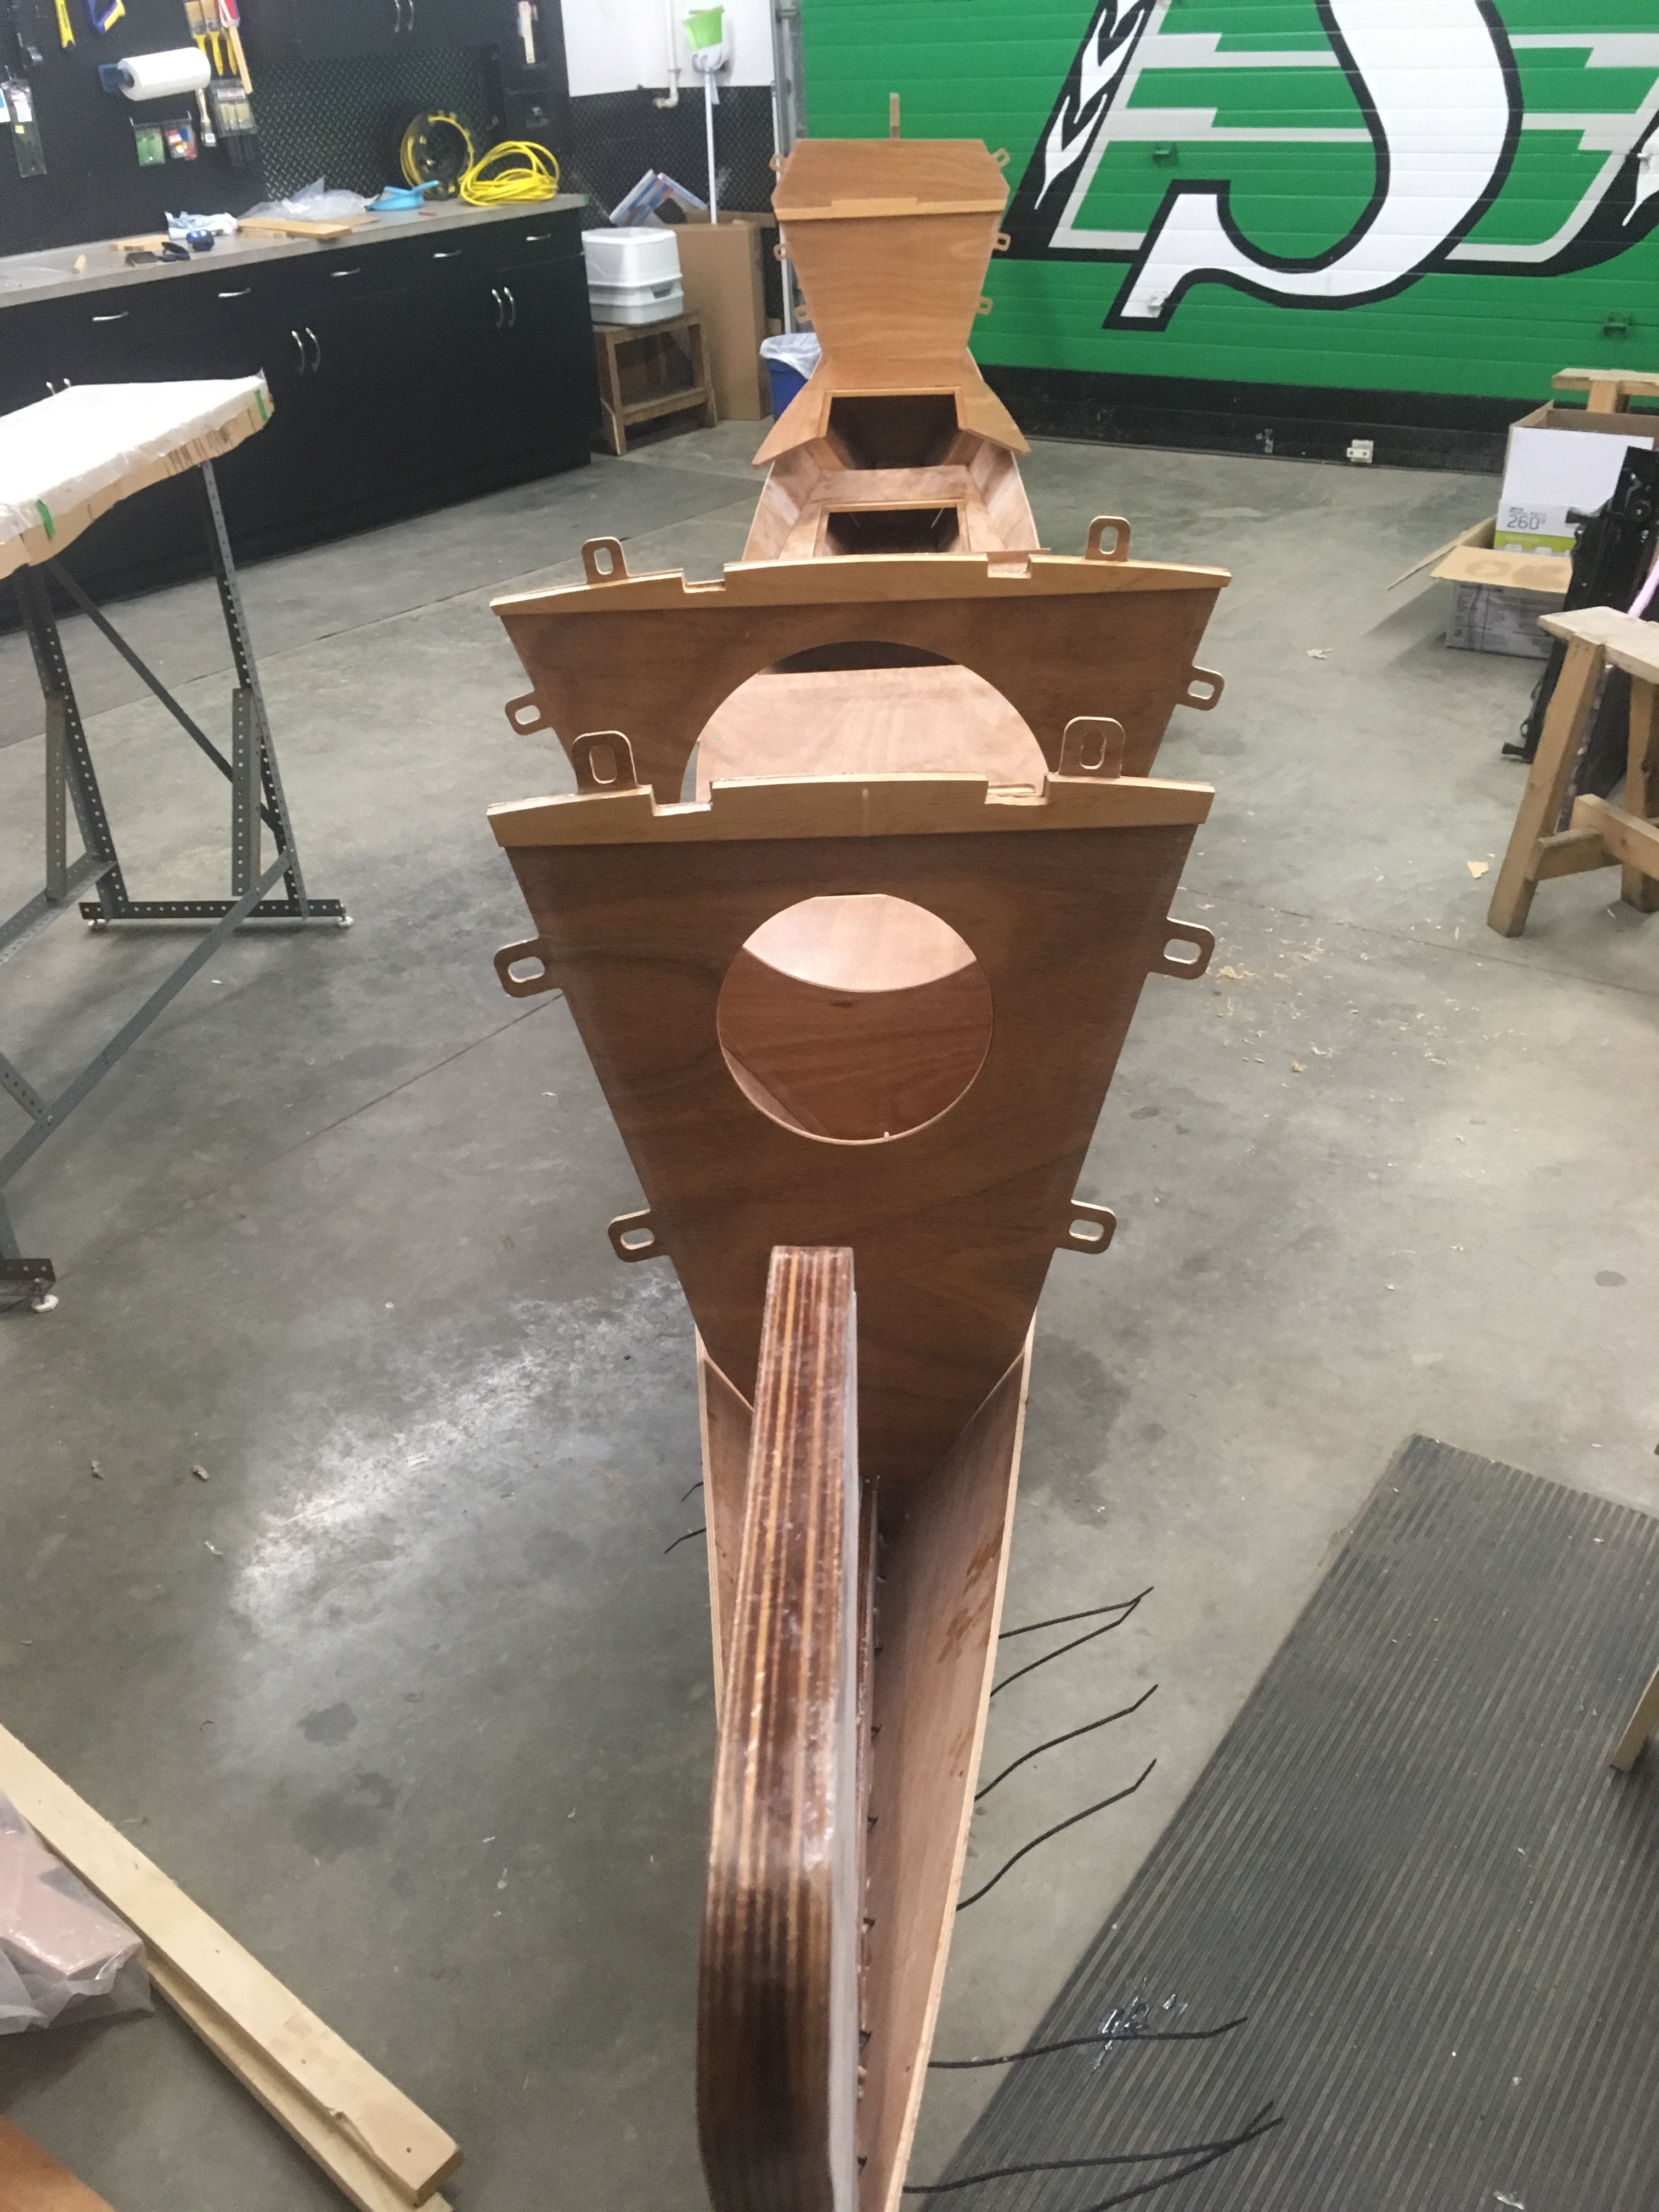
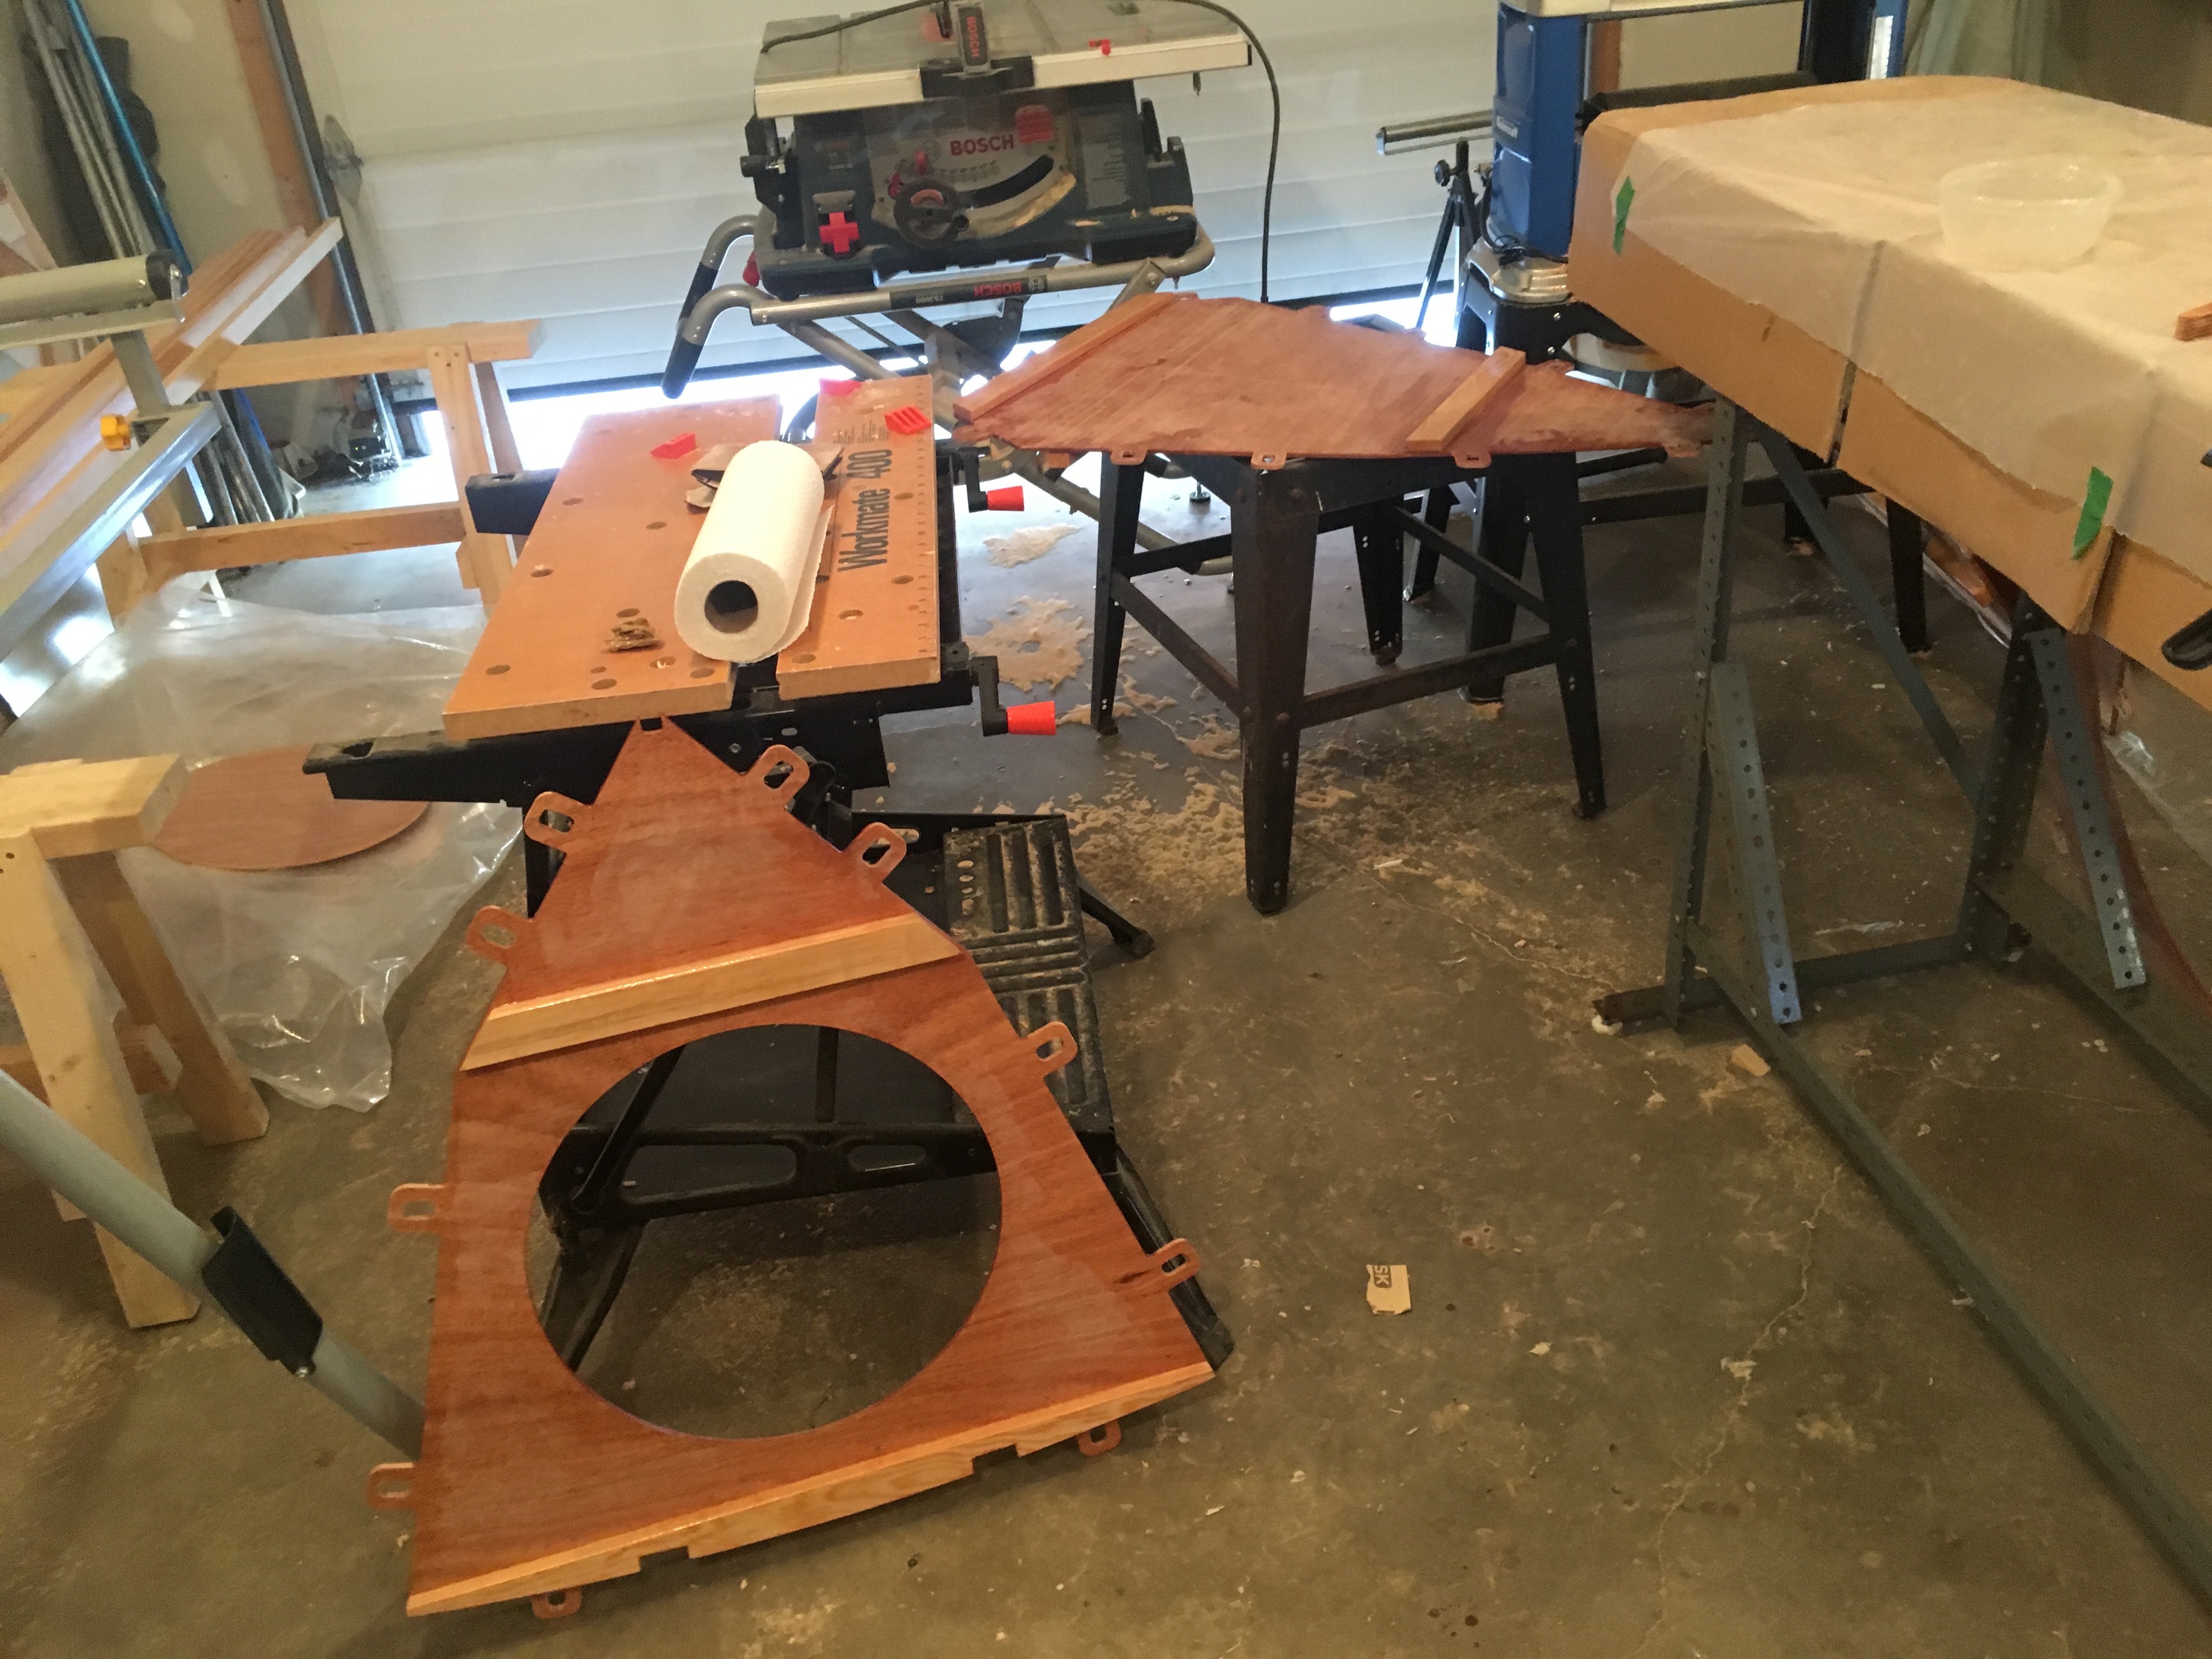
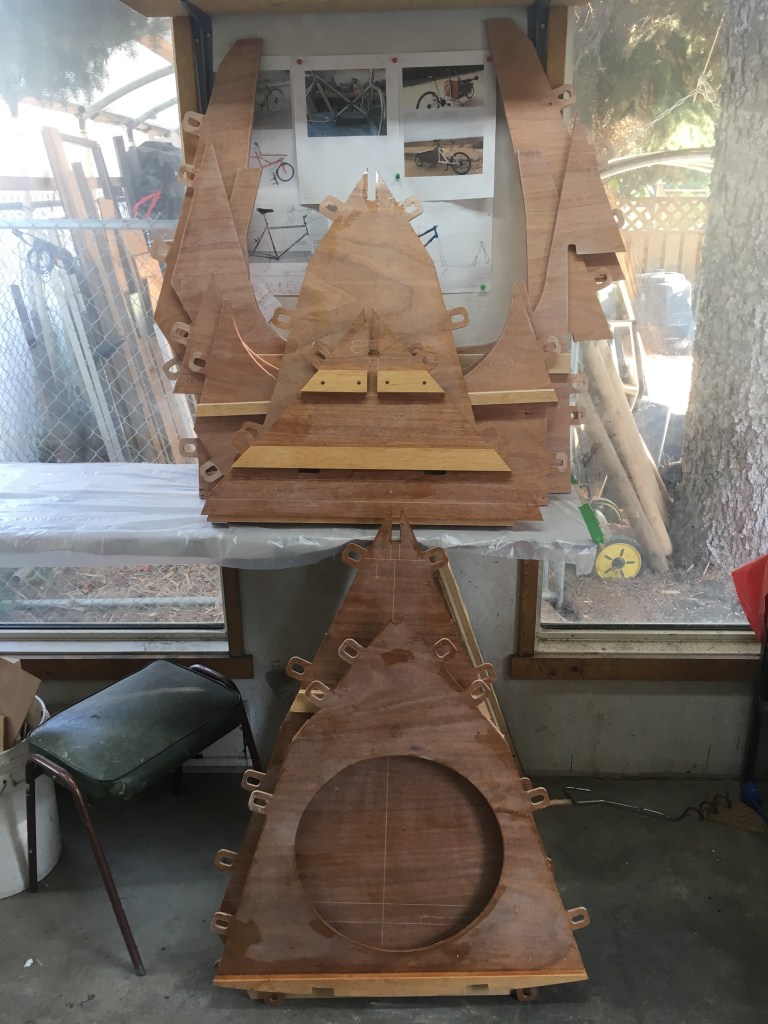
Every project must have a starting point. With some rough lumber sized to specifications at hand, work in the Mana 24 began. The pre-cut plywood pieces enabled me to go straight to preparatory assembly, adding bearers cut from the planed Douglas Fir to bulkheads, six bulkheads for each hull.
Most of the plywood used for bulkheads has its first coat of epoxy already applied, allowing work to proceed quickly.
The forward section of the keels also has doublers, which were added, and once that was completed, I couldn’t wait any longer. I had to try a dry-fit with bulkheads 2, 3 and 4 set in place on keel. It is starting to take shape, don’t you think?
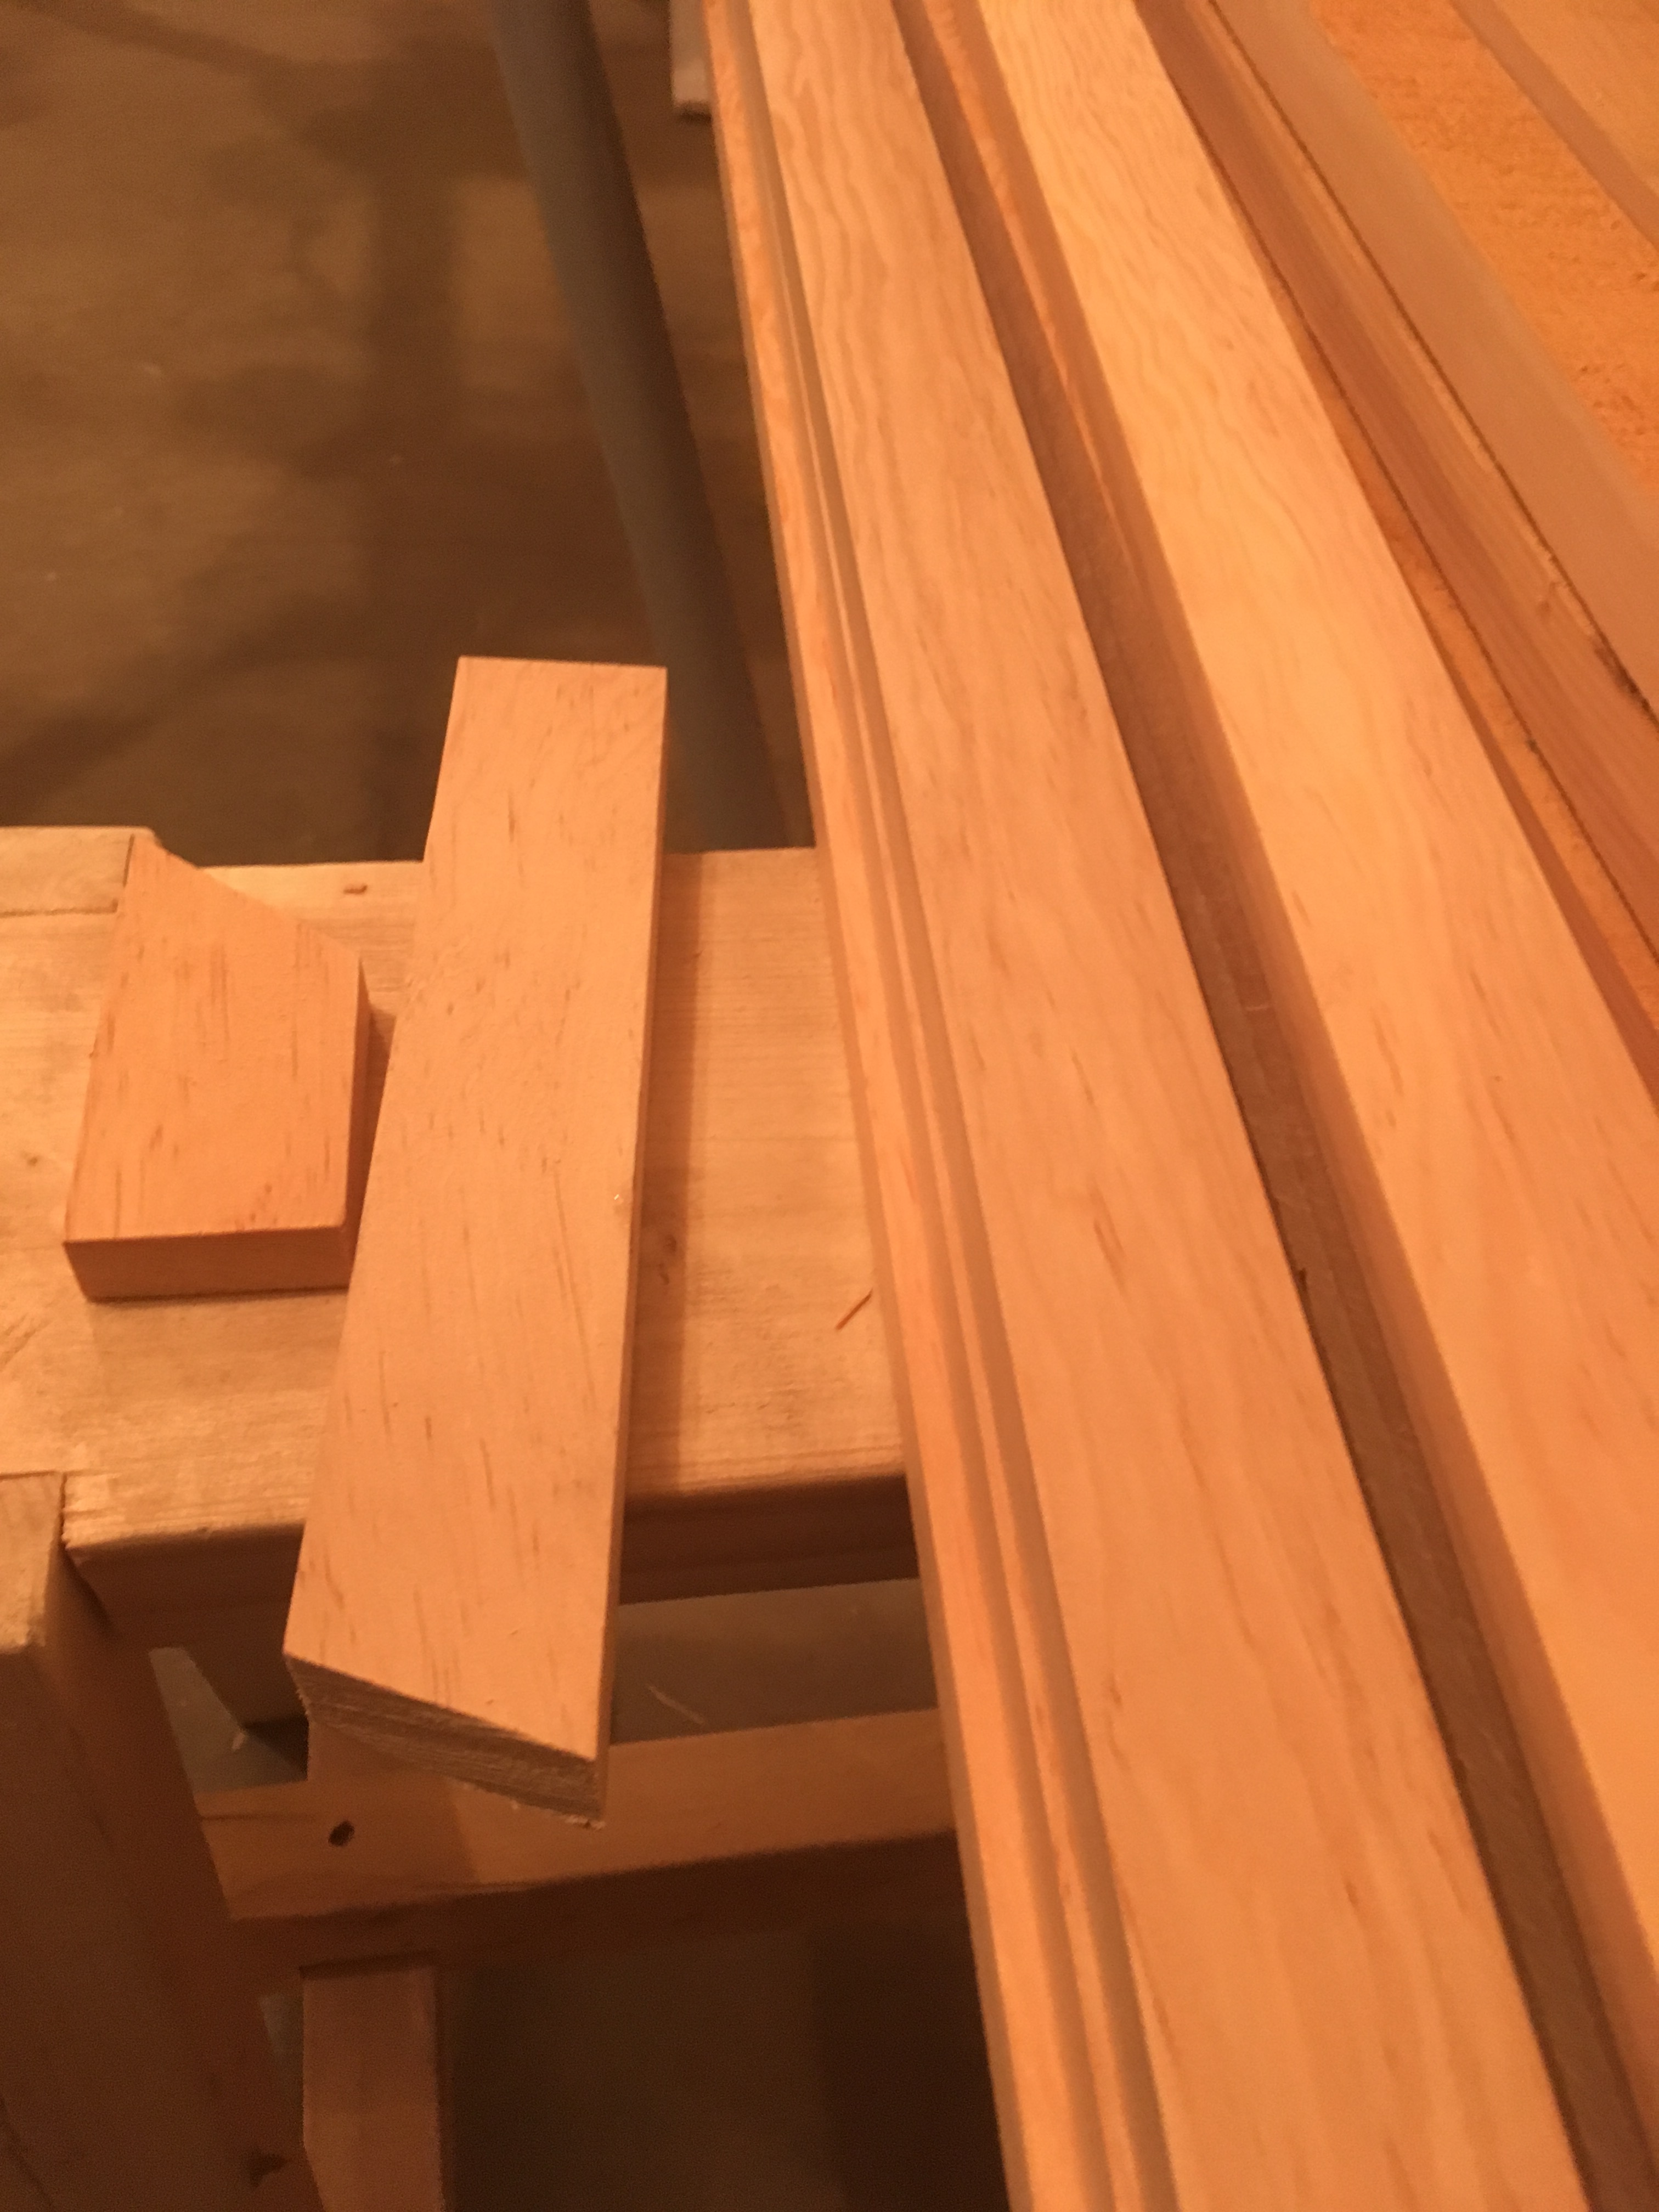
Remember the clear Douglas Fir that I sourced in Edmonton? As lovely as it was when I bought it, it still wasn’t the size that is specified for the Mana 24. The 1 inch rough boards had to be cut down. The two sizes most commonly used in constructing the Mana are 15mm x 40mm and 20mm x 40mm. What was required was some power tools – a barely used Bosch table saw and an on-sale MasterCraft thickness planer were acquired. Slowly my shop has transformed from bicycle building with welder and grinders to boat building, with wood working tools that are much more to my liking!
Okay so enough with the play on words. And yes, that is my truck, and no, I wasn’t likely quite legal that day. Let me explain.
It was cost prohibitive to air freight lengths of lumber as part of the Mana 24 kit, and even more so to transport the aluminum tubes that make up the two masts for the boat. Thus began a search for a local source that could supply the tubes as spelled out in a message for JWD (James Wharram Designs):
“The masts we intend to use on the Mana are plain aluminium tubes grade 6082 -T6.
“The mizzen mast is a 3” x 10swg (75mm diameter tube with 3.2mm wall thickness) and is 4m long.
The main mast is 4 1/2” x 10swg (114mm diameter tube with 3.2mm wall thickness) and is a total length of 7.3m (24’).”
After converting that to North American standards this was the result – required was a 24 foot tube with 4 1/2 inch outside diameter plus a 13 foot tube with 3 inch diameter, each with 1/8 inch wall thickness. Since Grade 6082-T6 aluminum tubes are not readily available in North America, the suitable equivalent is Grade 6061-T6.
I also learned that such pipes come in 20 foot lengths. That presented no problem for the mizzen mast but what about the main mast? Designer, Hanneke Boon, of James Wharram Designs assured me that the solution is to splice four feet of the 4 1/2 inch pipe onto a full length to get the required 24 feet. That process will be the subject of a future post, no doubt.
In March I found a local supplier, A.S.A, who agreed to order in 2×20 foot lengths of Schedule10 four inch pipe (outside diameter 4 1/2 inches) and one 20 foot length of schedule 10 three inch pipe (outside diameter 3 inches), each with a wall thickness of 1/8 inch.
The company was unable to deliver the pipes to our address, and hence, with the assistance of my brother’s bed extender once again, I transported them myself from the north industrial area of the city to our home in the south side. I did a quick measure before I set off to get my cargo. The distance from the front of the truck box to the back of the bed extender is 10 feet 2 inches – just slightly over half the length of the pipes. So that meant that gravity was in my favour – sort of, with the extender acting as the fulcrum.
With my heavy duty ratchet straps holding the pipes down, and with an ample red flag taped to the end, I set off from the warehouse, taking care to remember my long load whenever I encountered a sharp turn. Mercifully there were only a few of those, and I returned home without incident and equally importantly without attracting the attention of the local traffic constabulary who might have had some words for me.
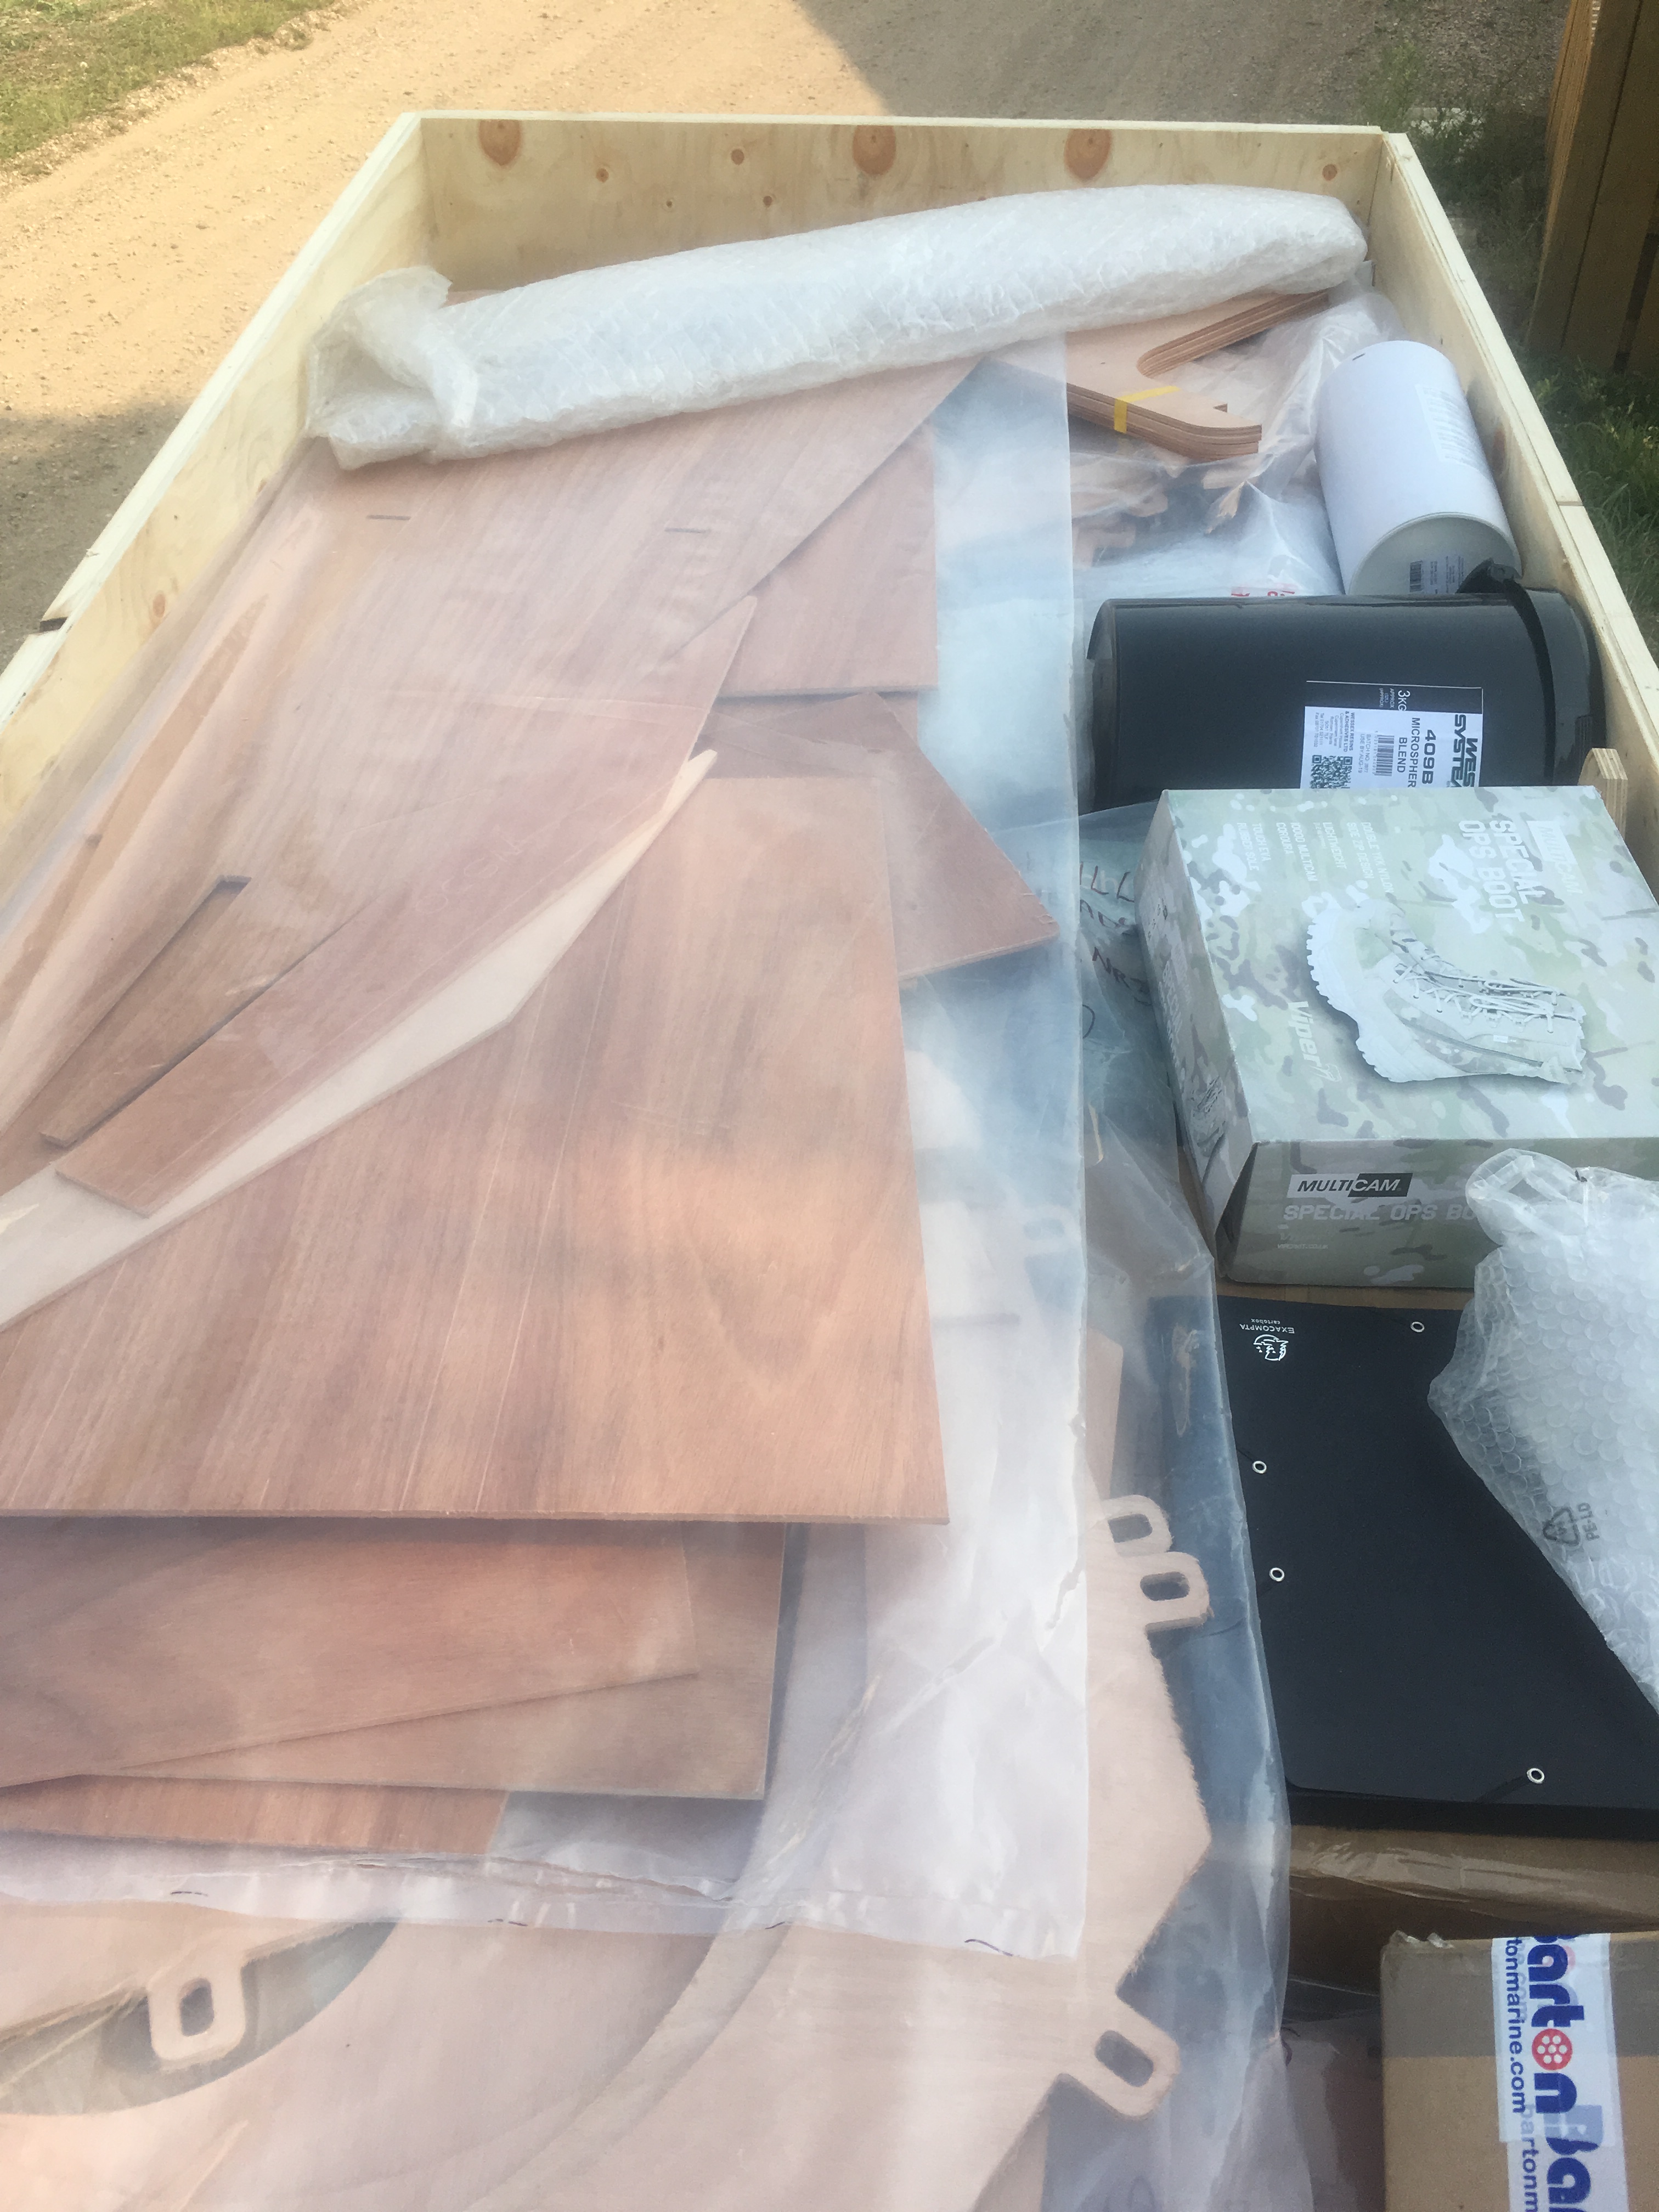
With timber secured and tubing for masts at hand, we waited until the “Cat Kit” would ship.
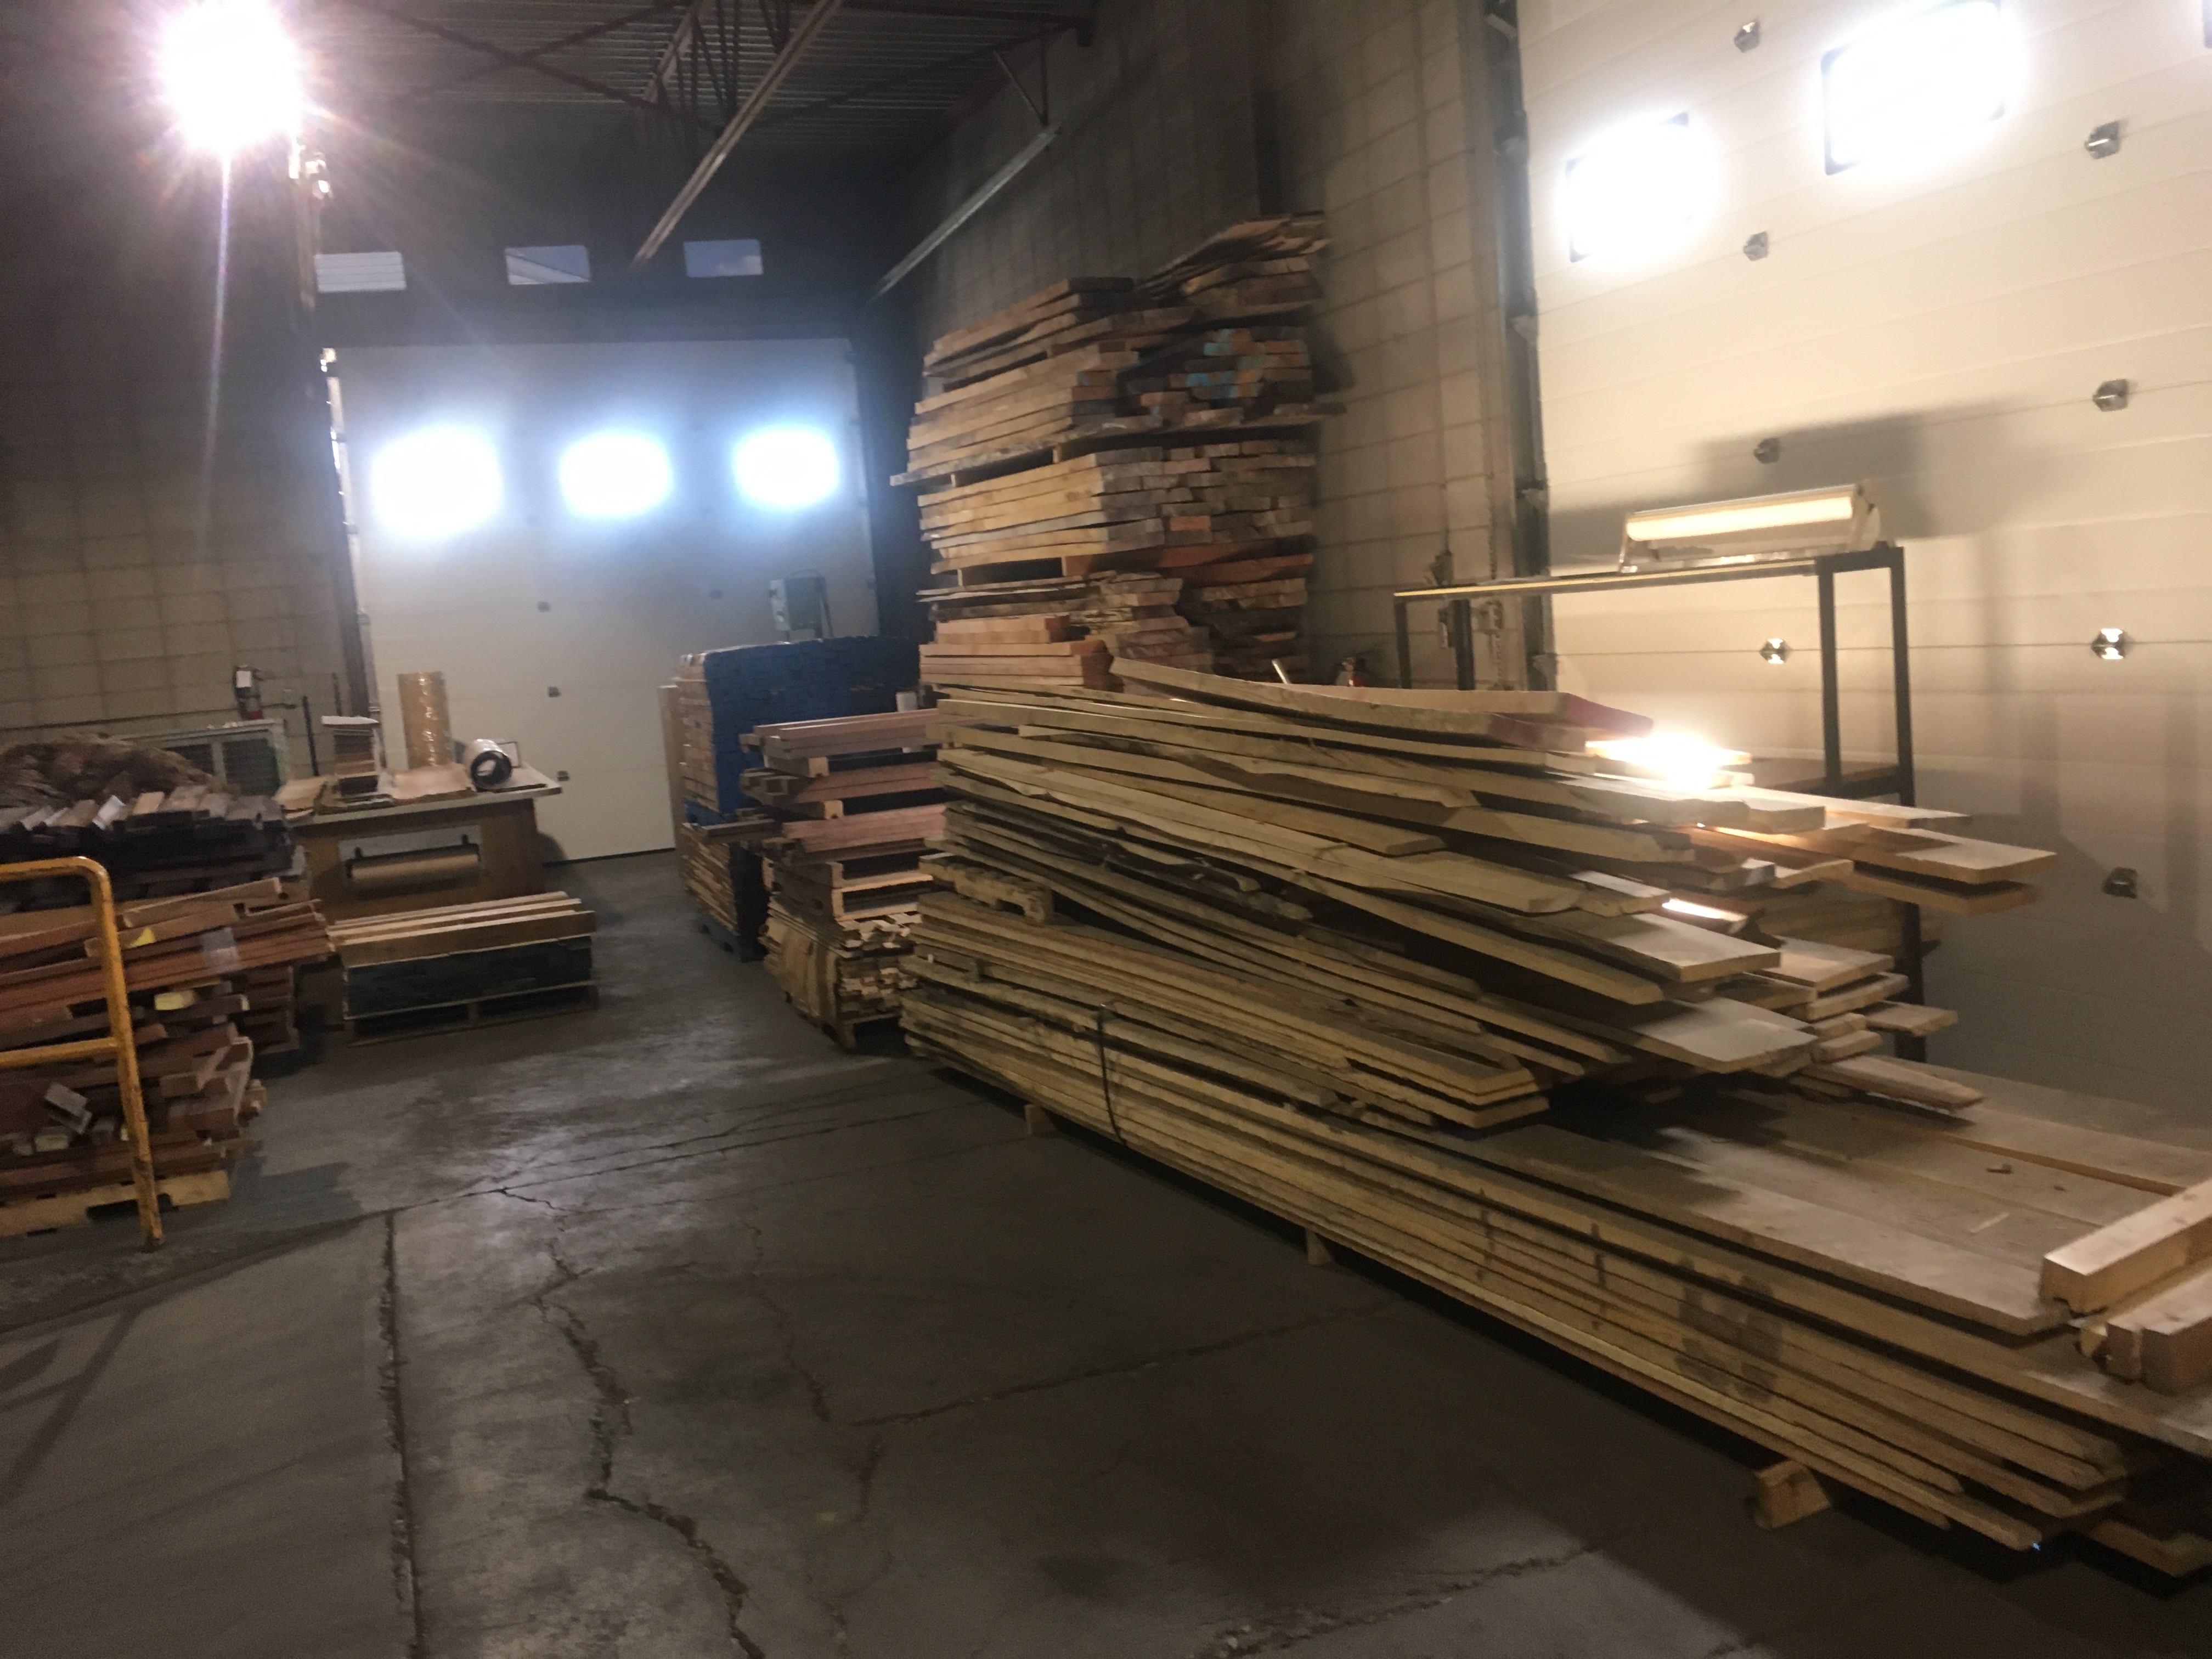
Due to the cost of air freight from the UK to Canada, James Wharram Designs suggested that I source the lengths of solid wood required for building the Mana 24. That sounded like an excellent suggestion and it was, but it did lead to a surprise. I was surprised to learn the market for lumber had changed considerably since I built my Tiki 21 during the 1990’s. Mahogany lumber was not available at any of the lumberyards that I called in the area. Even the clear Douglas Fir specified in the plans and which is grown in Canada was not available from local lumber yards in Saskatchewan.
After many phone calls and considerable searching on the internet, I found a supplier in Edmonton who could provide me with clear Douglas Fir, mahogany and iroko as stipulated by the designer.
On May 1, my partner and I headed west, and after the 5 1/2 hour drive, pulled up outside the warehouse housing W.G. Chanin Hardwoods. The owner, Gary Chanin, had recently broken his leg and was hobbling around the best he could on crutches and with a cast on his leg. We quickly learned that this is a one man operation, and we had to exercise patience while he attended to customers who were there ahead of us,
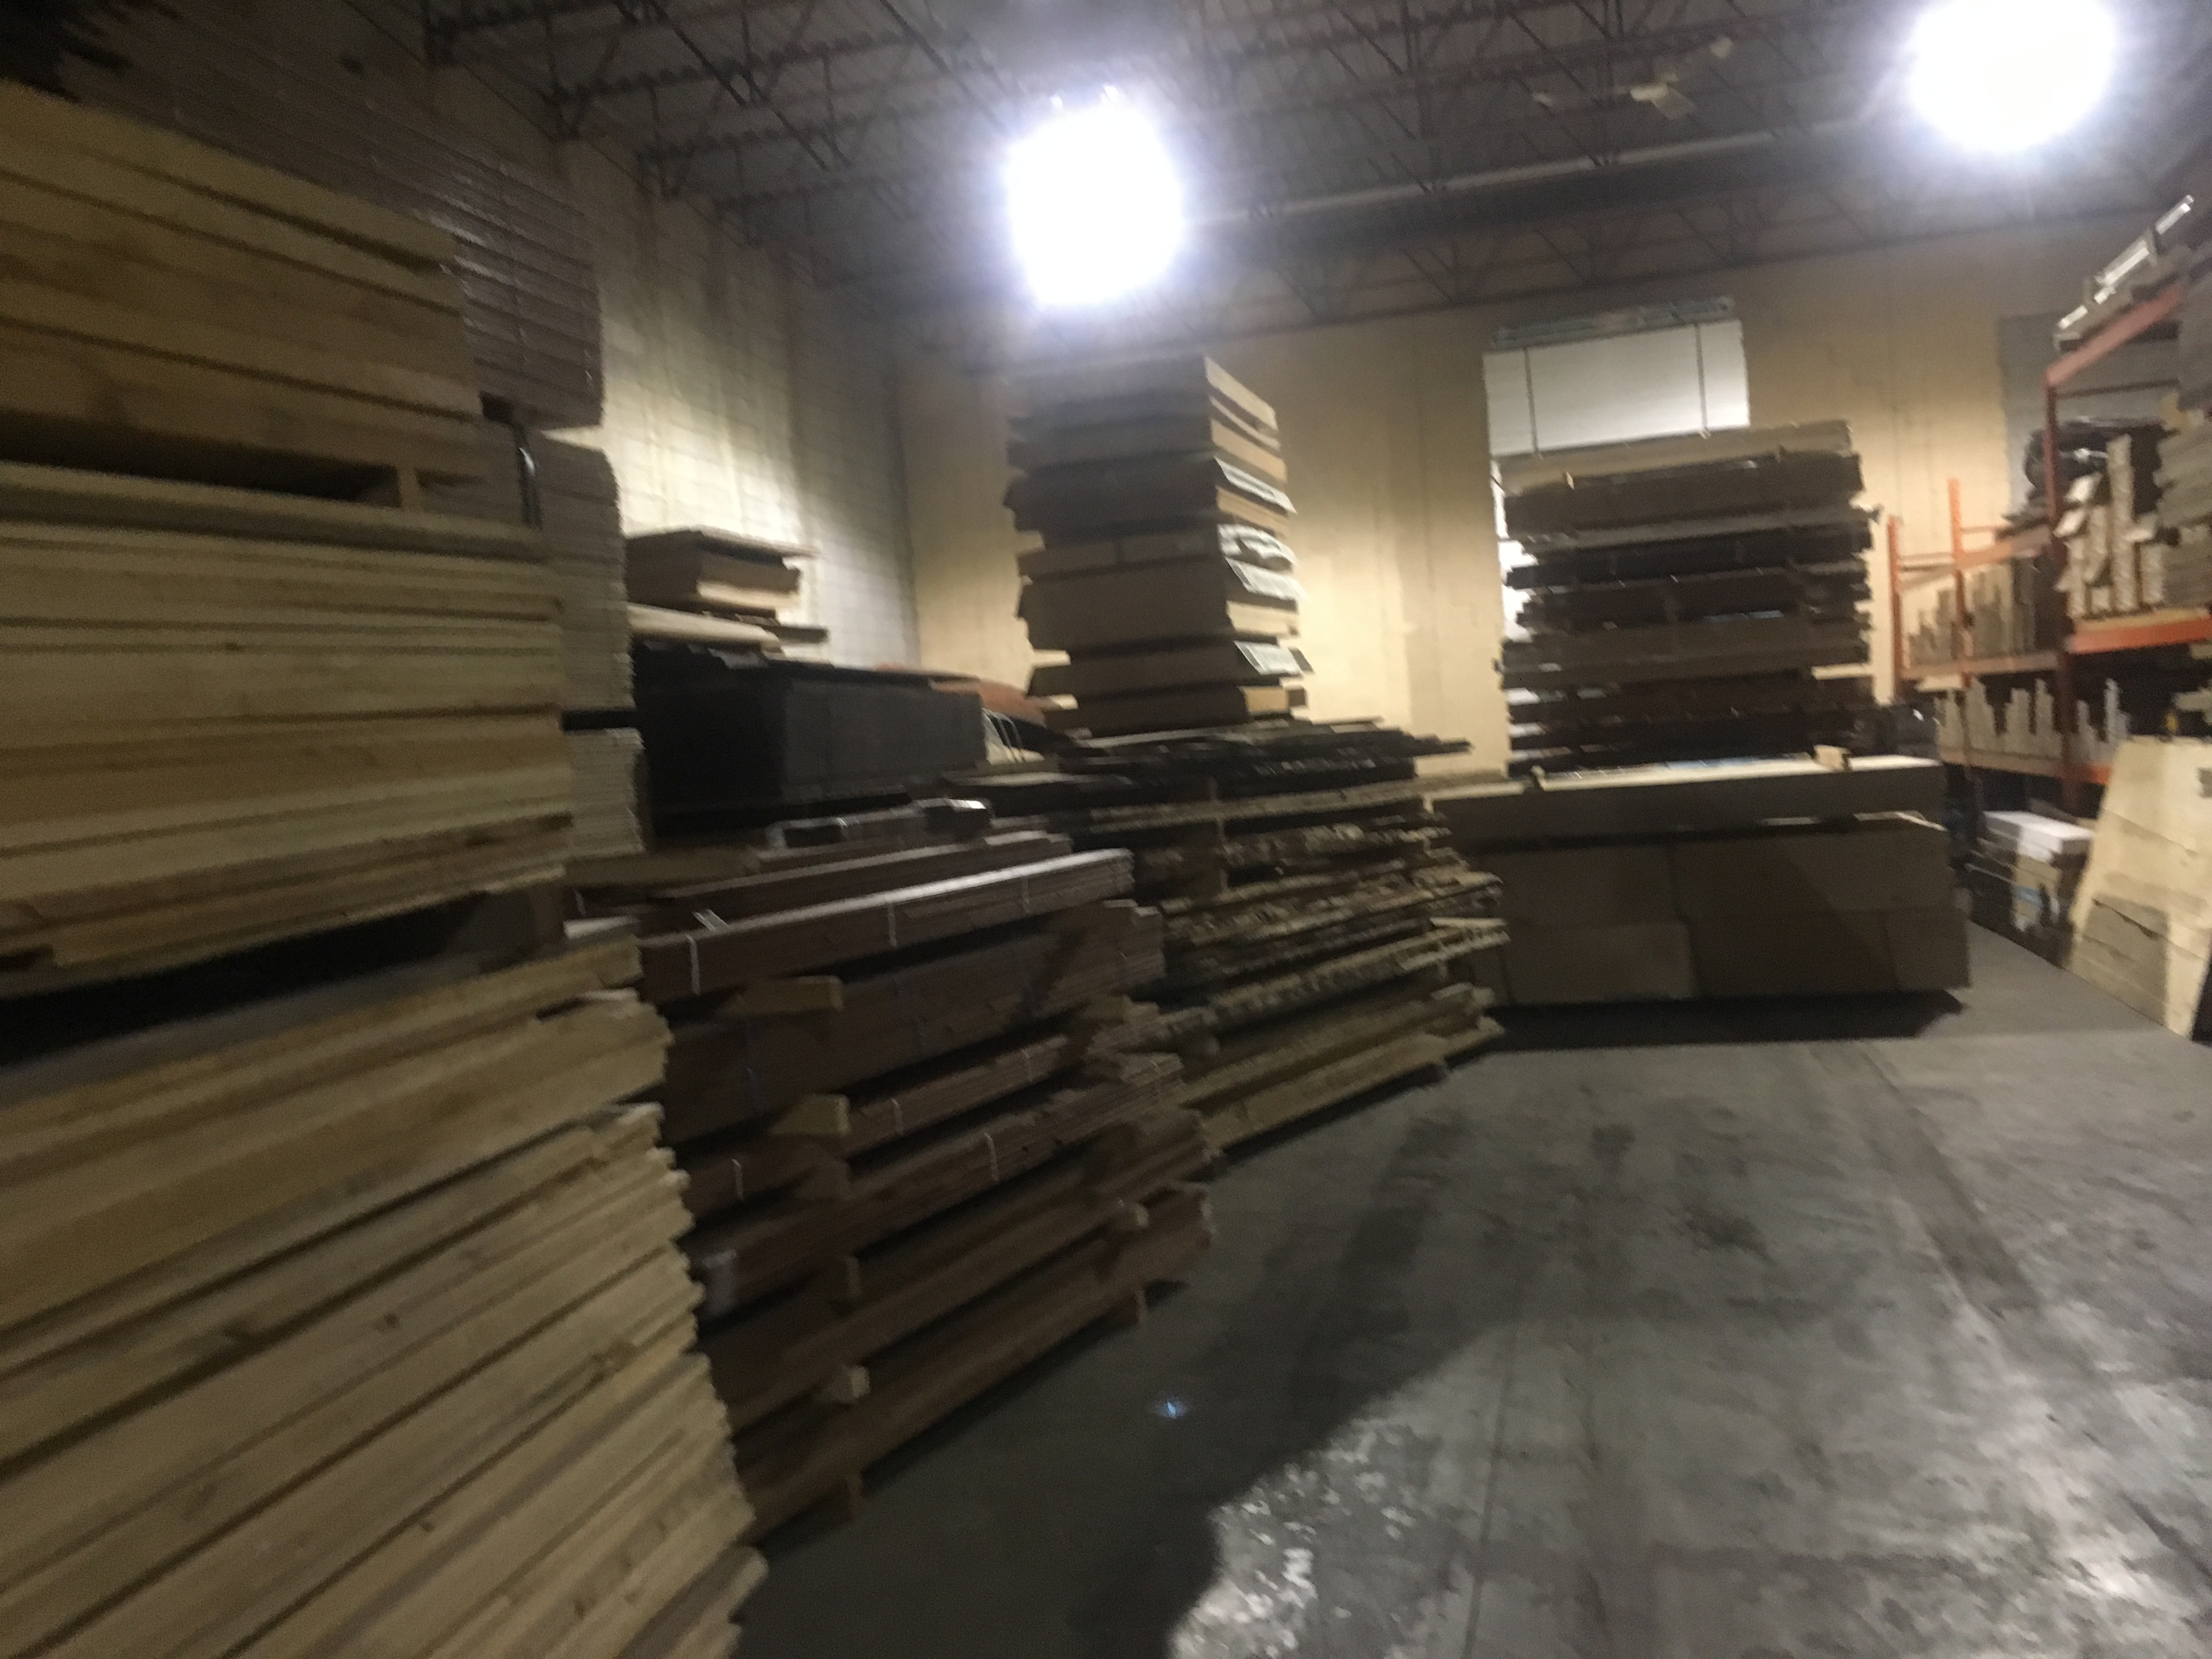
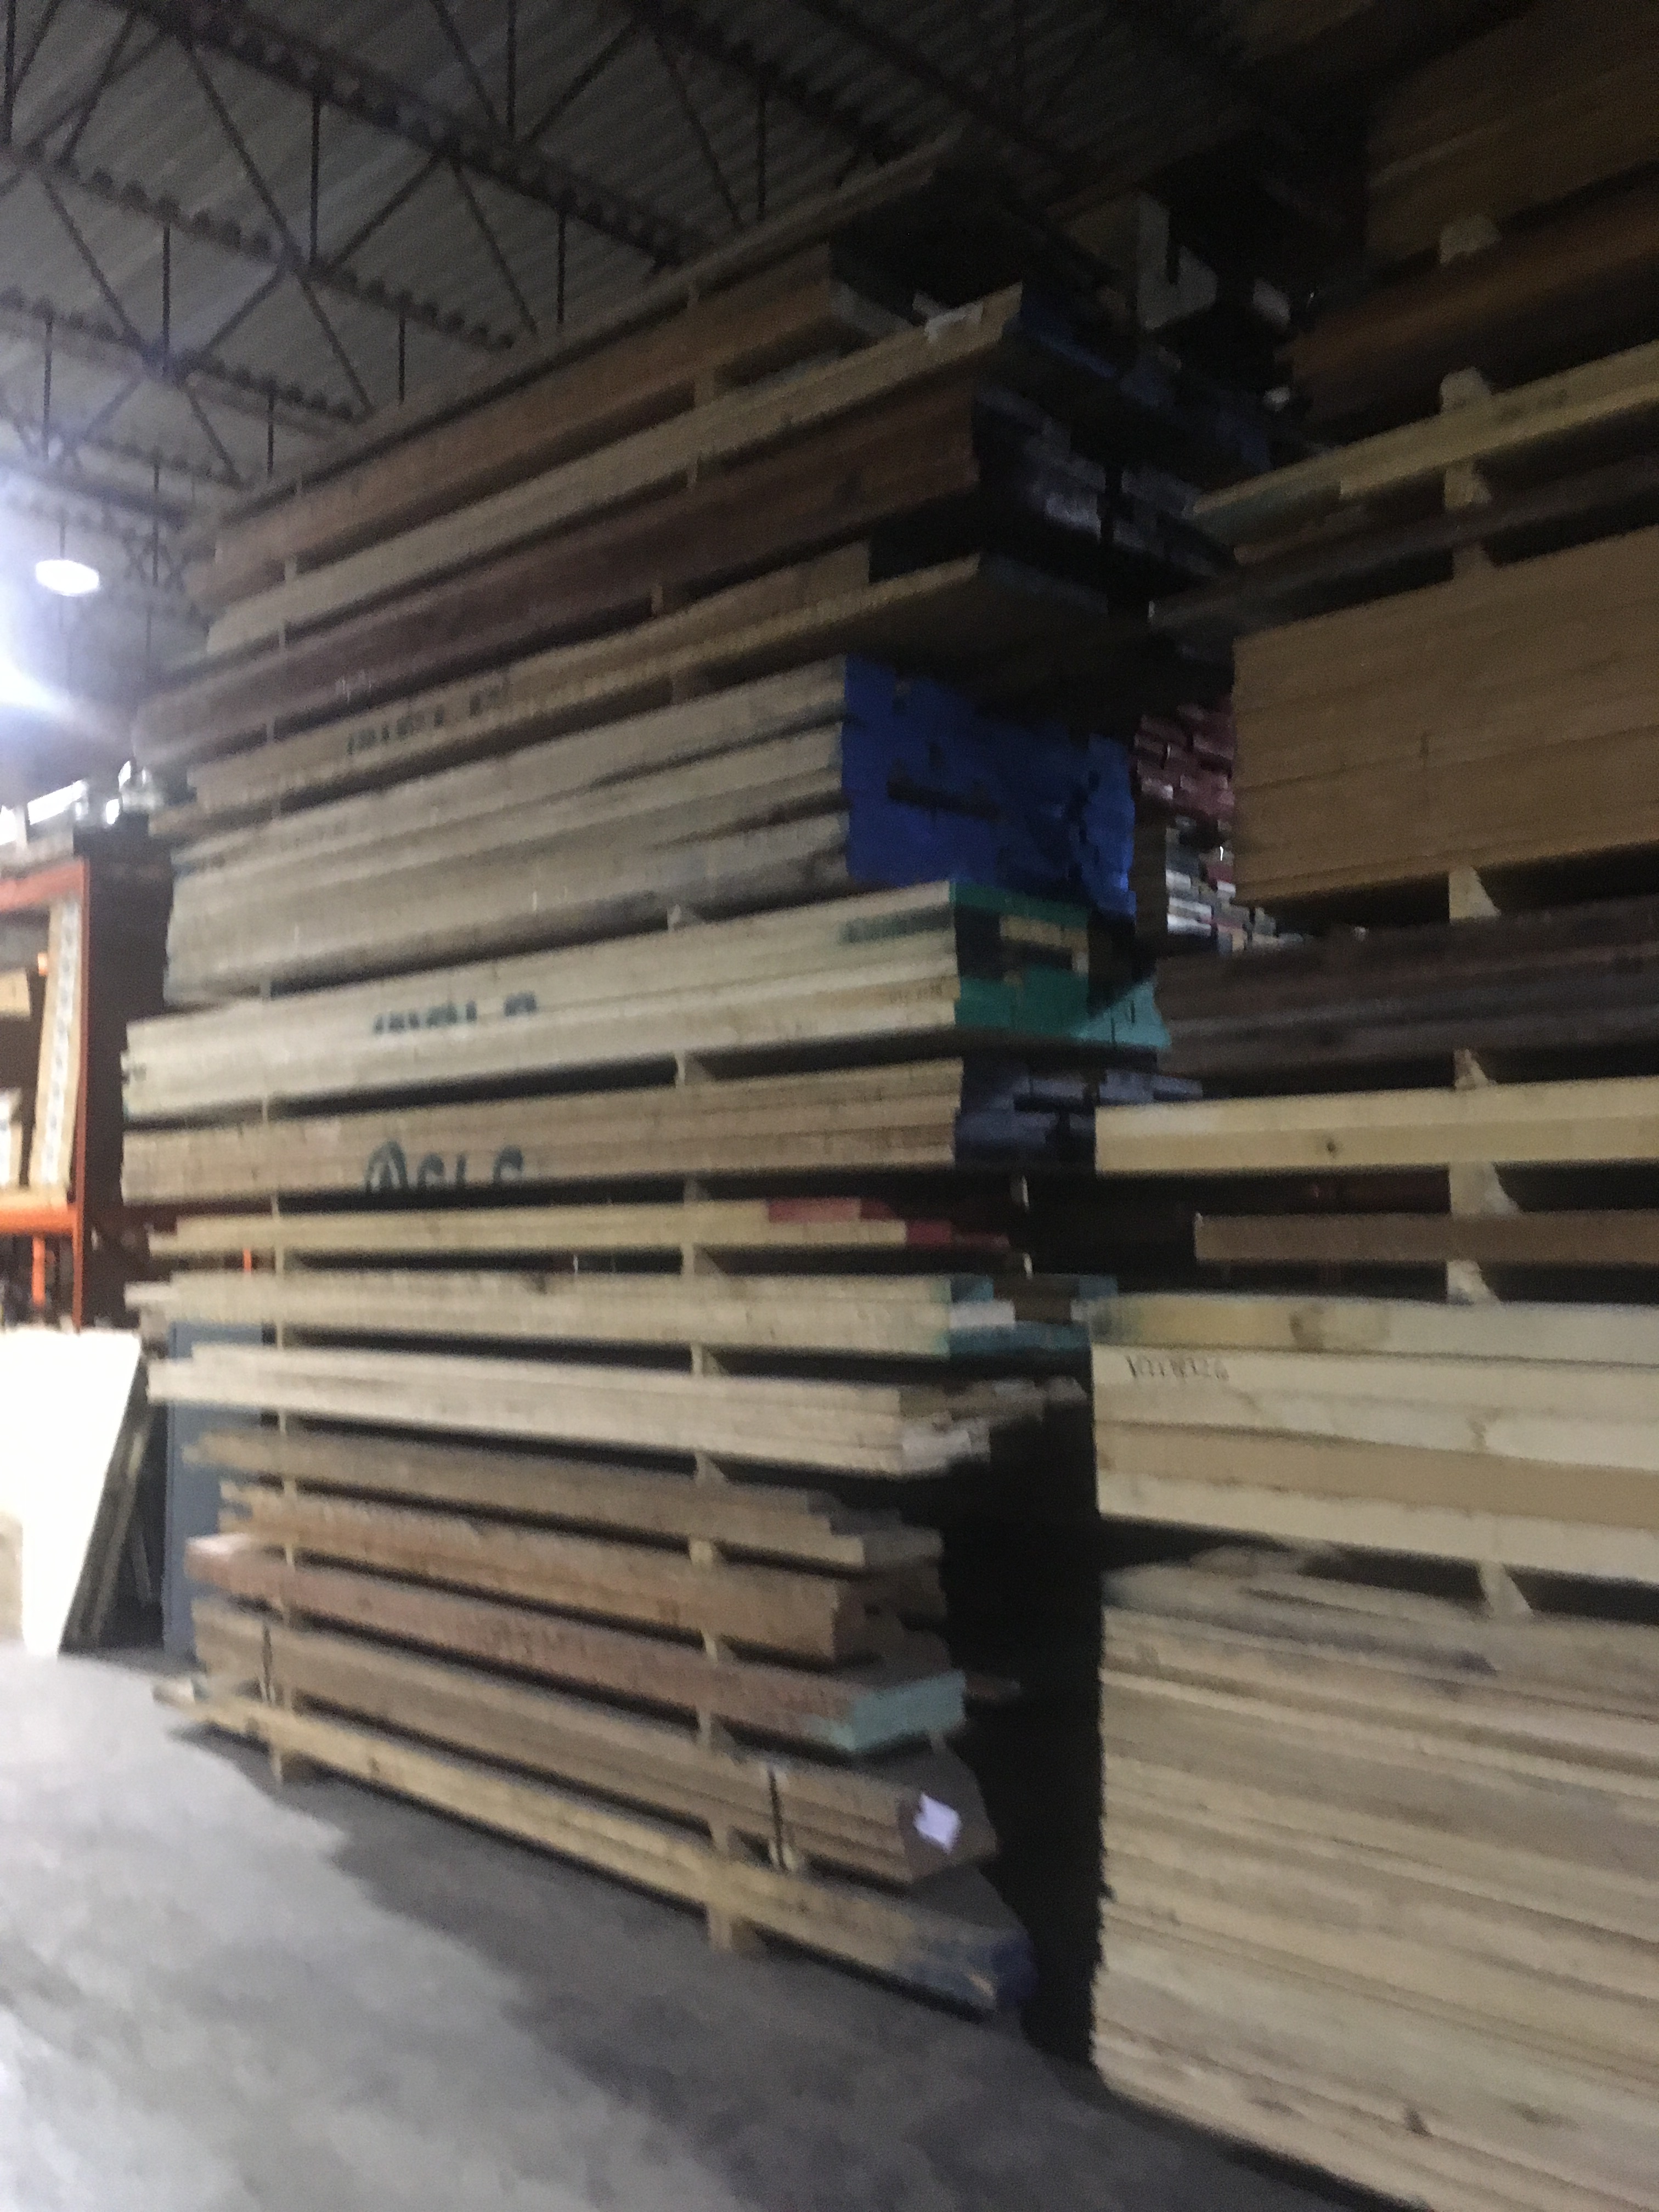
This provided me an opportunity to snoop around a bit. What I saw still amazes me. In this dark warehouse space there is a collection of exotic hardwoods from around the world that made anything I could have imagined pale by comparison. The photos, shot on my iPhone in poor lighting, only hint at the treasure that is contained in that building.
Gary finally got to us and showed me a pallet of clear Douglas Fir, still wrapped in plastic, which he had recently received. He invited me to pick out the pieces that I needed while he took car of other customers. The shipment was all one inch rough sawn lumber in varying widths and in lengths up to thirteen feet. It took some time for me to select sufficient boards to meet my requirements and load them on my mid-sized truck. Fortunately I had borrowed my brother’s bed extender and that made it possible to carry the long pieces.
We still needed the mahogany. This required Gary to expertly shuffle many different piles of lumber around with his forklift until he found the correct pallet that held some lovely pieces of mahogany. Once the two required pieces had been extracted, he then had to return everything to its allocated space.
This left us with only the iroko – one piece was all that was needed. In my multiple phone calls preceding the trip, Gary had assured me that he could supply me with iroko – something that other suppliers had not even heard of. I am quite confident that somewhere in those stacks of lumber, there are some iroko pieces but Gary admitted to me that he did not know where and suggested that he substitute something similar.
Considering that the day was quickly coming to a close, I conceded with some reluctance. Gary produced a lovely piece of Burmese teak that he assured me would be more than adequate for my needs. Without asking the price, I agreed and I loaded the board on the top of the other boards. While Gary went to tally the bill, I proceeded to tie everything securely and attach flags. It was only after he presented me with the invoice that I discovered that Burmese teak comes with a premium! That one board, measuring approximately six inches wide and ten feet in length, cost just over $250!
Mermaids play a significant role in the myths and legends of my Highland ancestors, assisting them in their journey from Ireland to first the islands and then the mainland of Scotland. I am enlisting their assistance once again as I embark on my latest project, the construction of a 23 1/2 foot catamaran sailboat. I drew this design to grace the bow of each hull when the boat is completed.
The catamaran is the latest one to be offered by venerated designers, James Wharram and Hanneke Boone. The prototype Mana 24 was launched last year, sixty years after James set out on a boat of the same length to be the first to sail across the Atlantic Ocean on a catamaran. His inspiration for that boat and those for which he subsequently became famous was the sea-going double canoe sailing craft of the Polynesians.
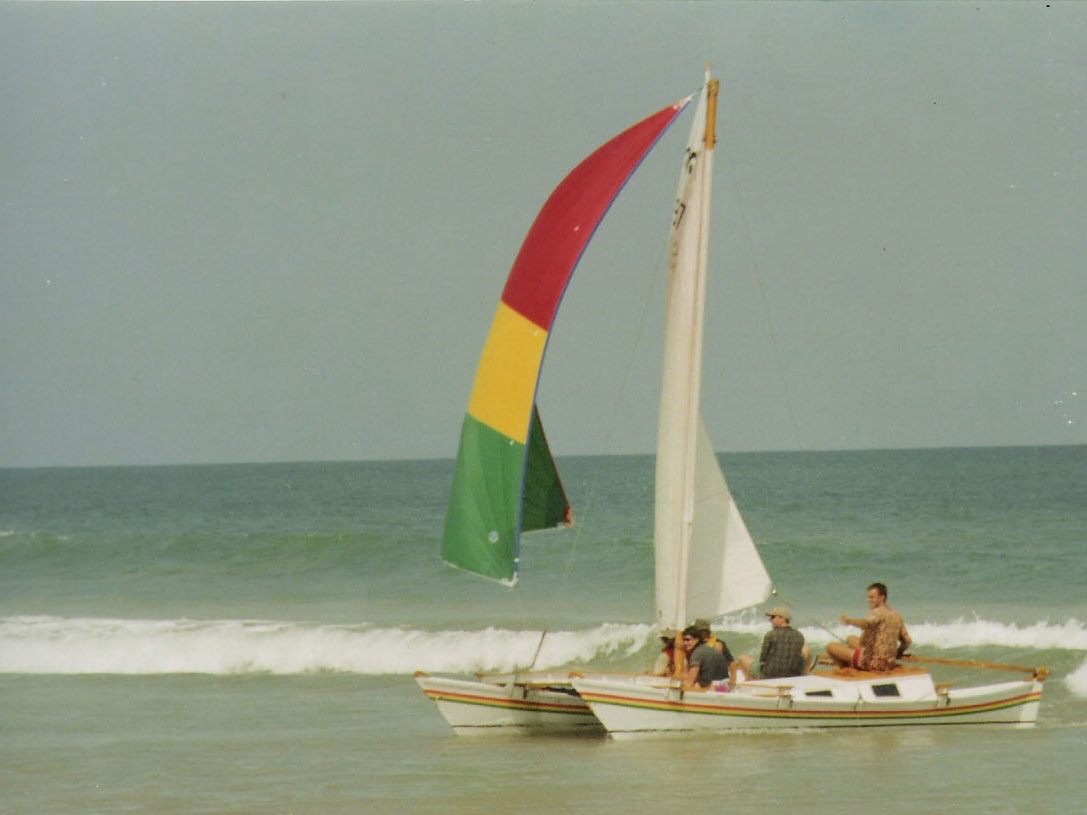
This will be my second Wharram designed catamaran. In the 90’s I built a Tiki 21 and sailed it on Brightsand Lake for three summers before loading it in a 40 foot container and shipping it to Ghana. Here is a shot of it sailing onto the Ghanaian shore in 2002.
Stay tuned for photos and updates during the construction phase. May the Mermaids of the Prairies ensure us fair winds and safe passage.
For over forty years, sailing has been a passion of mine. In that time I have owned five sailboats of various types and sizes. My lone sailing lesson consisted of an afternoon on Jackfish Lake with my next brother who had learned how to sail while in the Coast Guard. He helped me to set up my first sailboat, a home-built fifteen foot wooden craft that I purchased for $500 and we sailed for a couple hours. After that I was at my own devices, relying on sailing magazines and a how-to-sail book that I had come across in a bookstore. This was long before the advent of the internet and YouTube – it was trial and error hands-on experience.
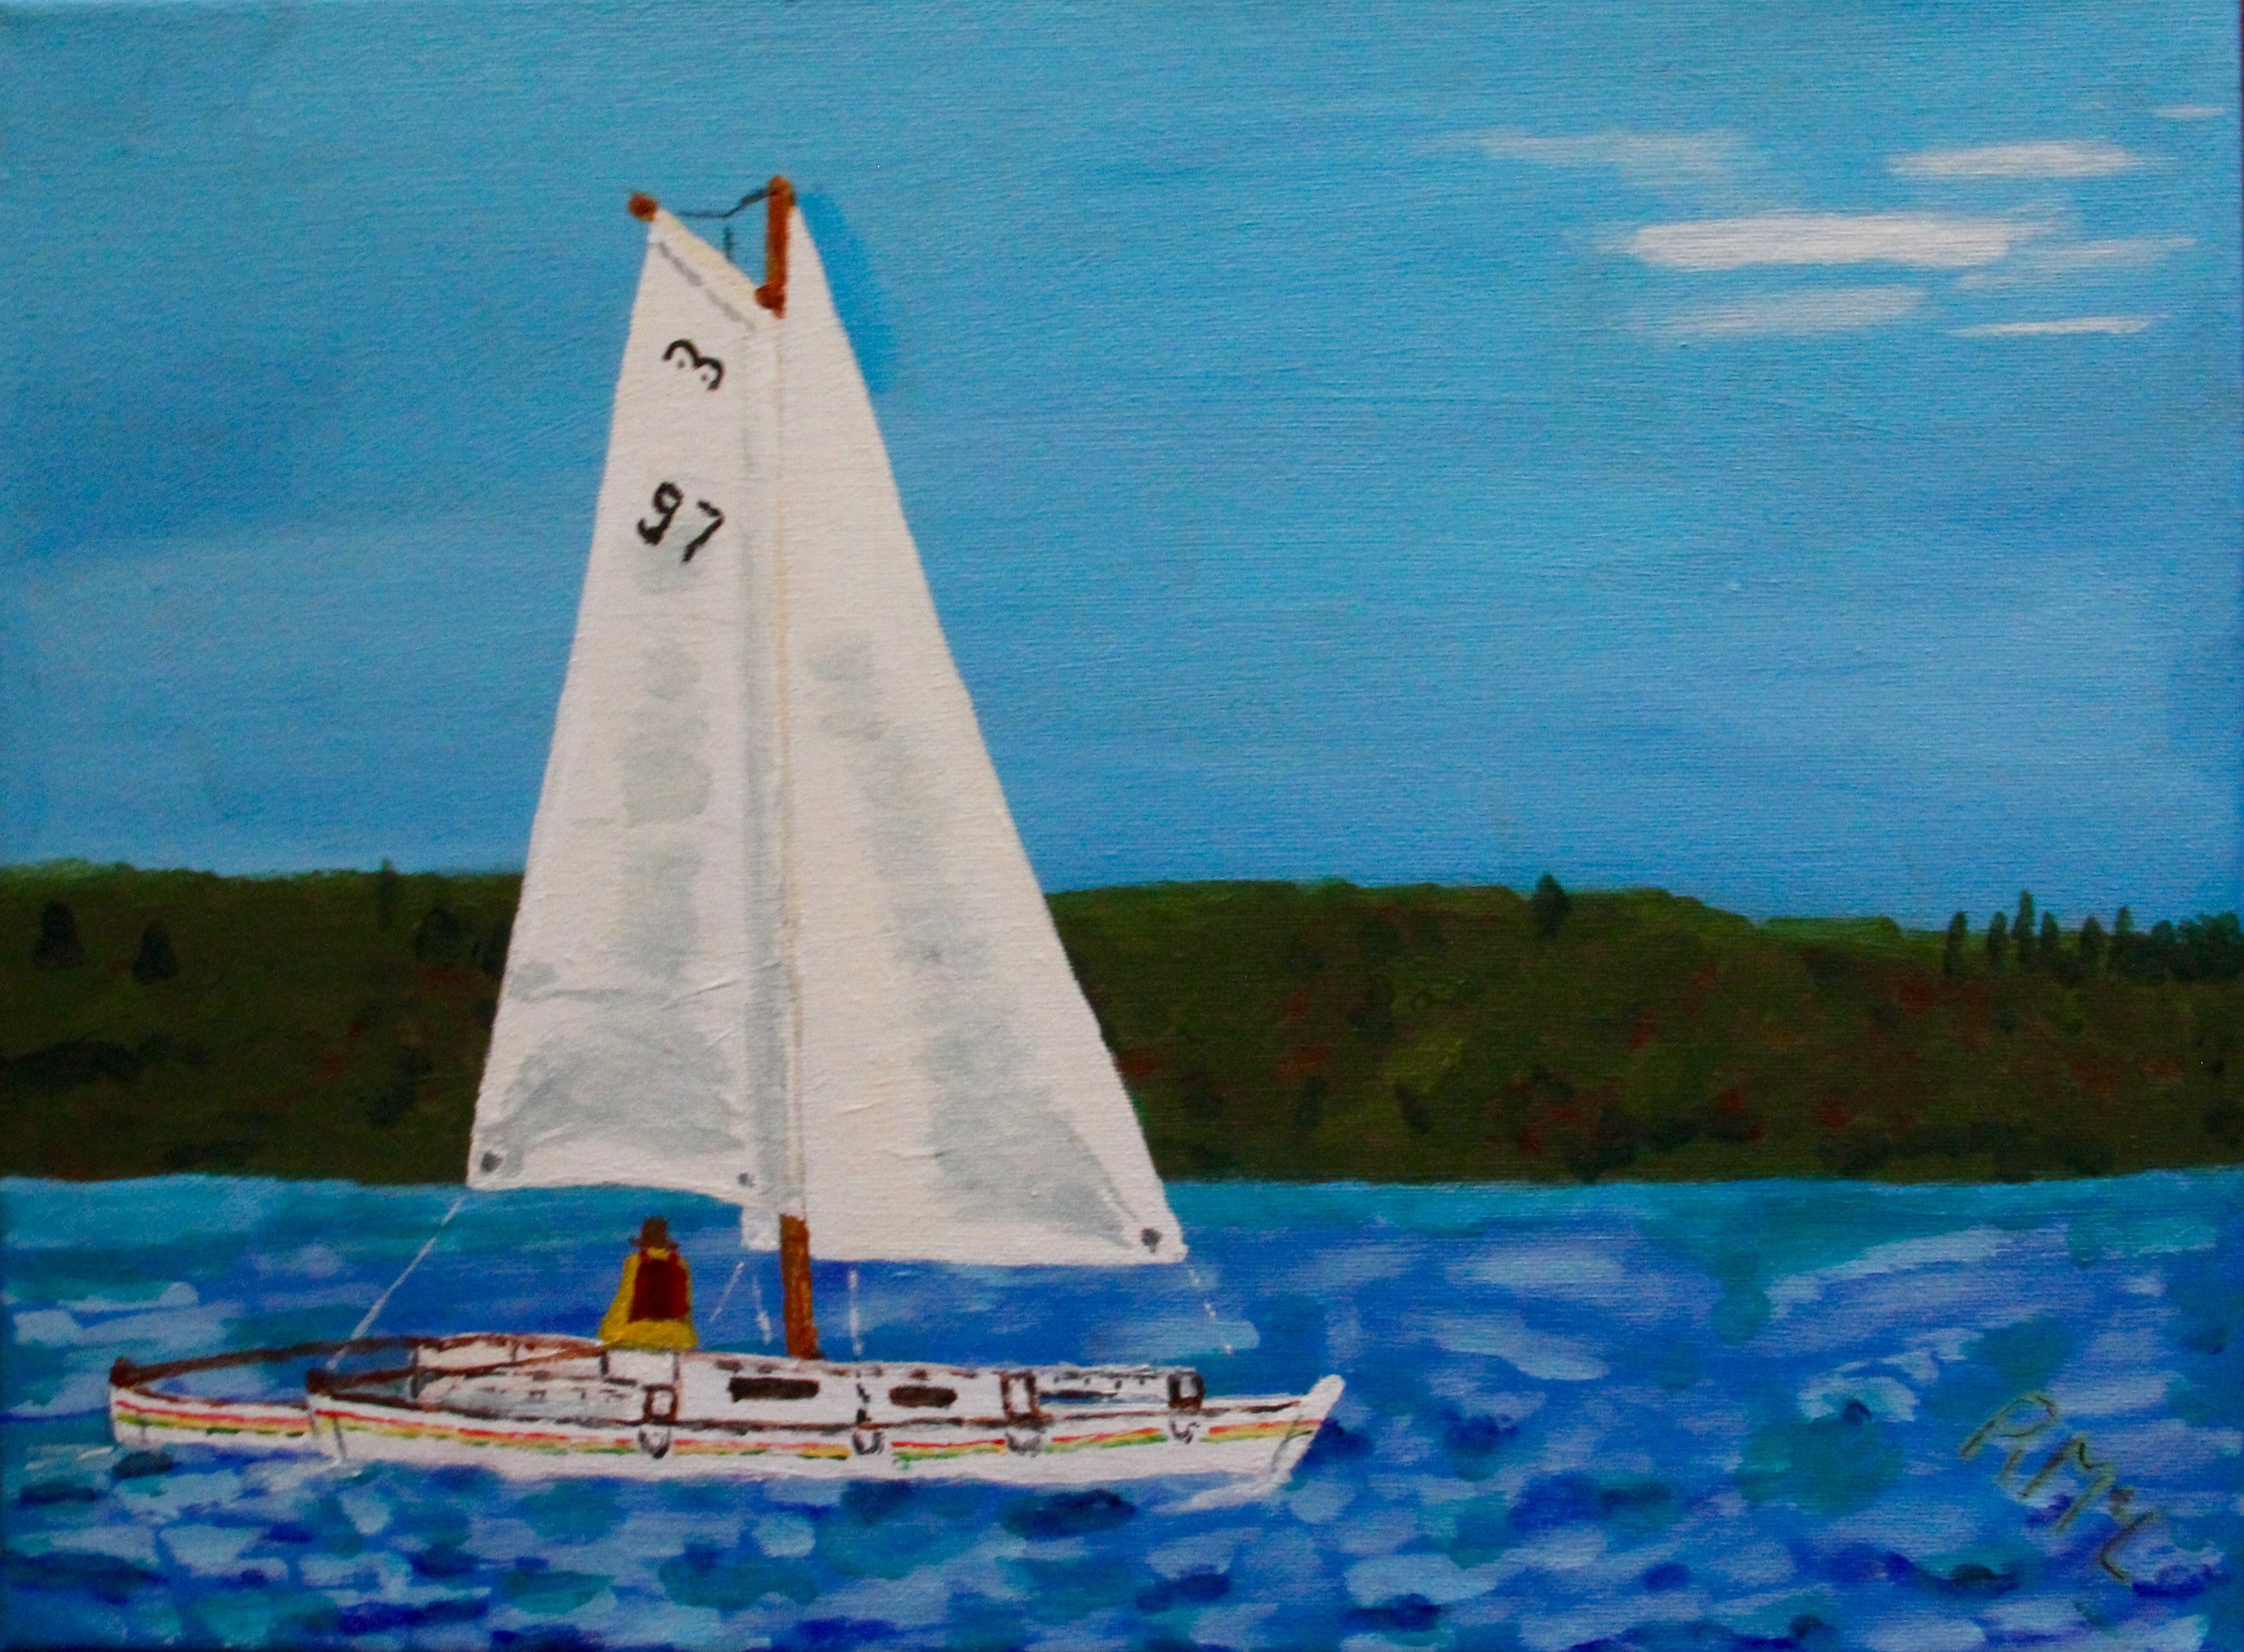
Somewhere along the way in my reading, I encountered a man who had profoundly changed conventional sailing in Europe with his designs for two hulled sailboats inspired by and modelled after traditional Polynesian sailing craft. In 1956 James Wharram and his two female crew members became the first to sail across the Atlantic on a 23 1/2 foot catamaran that he had designed and built. I became enthralled by his designs and his philosophical approach to sailing with an emphasis on stability and low cost construction. In 1999, I completed the construction of a 21 foot catamaran, designed by James Wharram, using a set of plans drawn by his partner, Hanneke Boon. The boat was a Tiki 21, given the number 97 since mine was the 97th set of plans sold by James Wharram Design for that model. The reference photo for the painting above was one of the few photos taken of that boat, sailing on Brightsand Lake.