
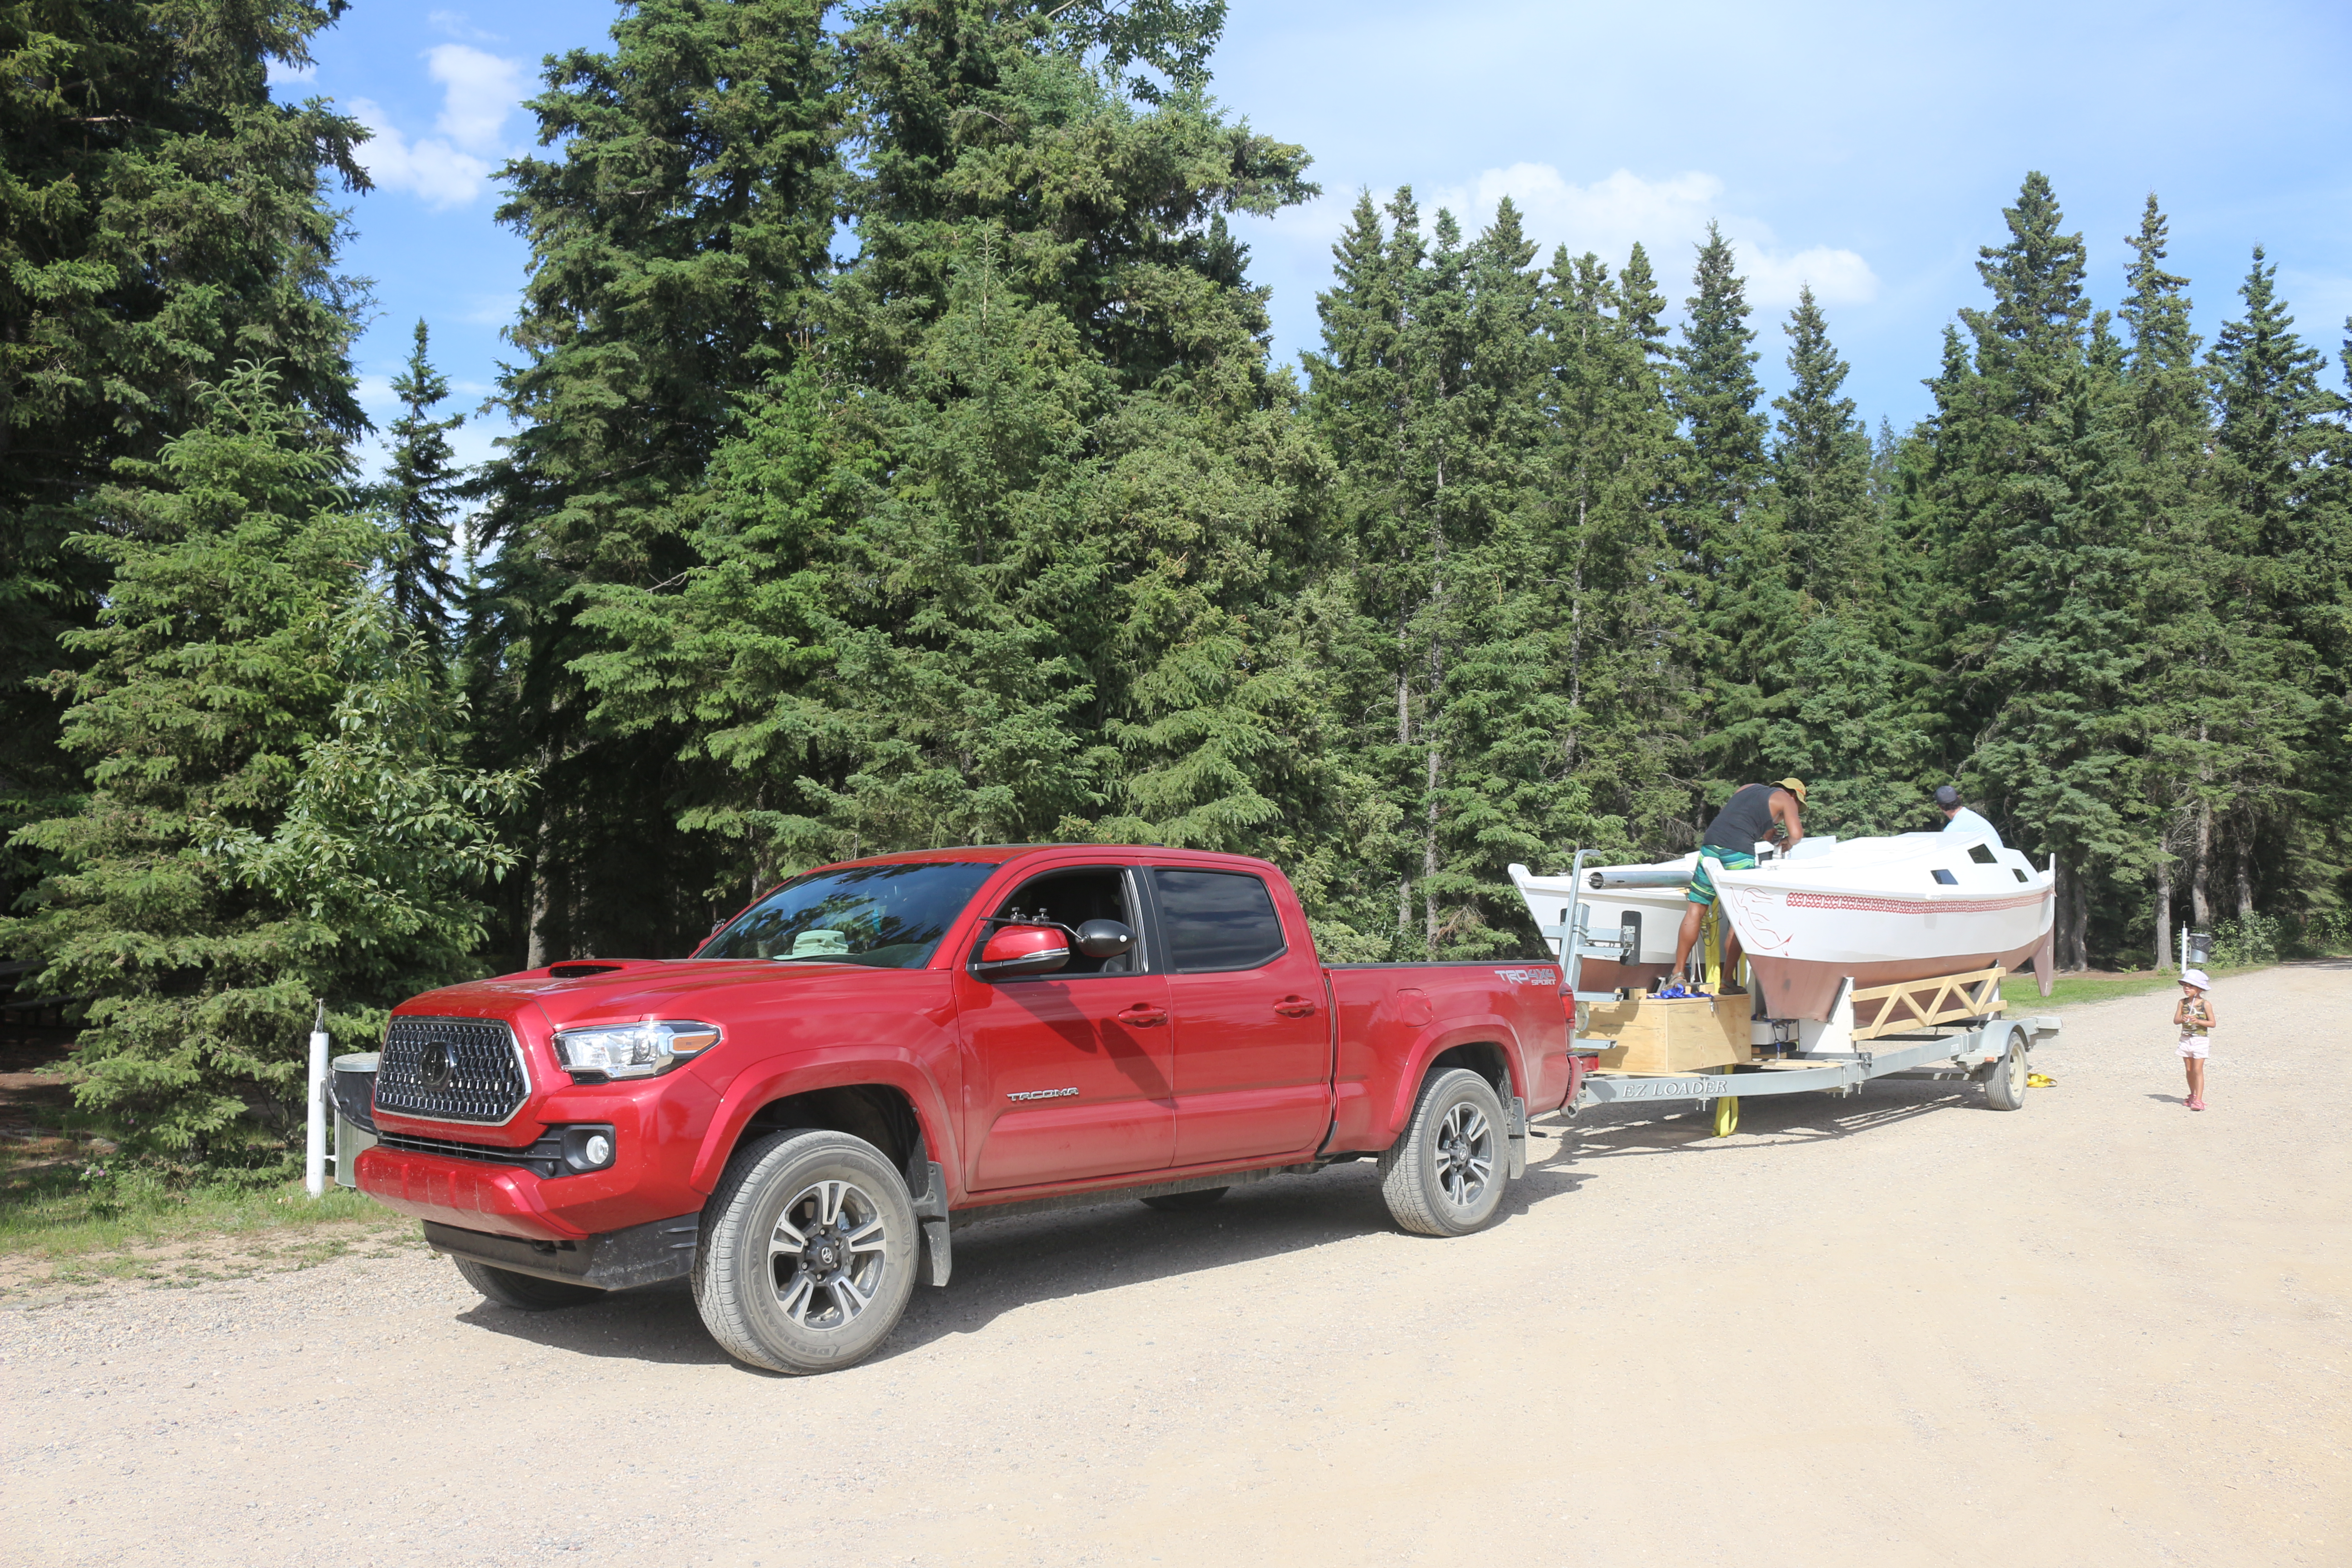
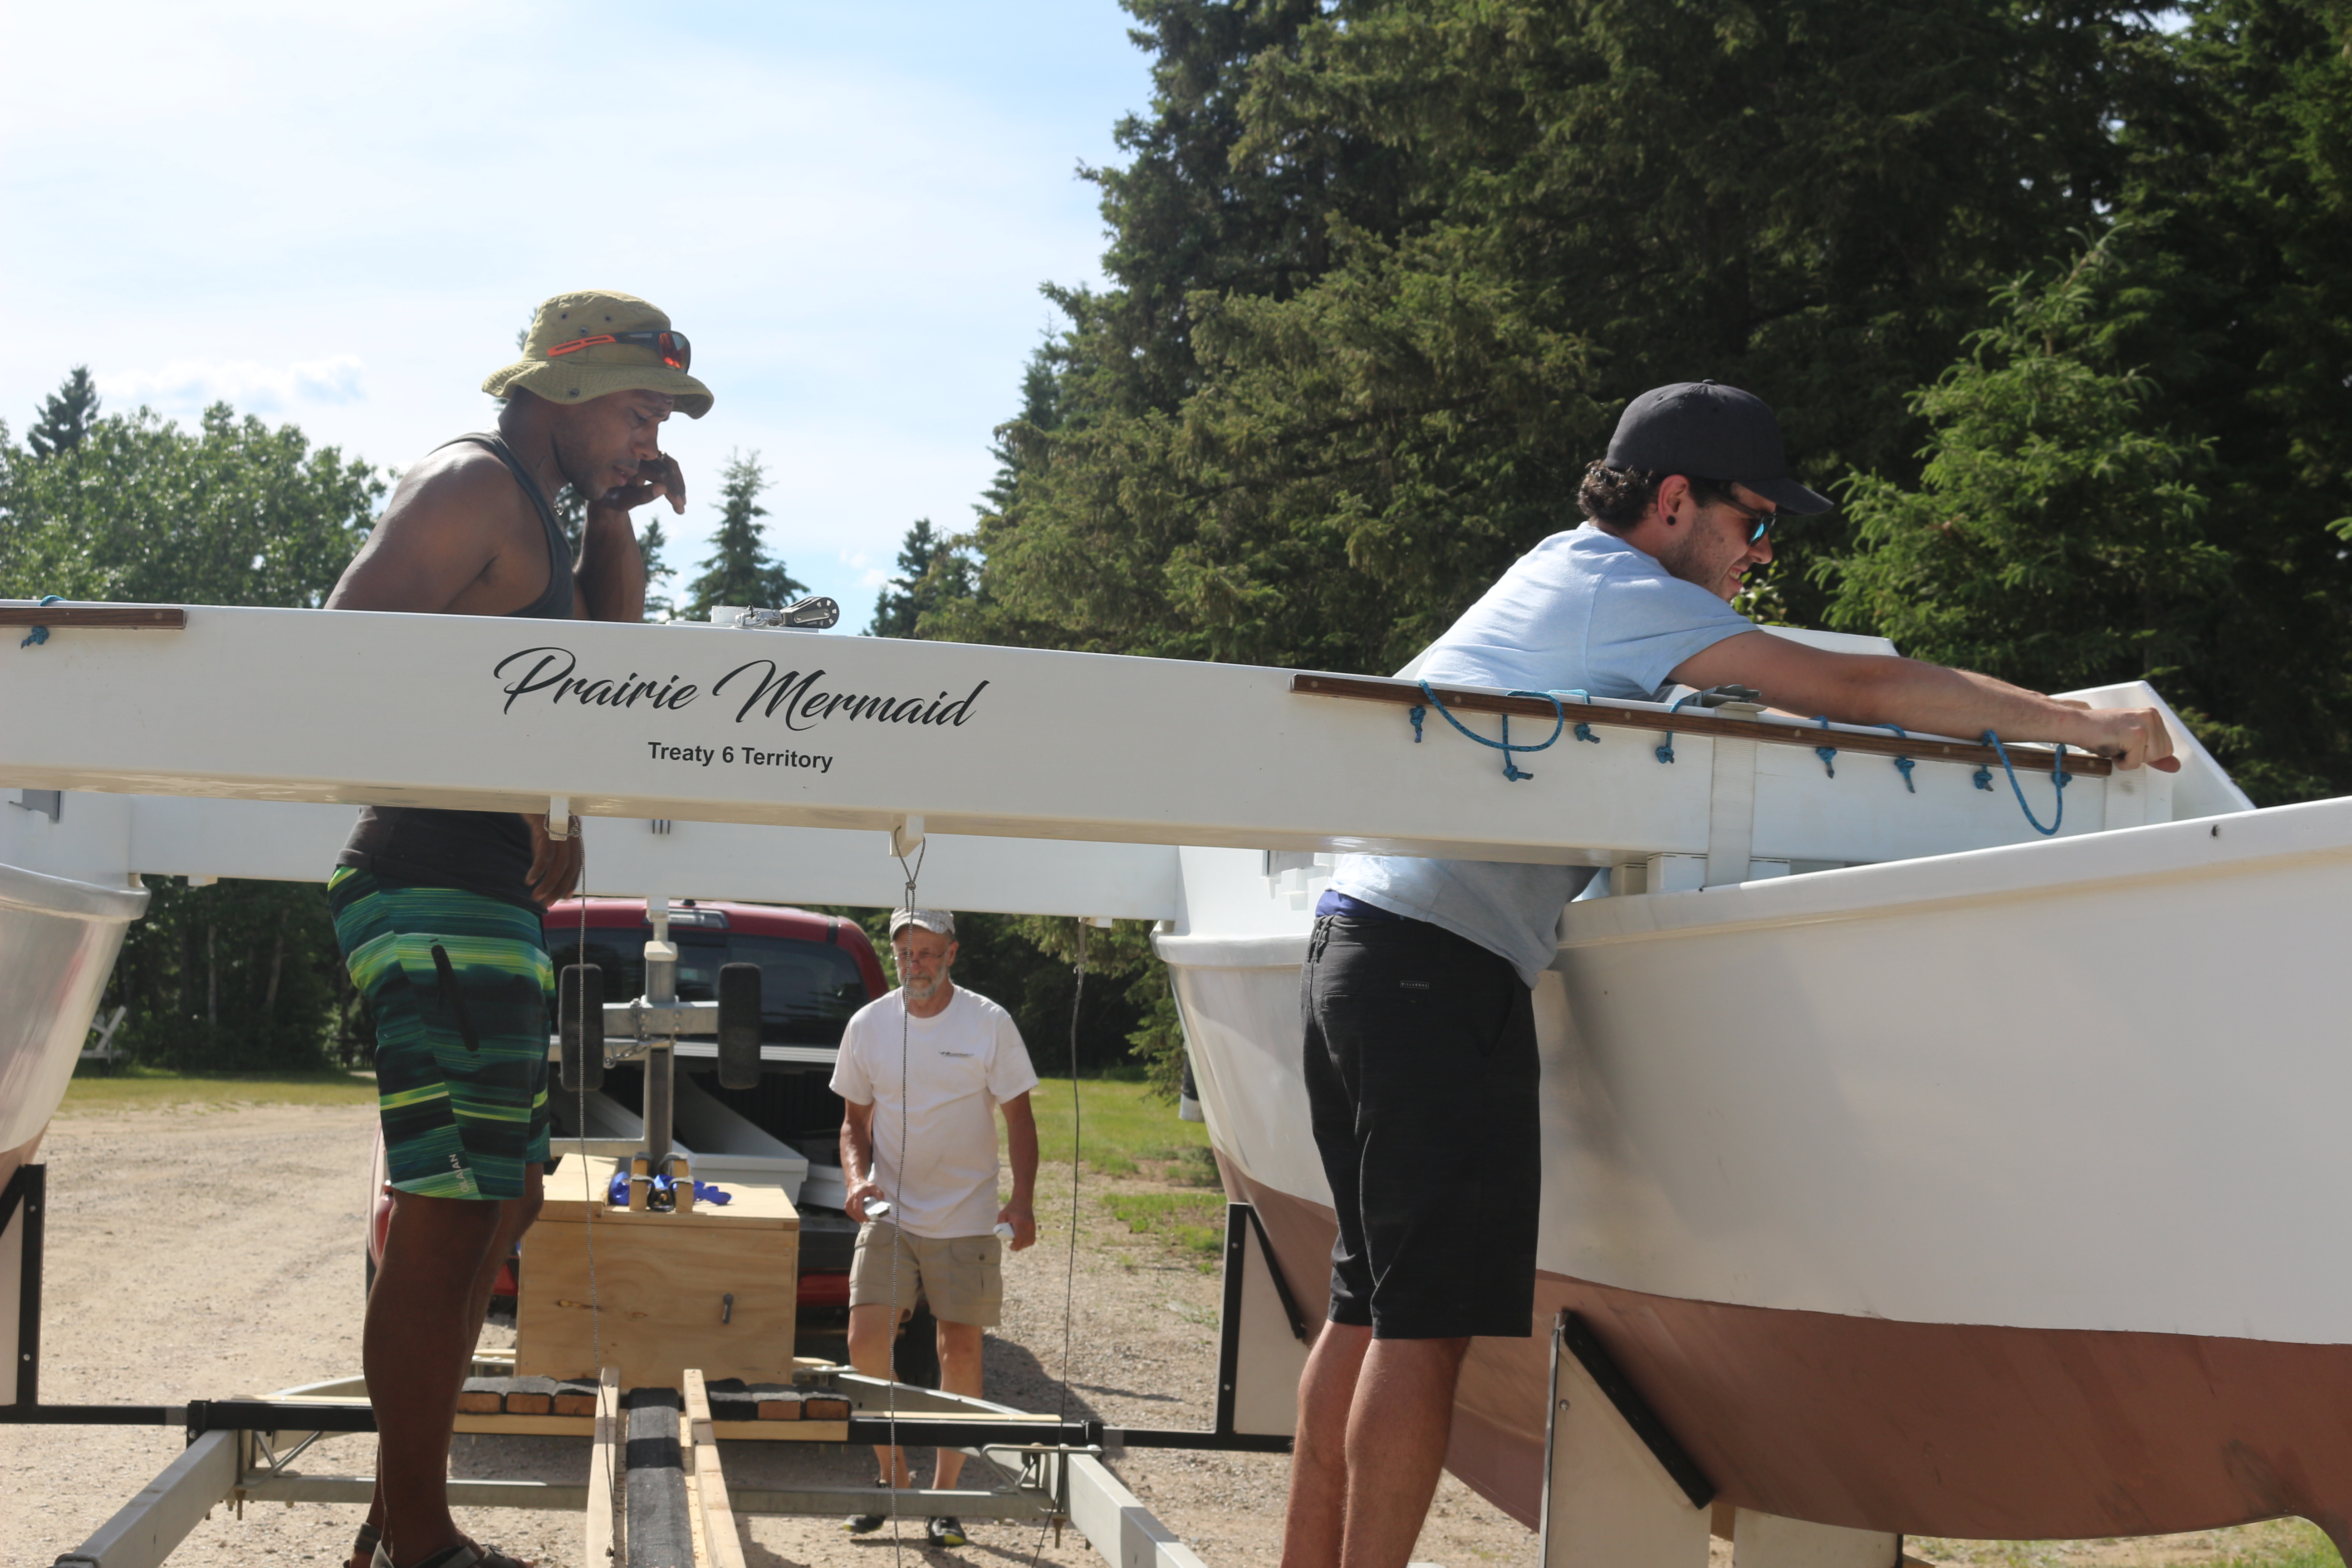
The Mana fits on the trailer very well, with the outside of the hulls sitting within the outside of the trailer’s wheel wells.
James Wharram Designs, the boat’s designer, had sent me photos of the trailer they used to carry the prototype Mana to its first launch. They lashed temporary crossbeams between the two hulls to stabilize them and then placed the masts on top of them. I followed their example, placing the four panels that make up the centre platform upright between the masts. The proper crossbeams were then placed lengthwise on the trailer frames.
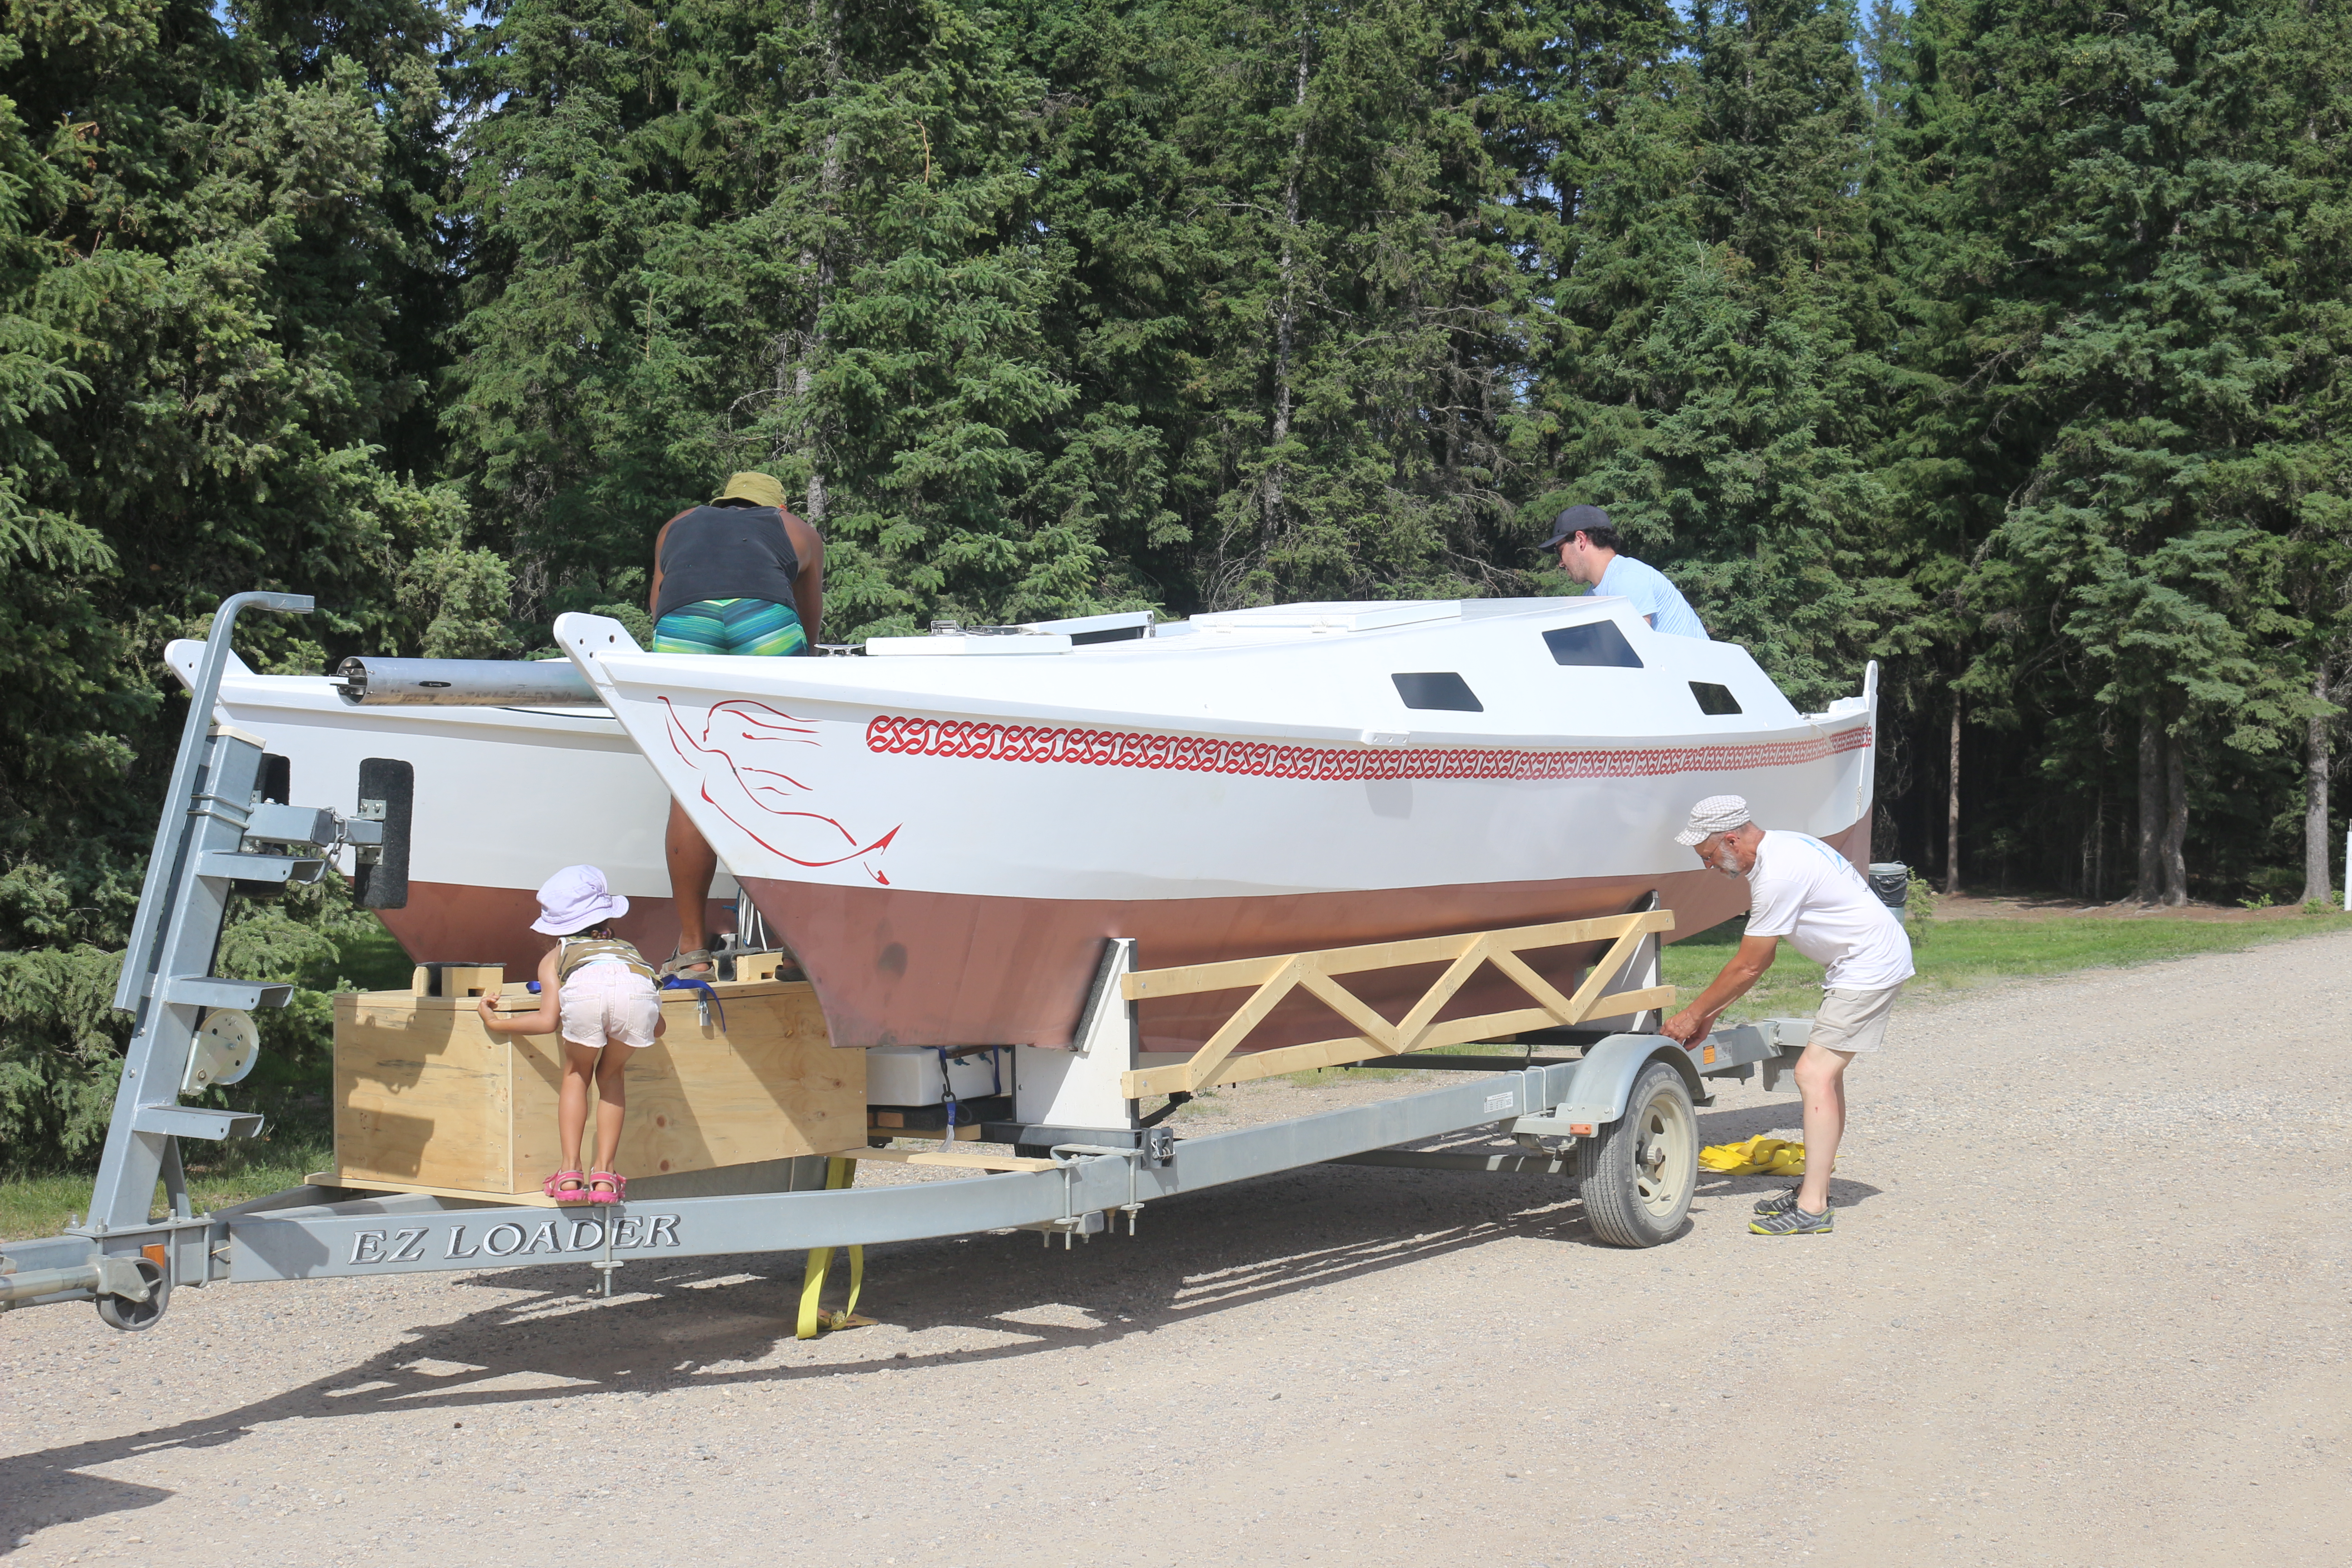
Once the hulls are pulled apart, crossbeams set in place quickly and are held down by straps and over centre cam buckles.
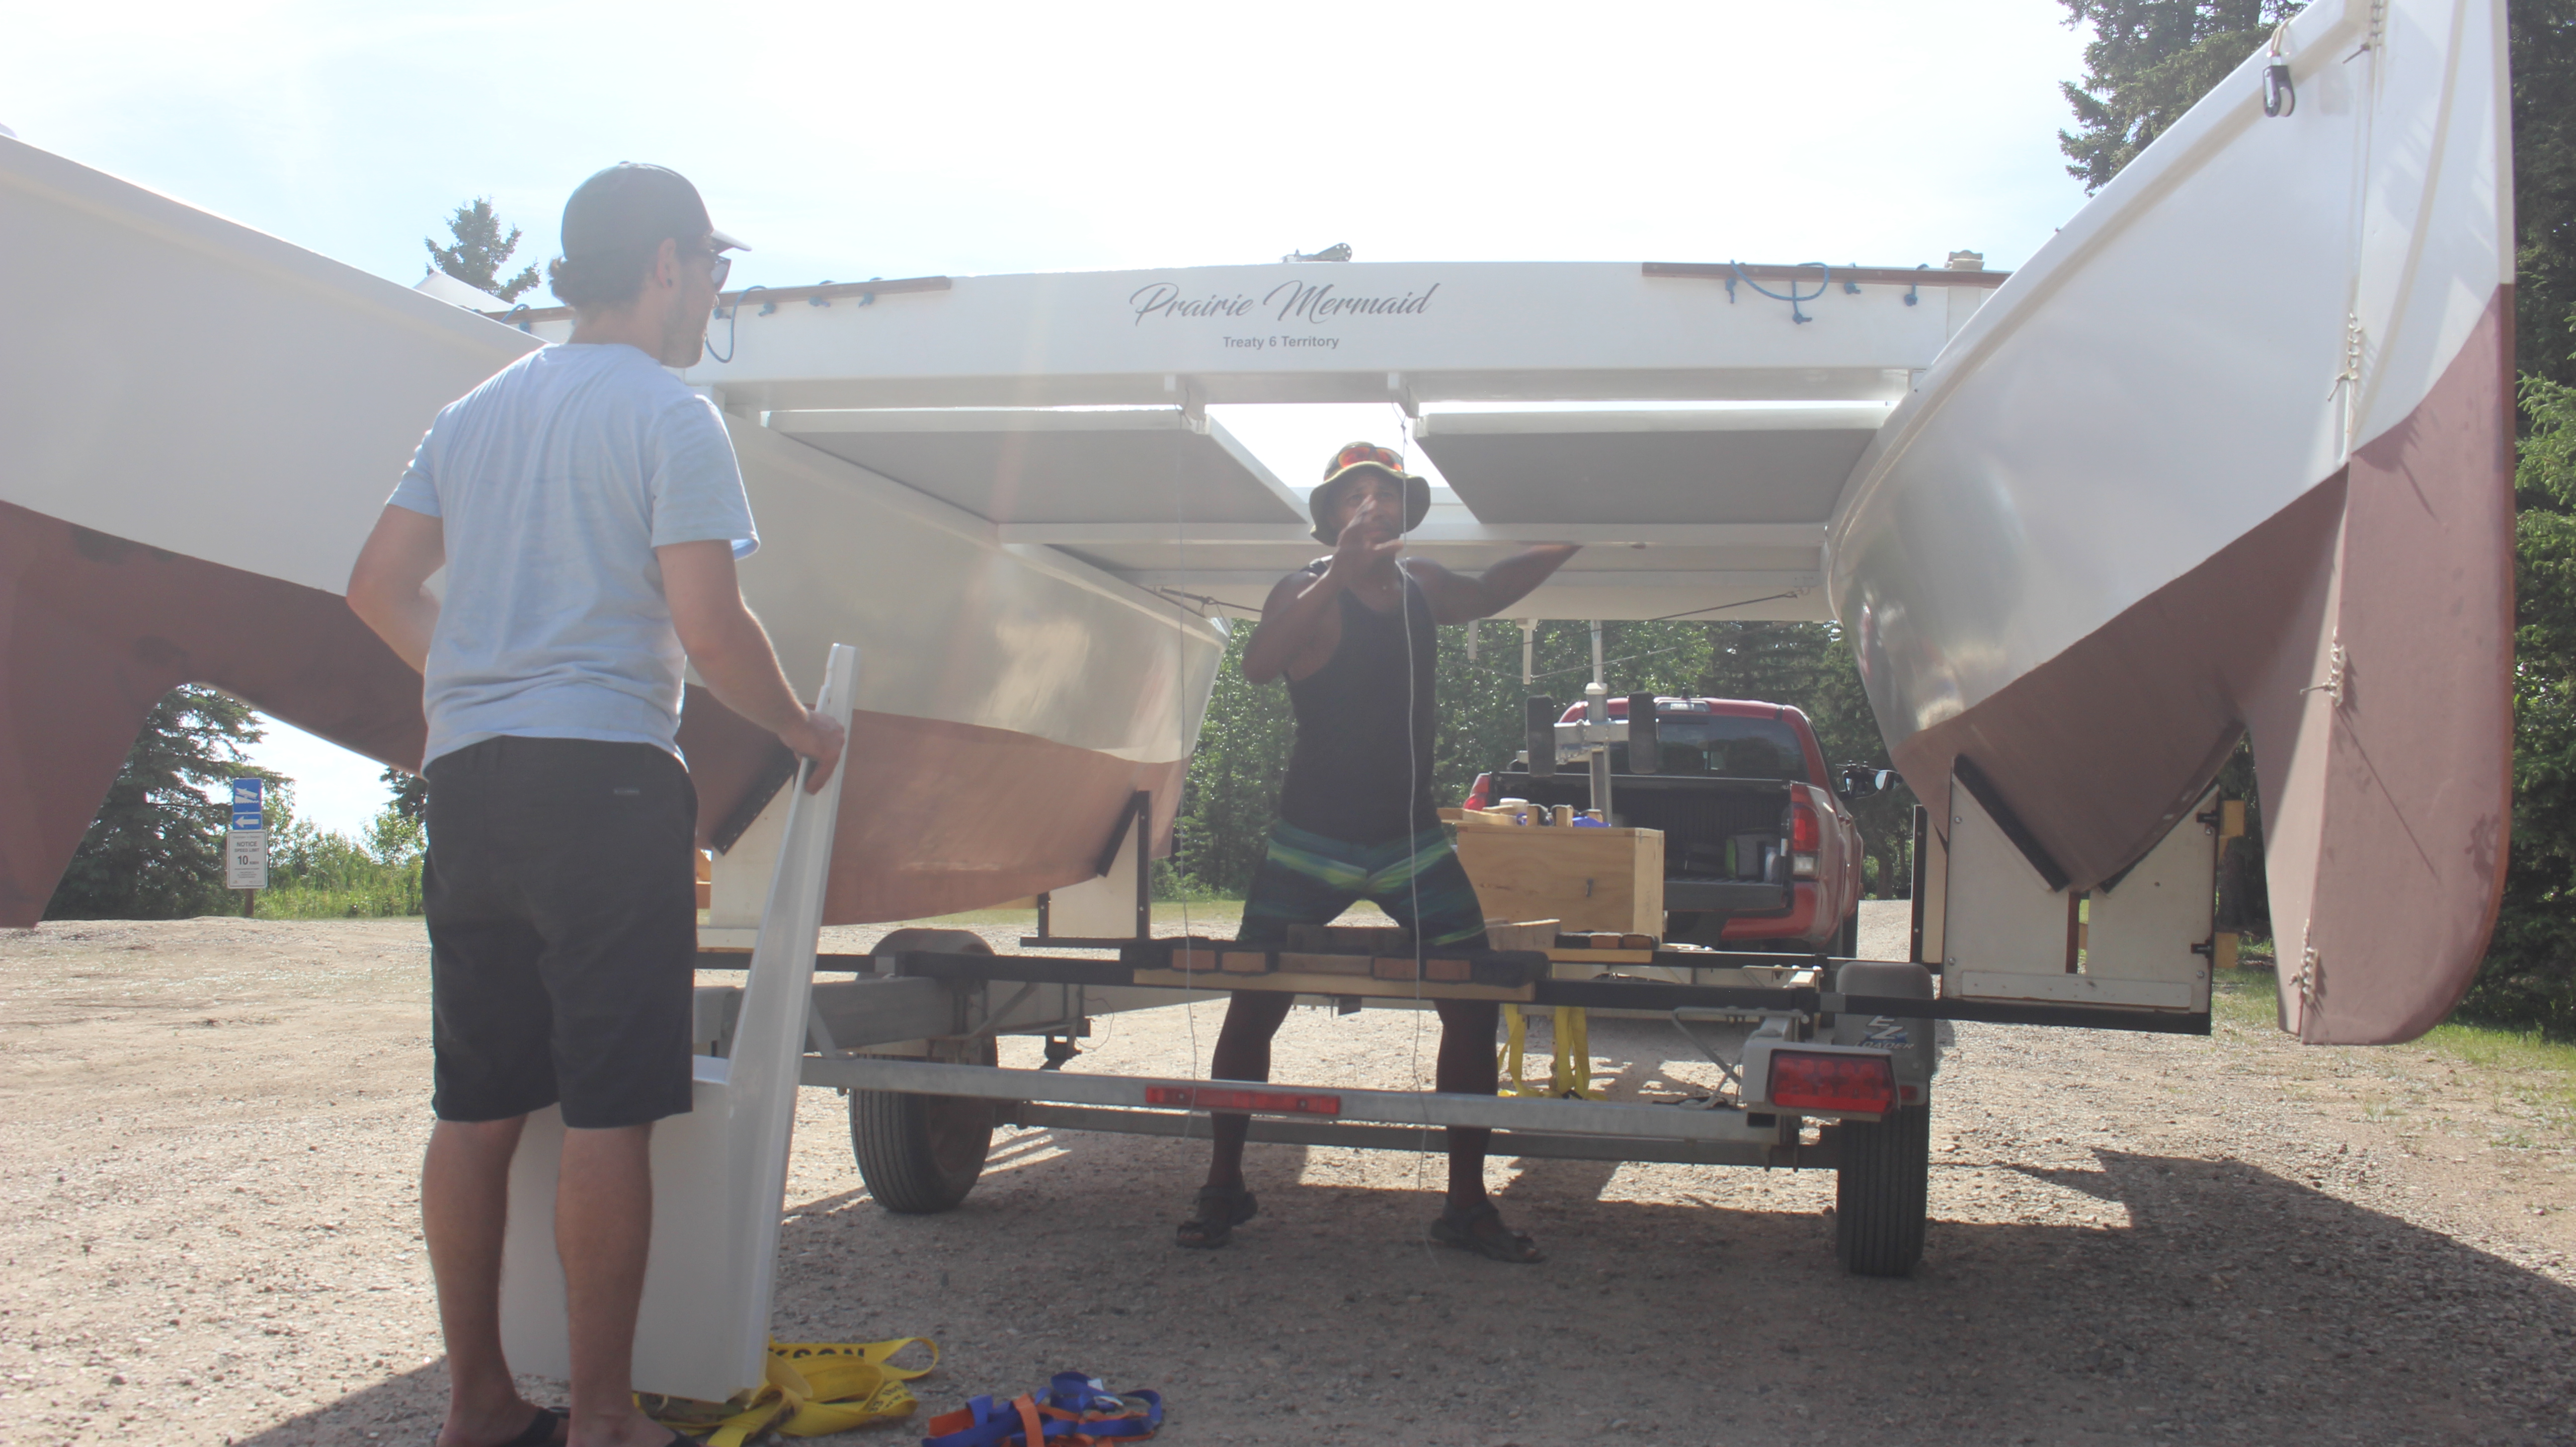
With both crossbeams locked into position, the four sections of lightweight honeycomb platform are put in place. The motor mount is the last part of the puzzle to be added.
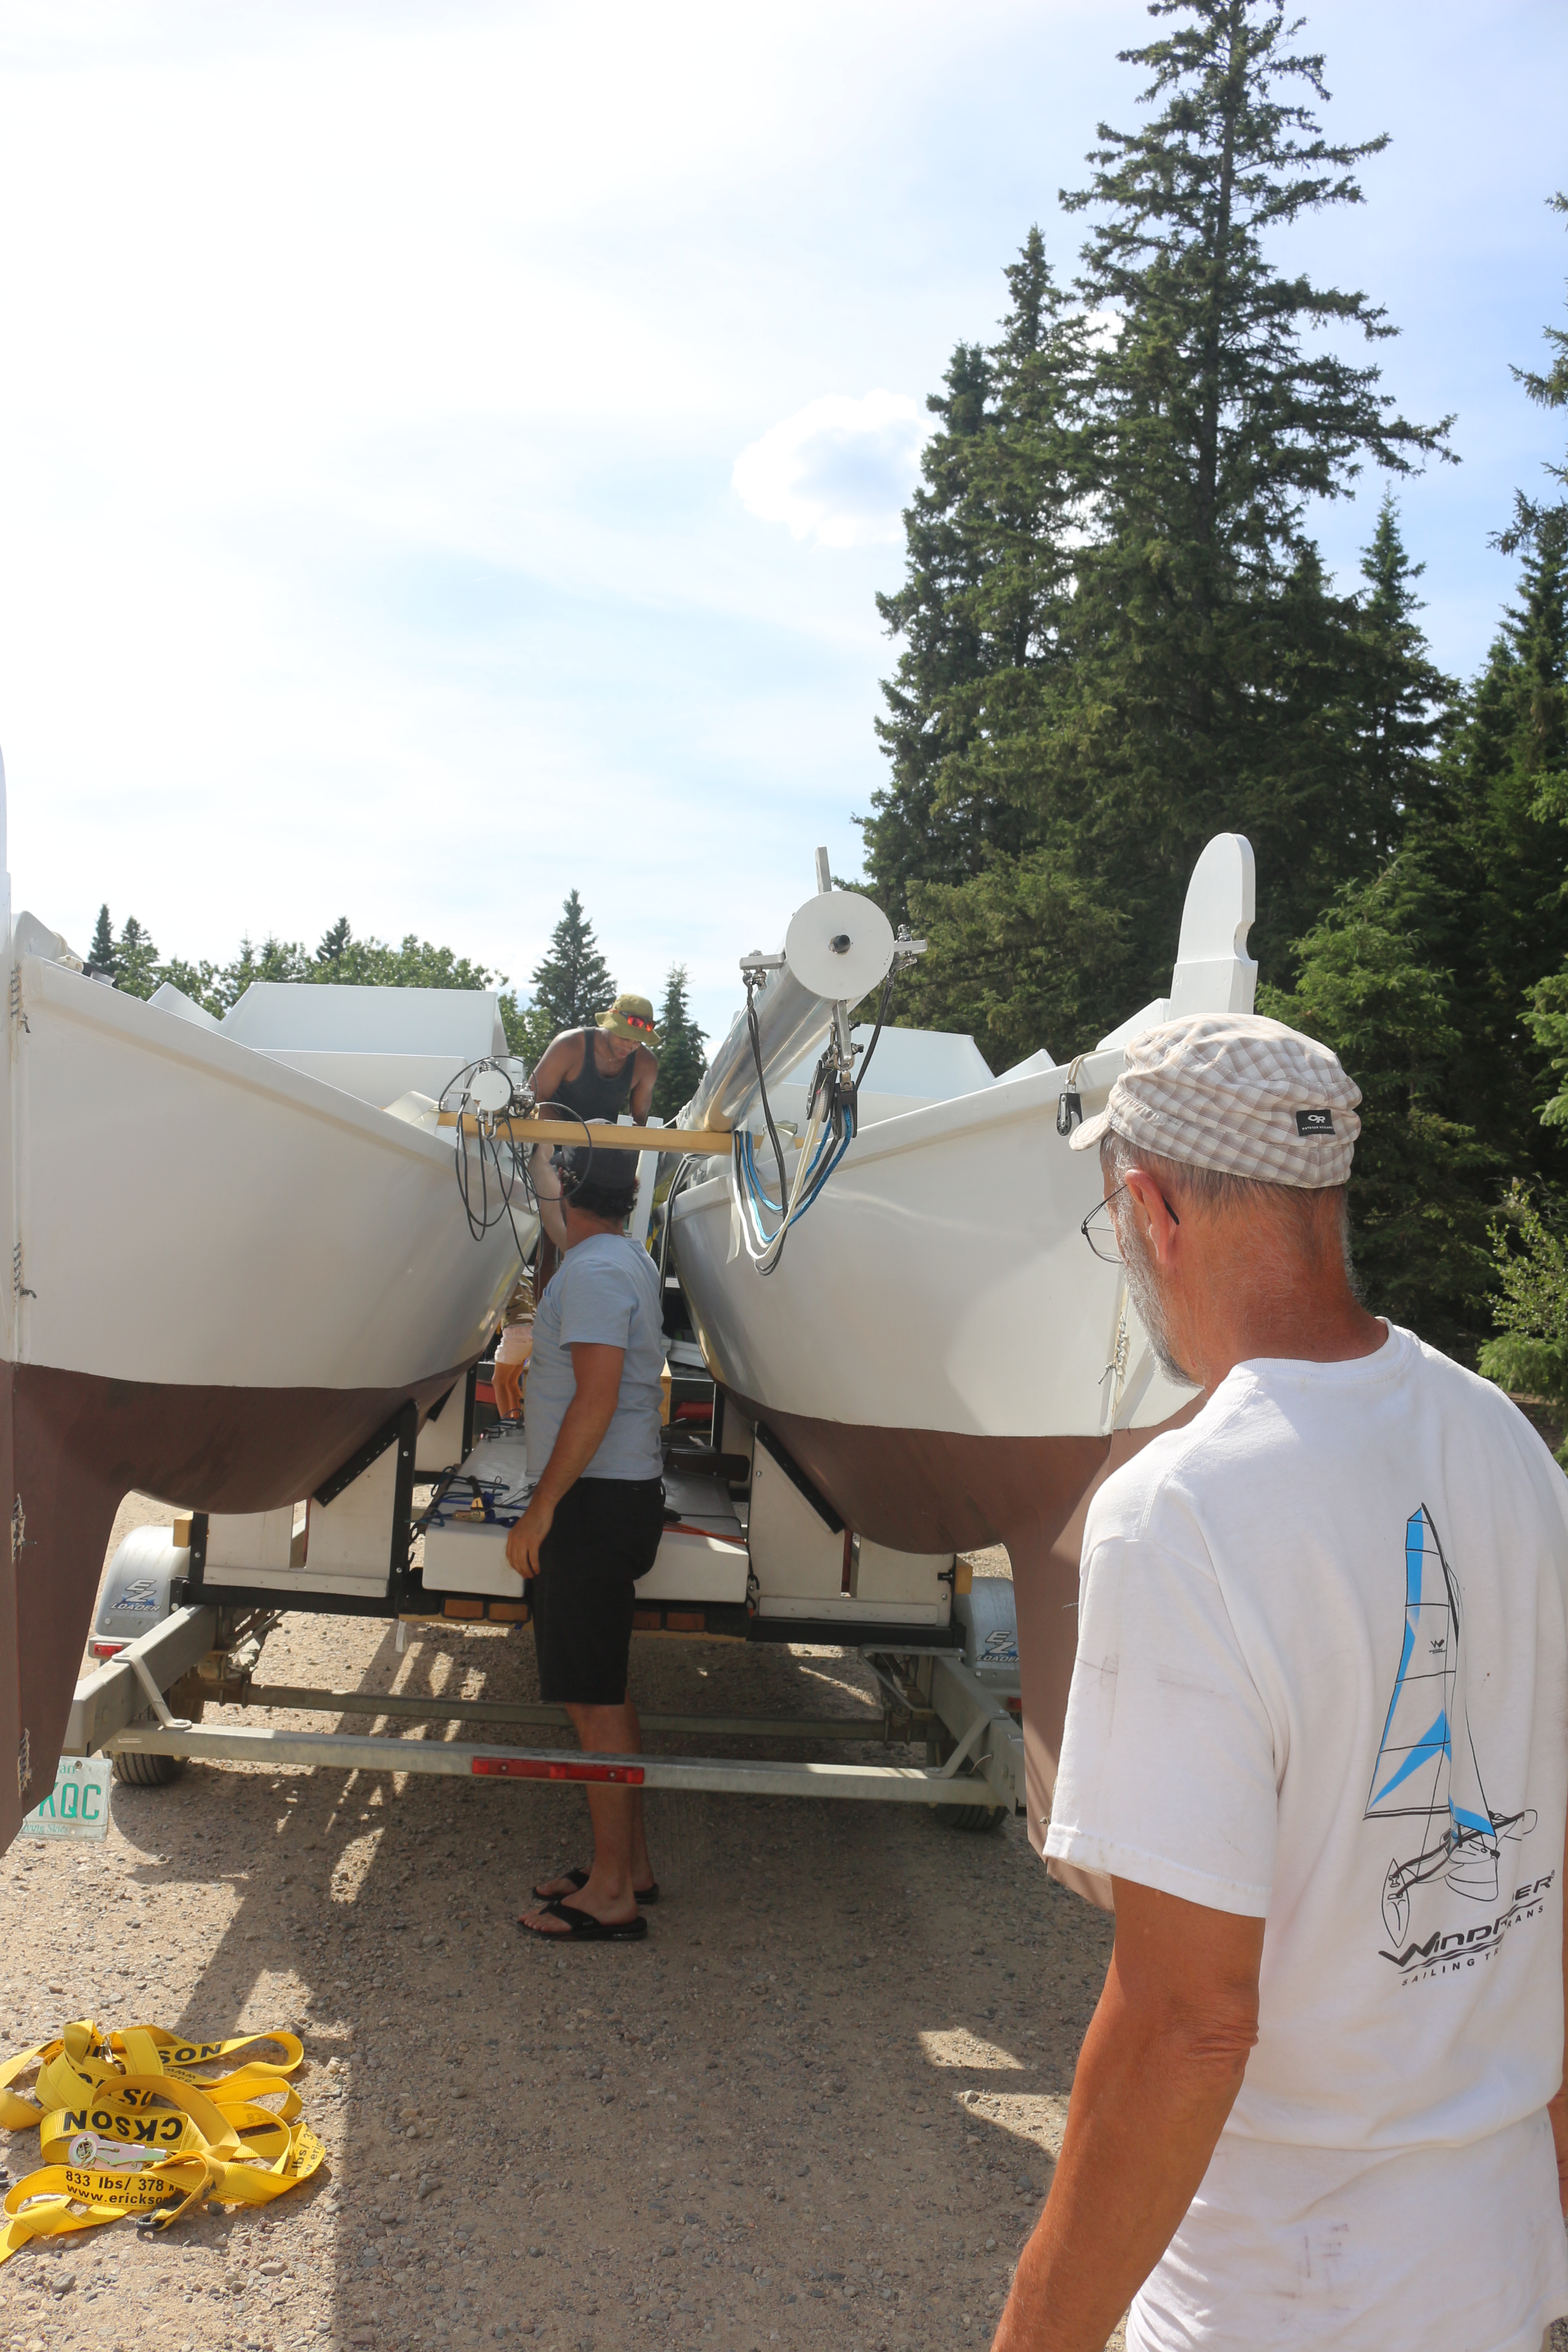
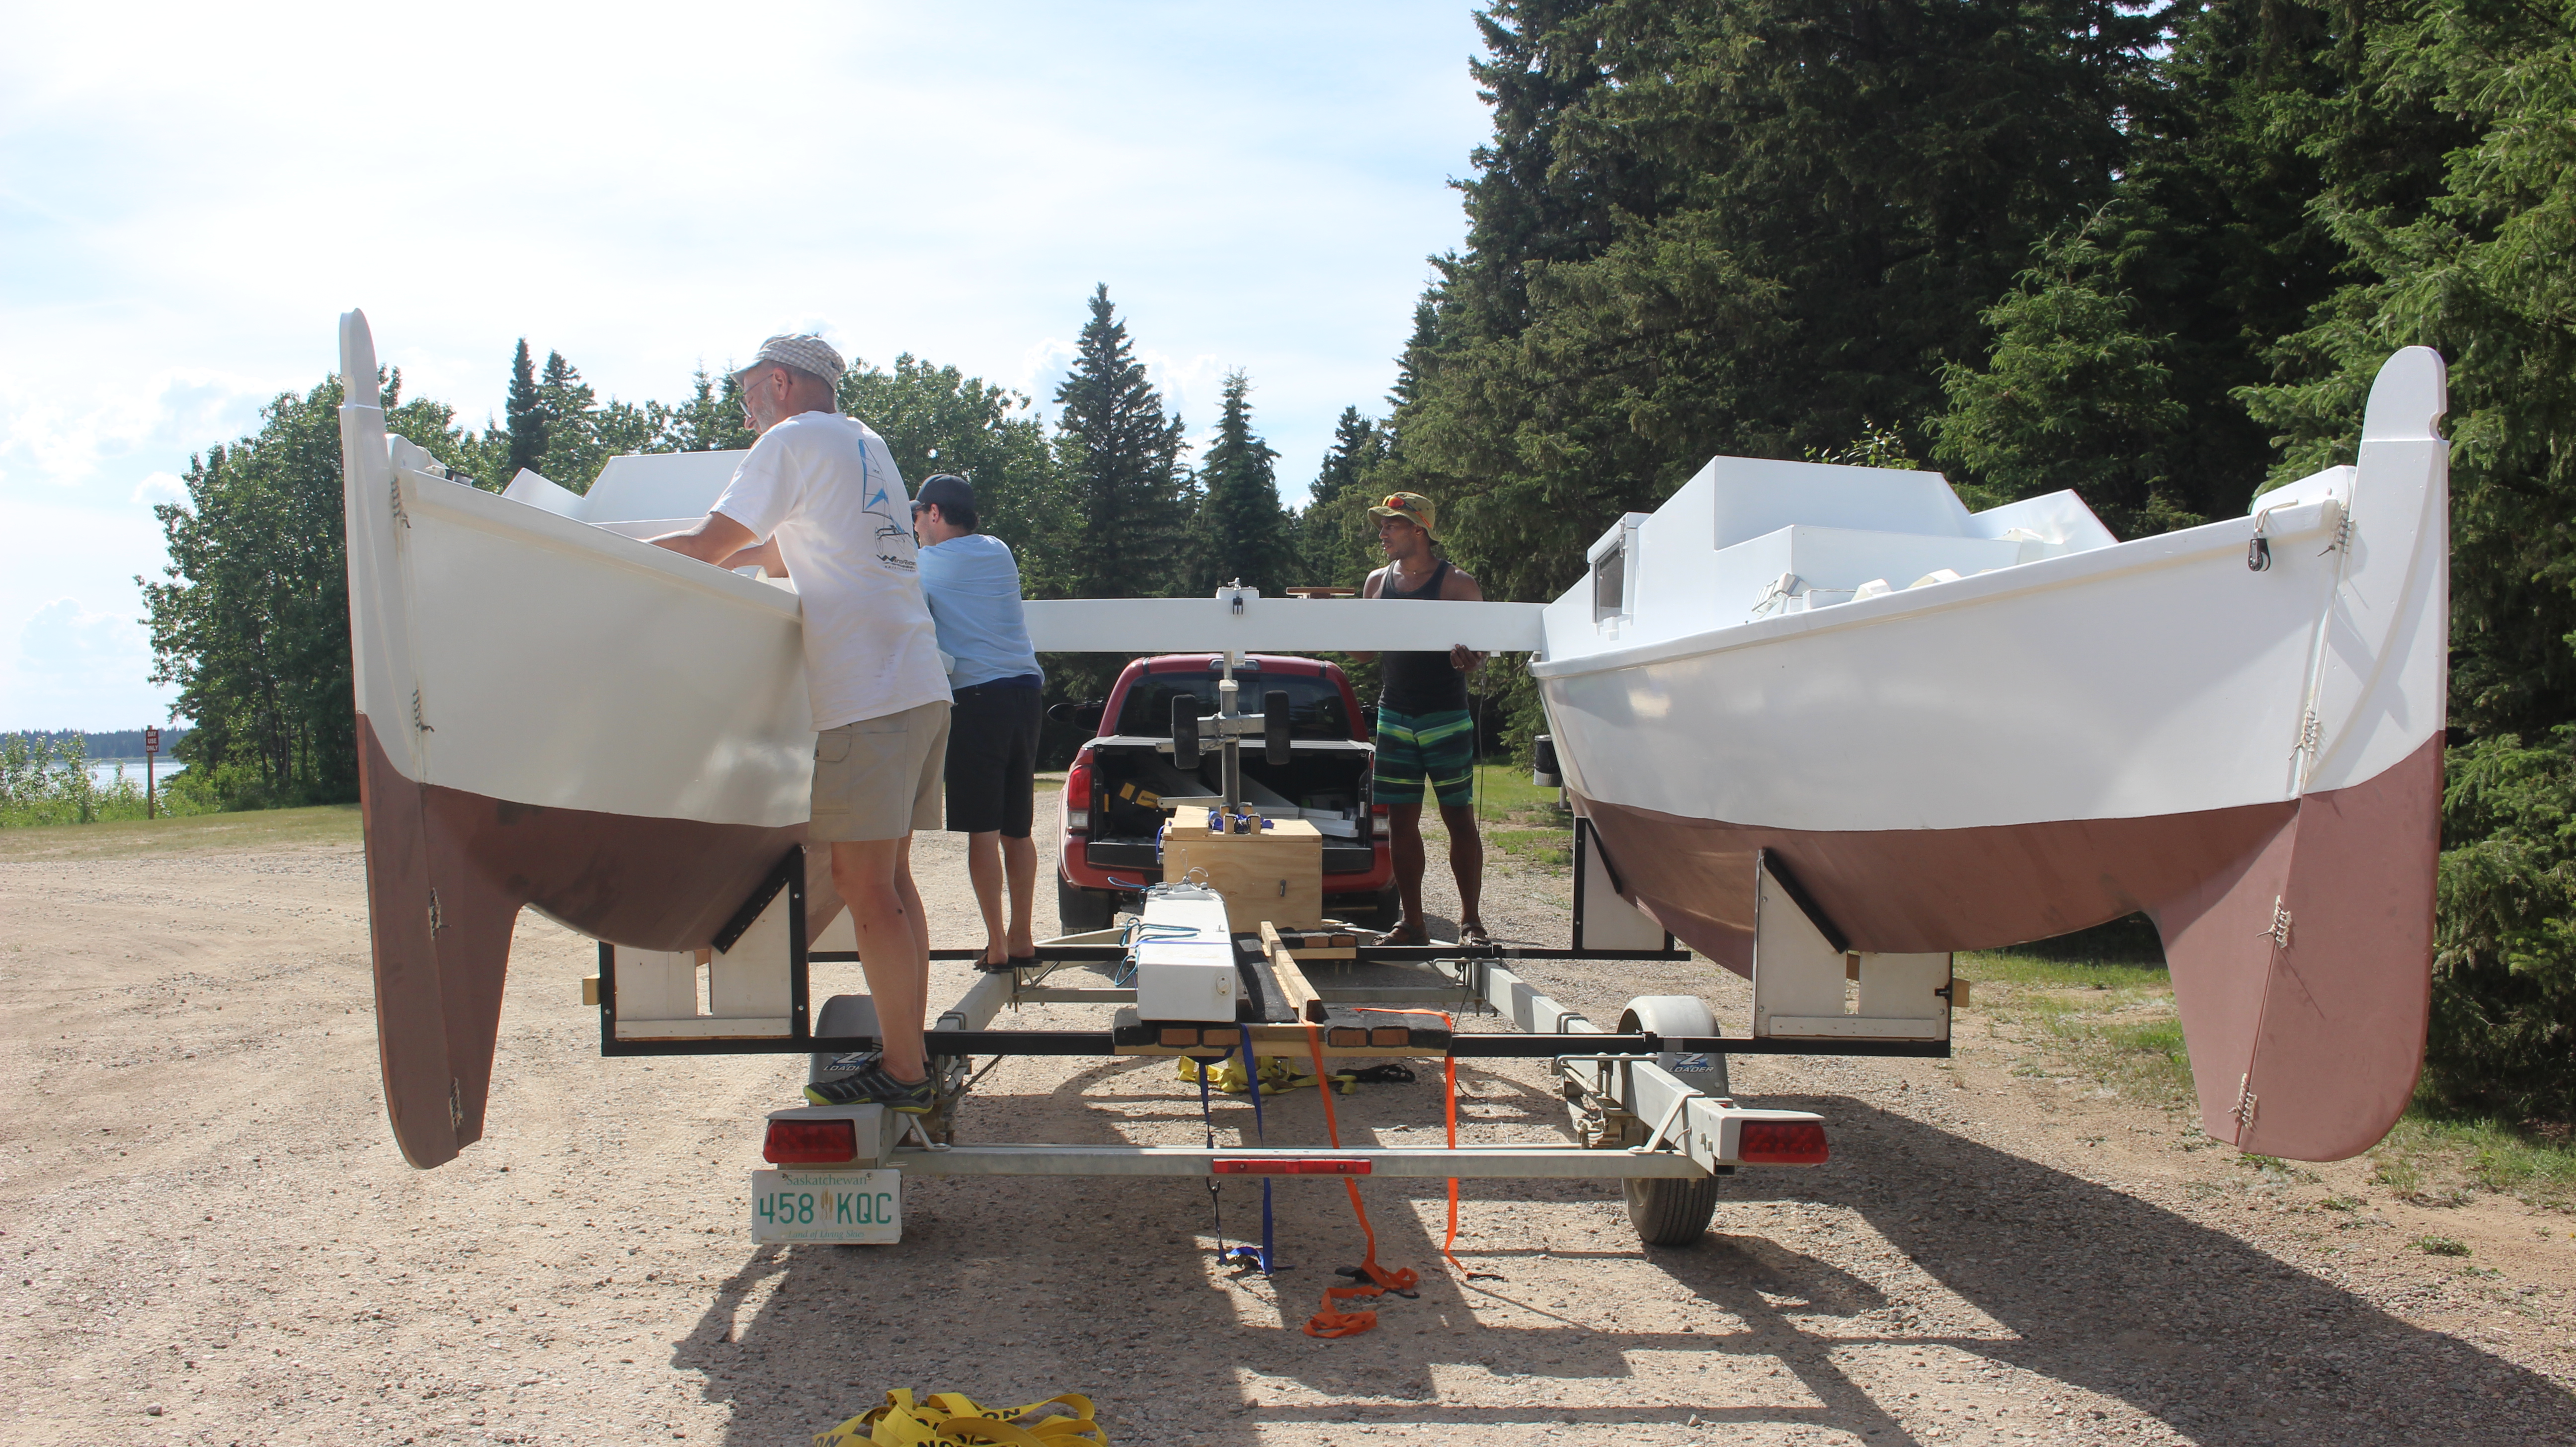
Next comes the masts. Using the mizzen mast as a temporary gin pole and the trailer winch as muscle, the main mast is raised.

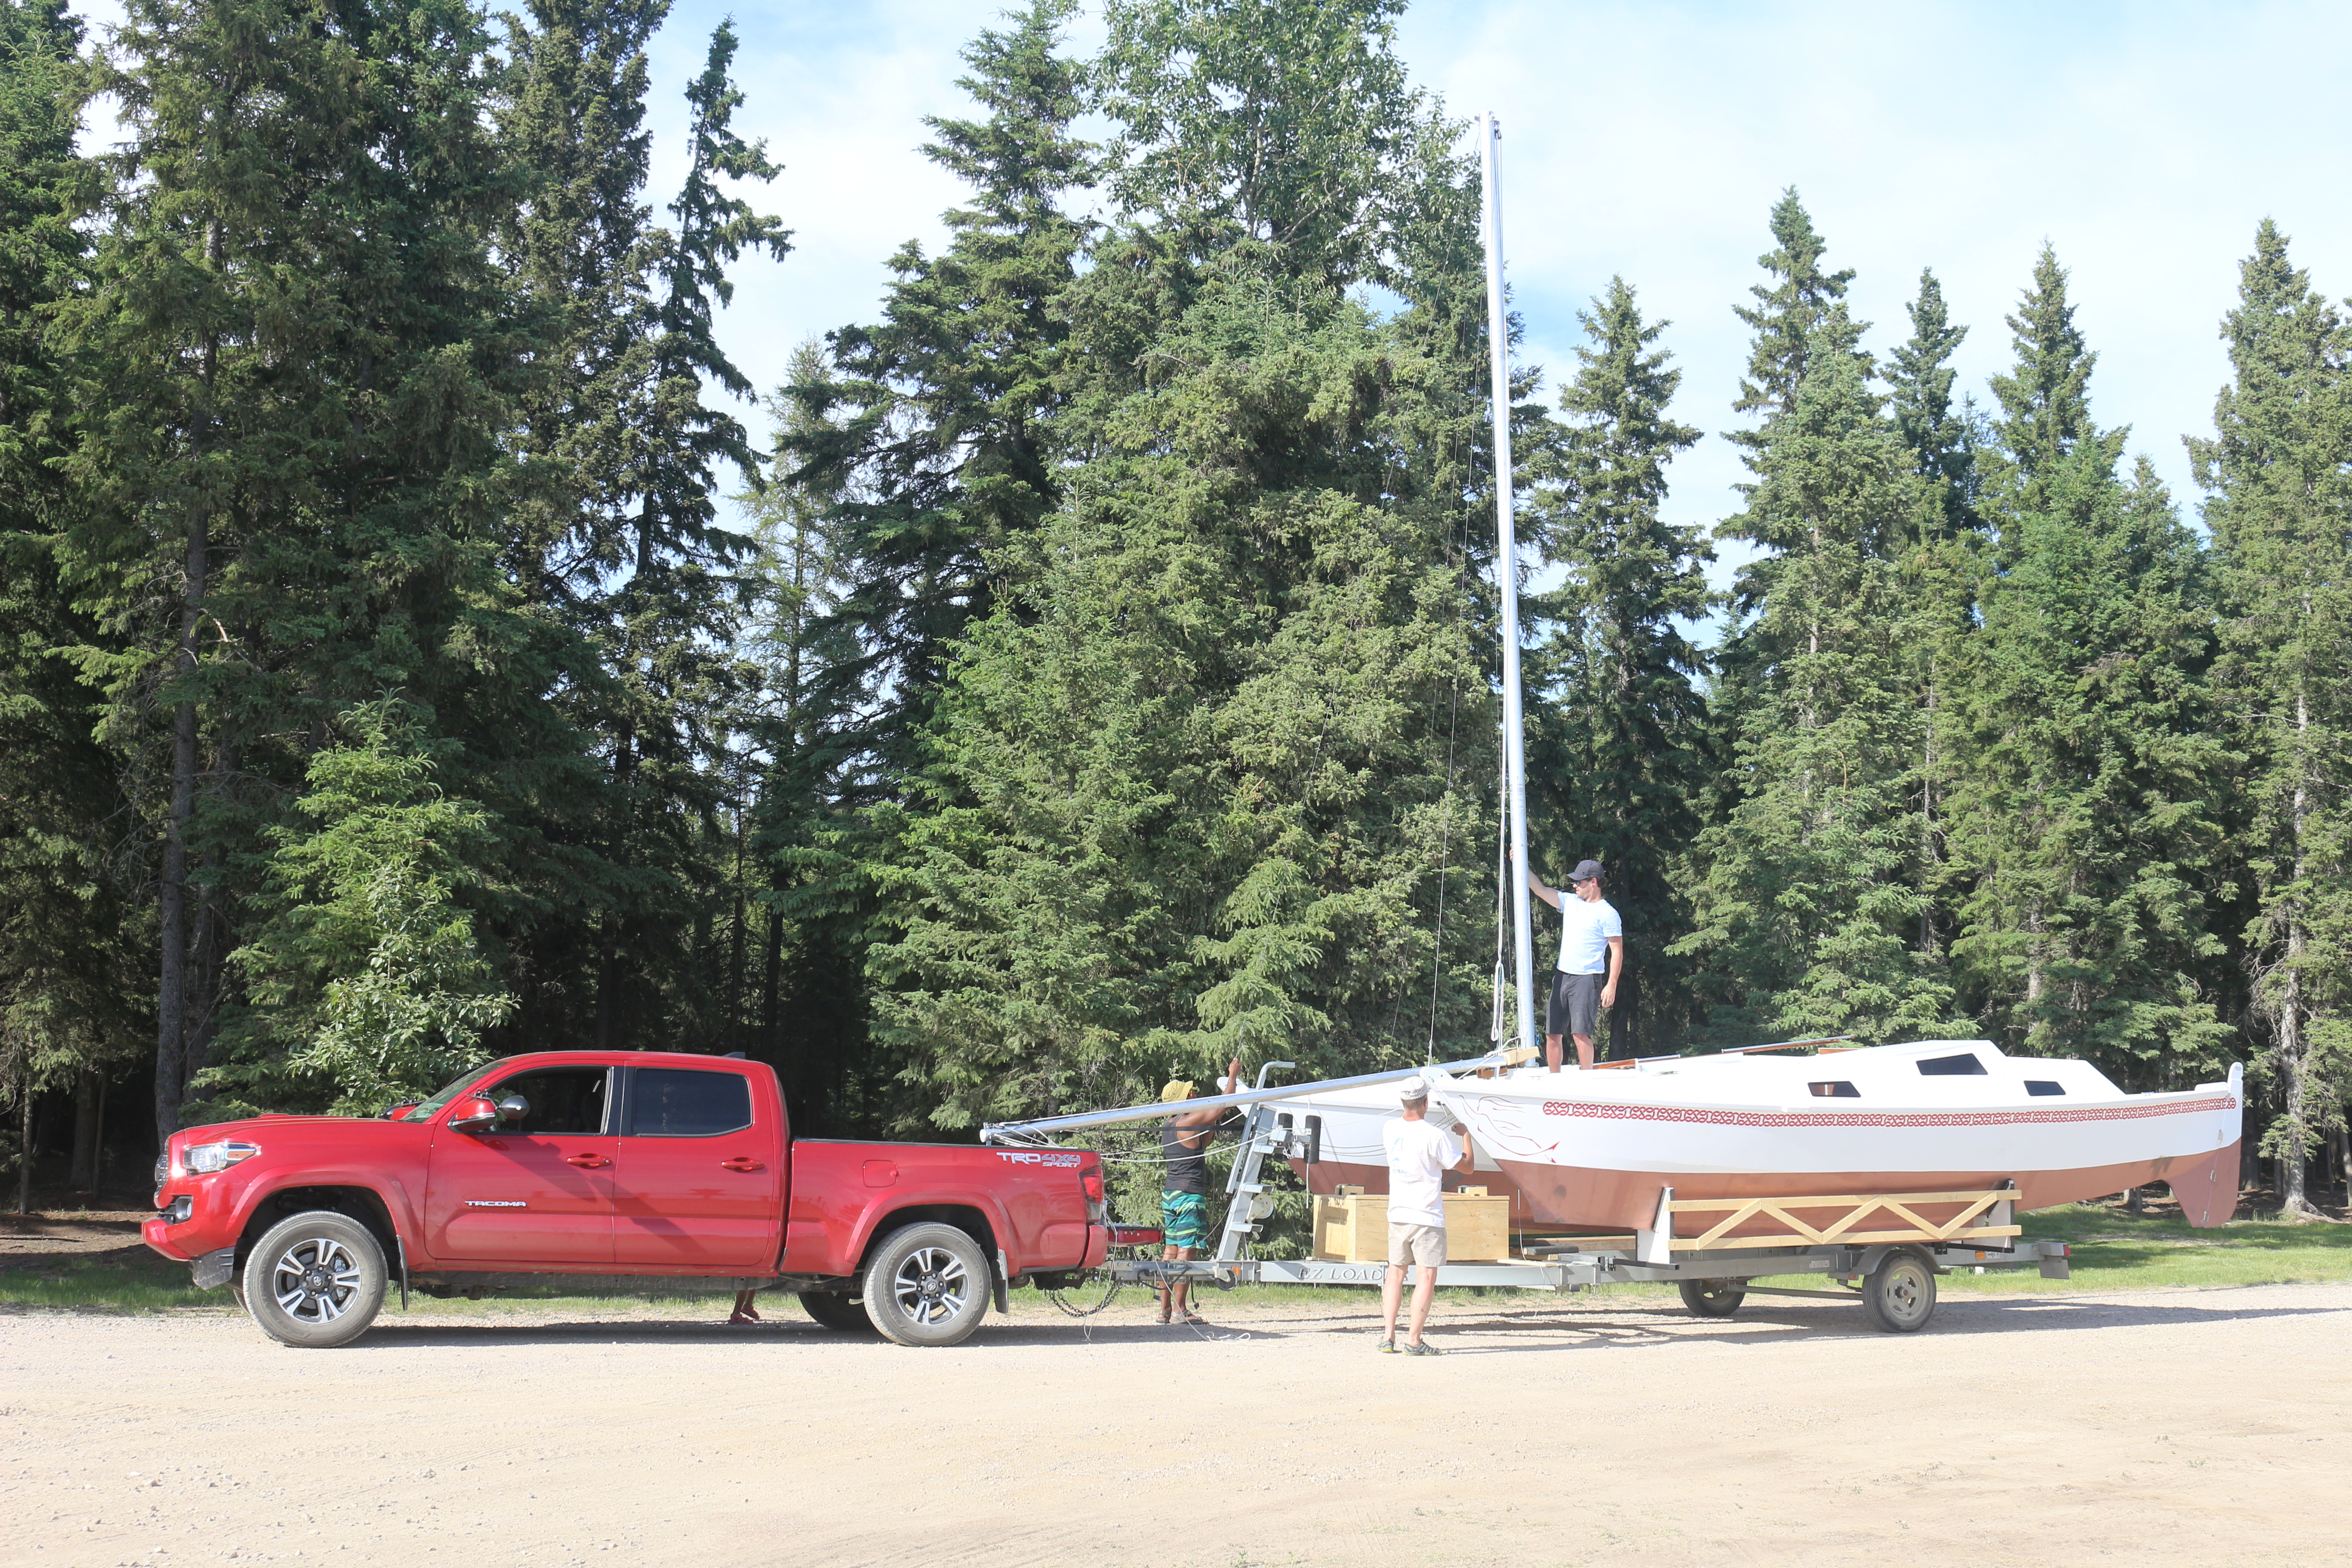
Next the mizzen…

Time to splash…
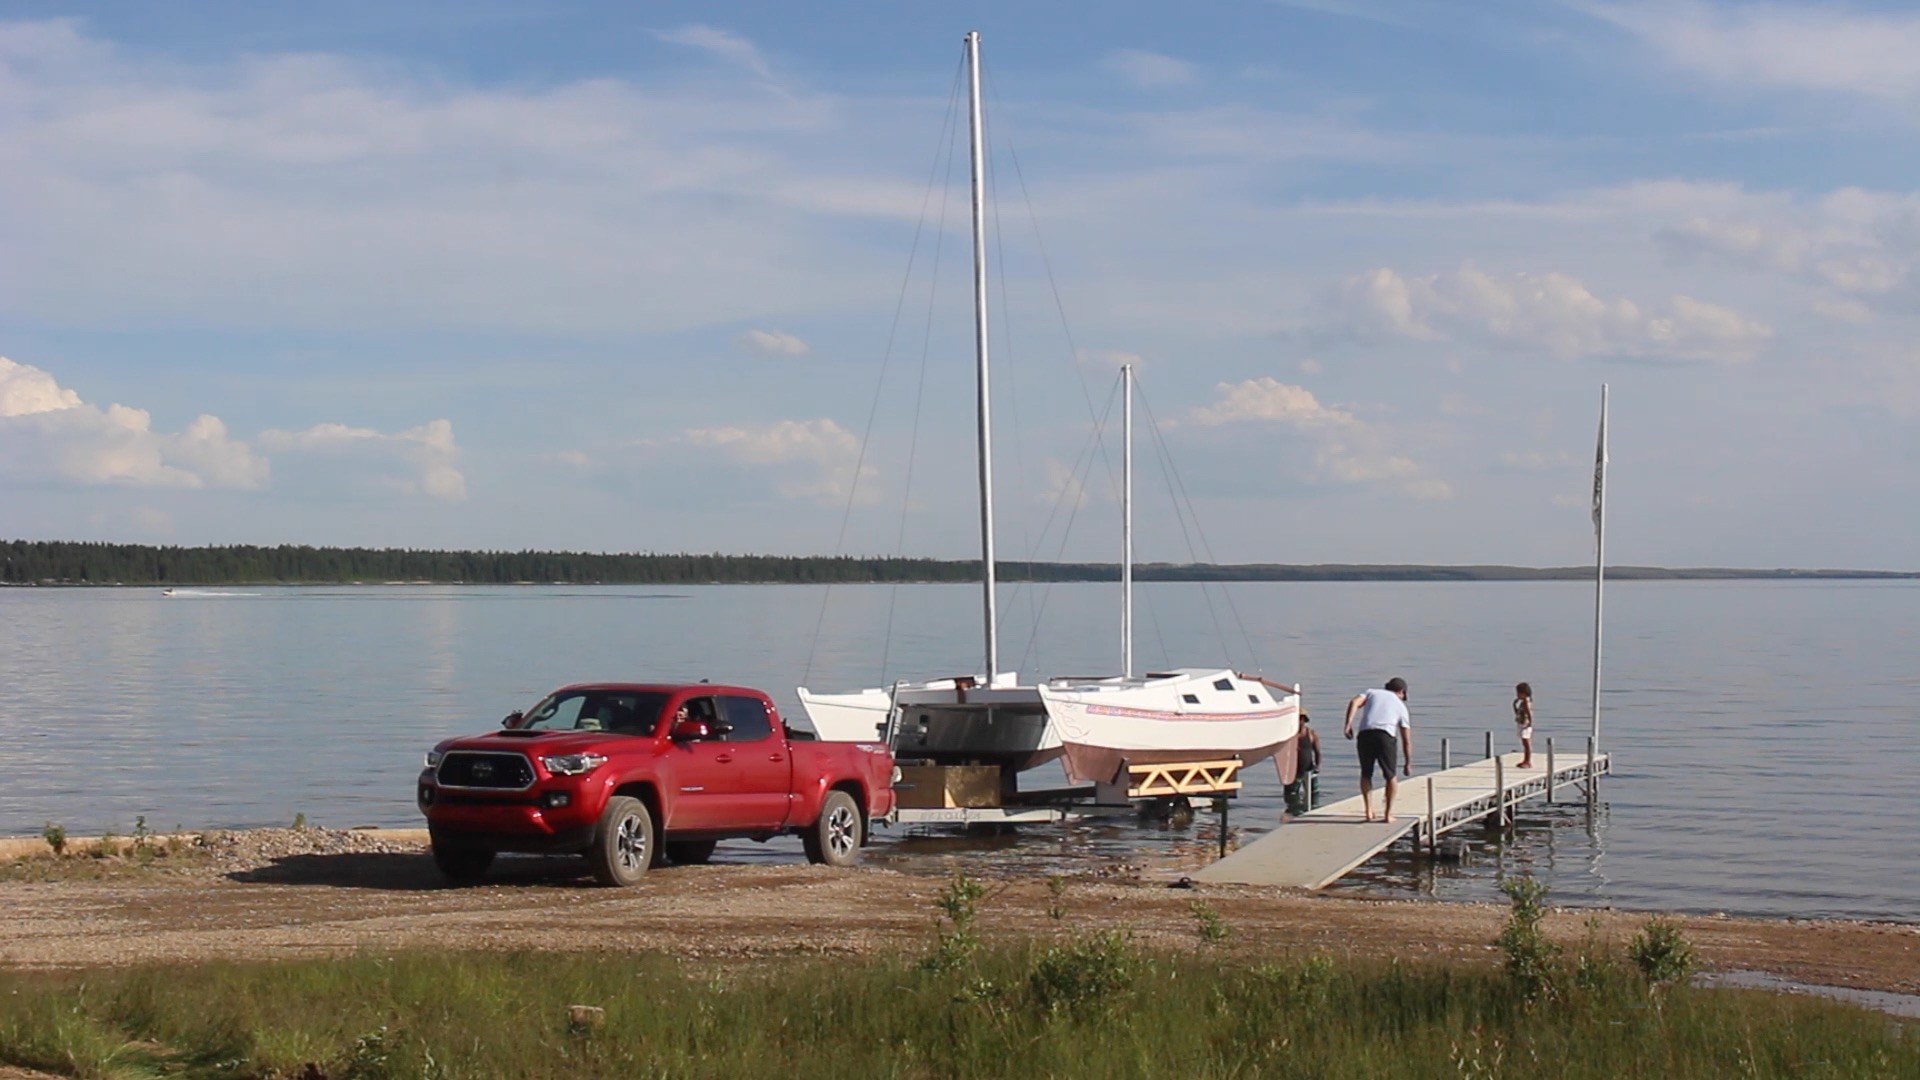
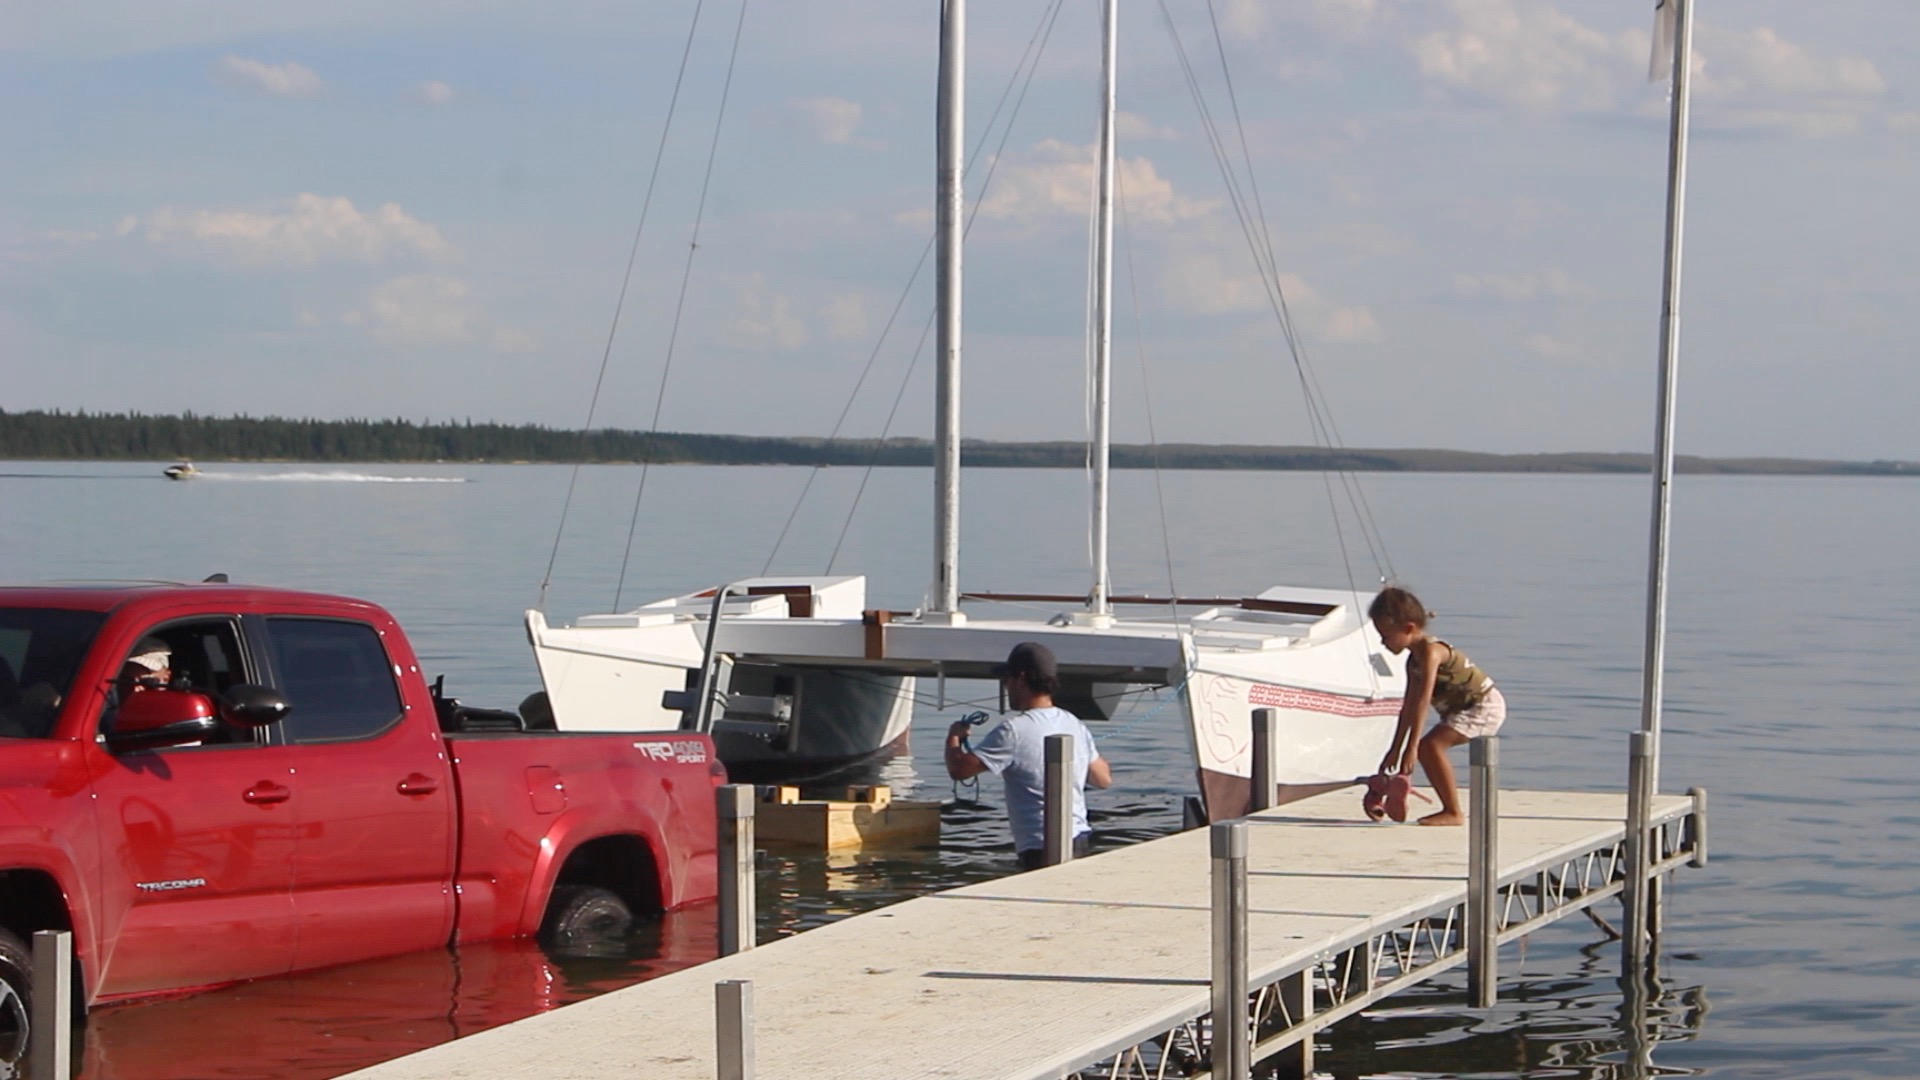
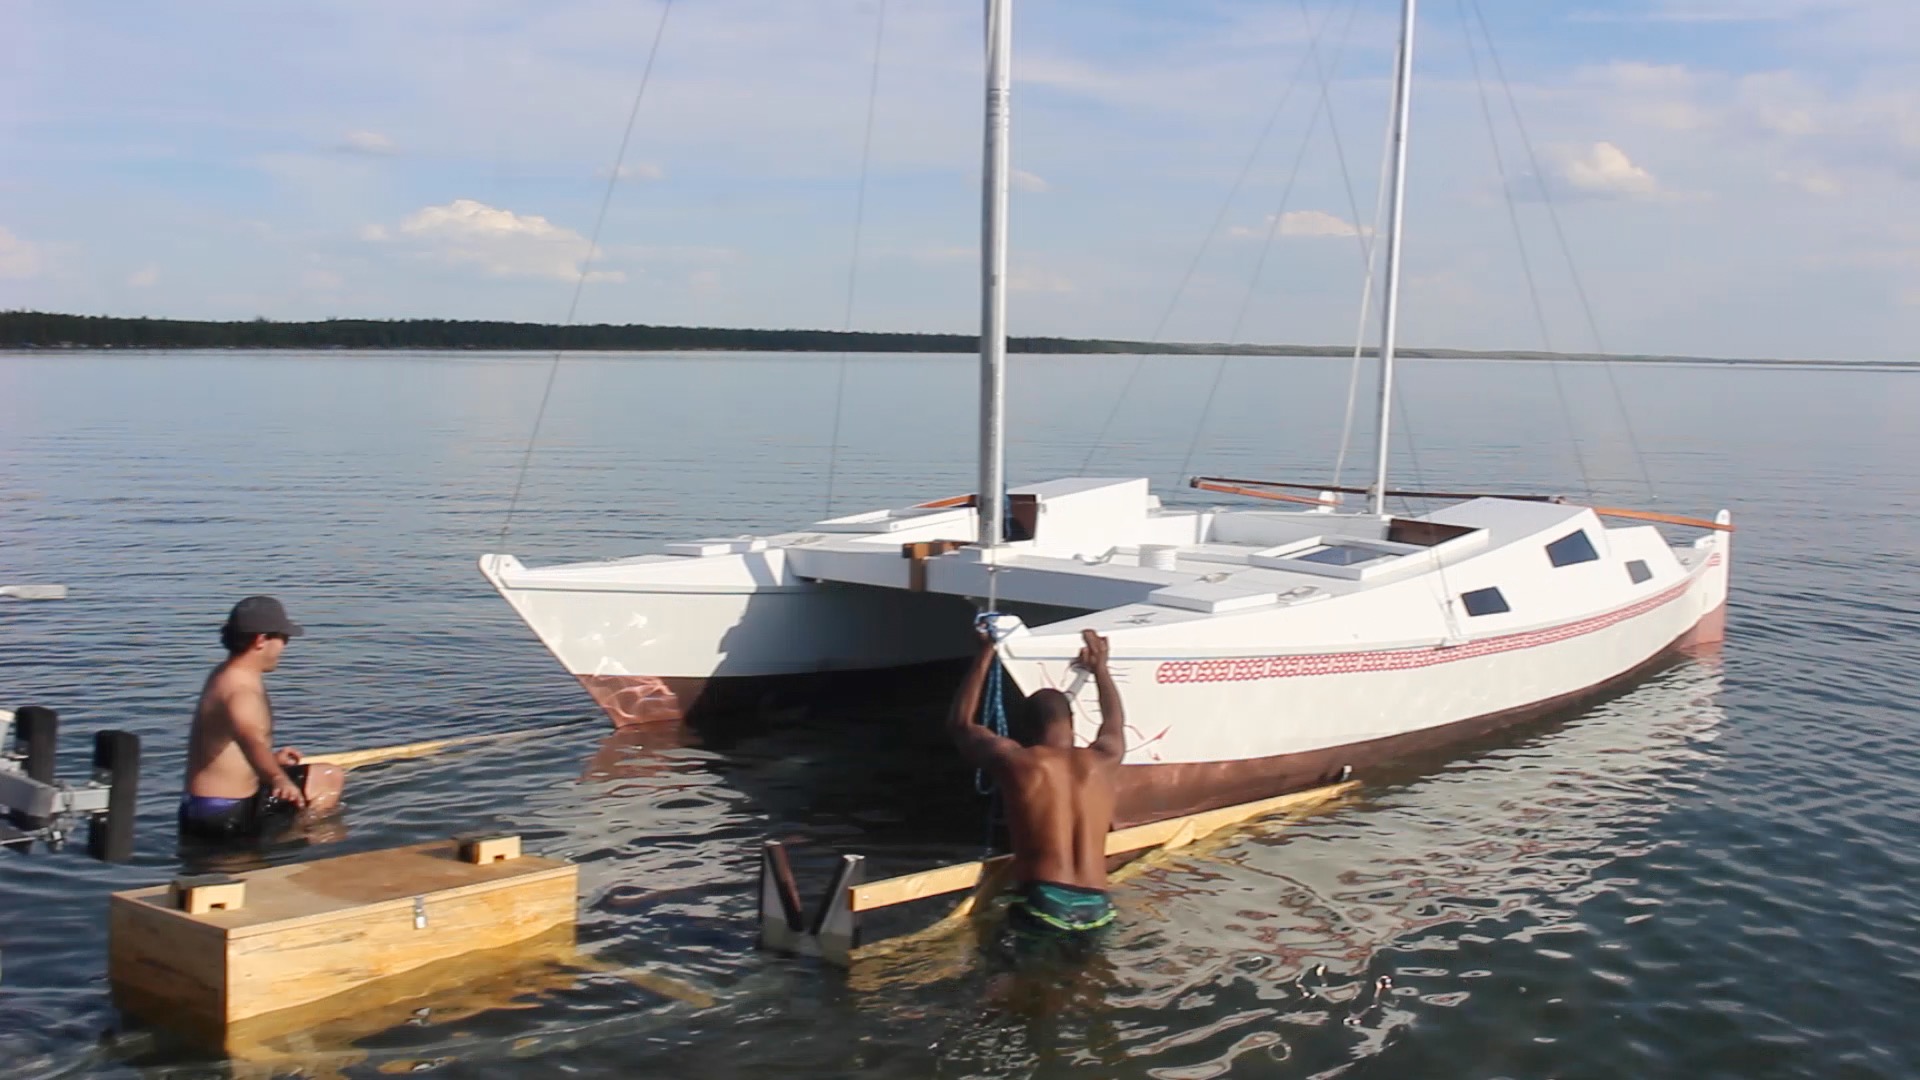
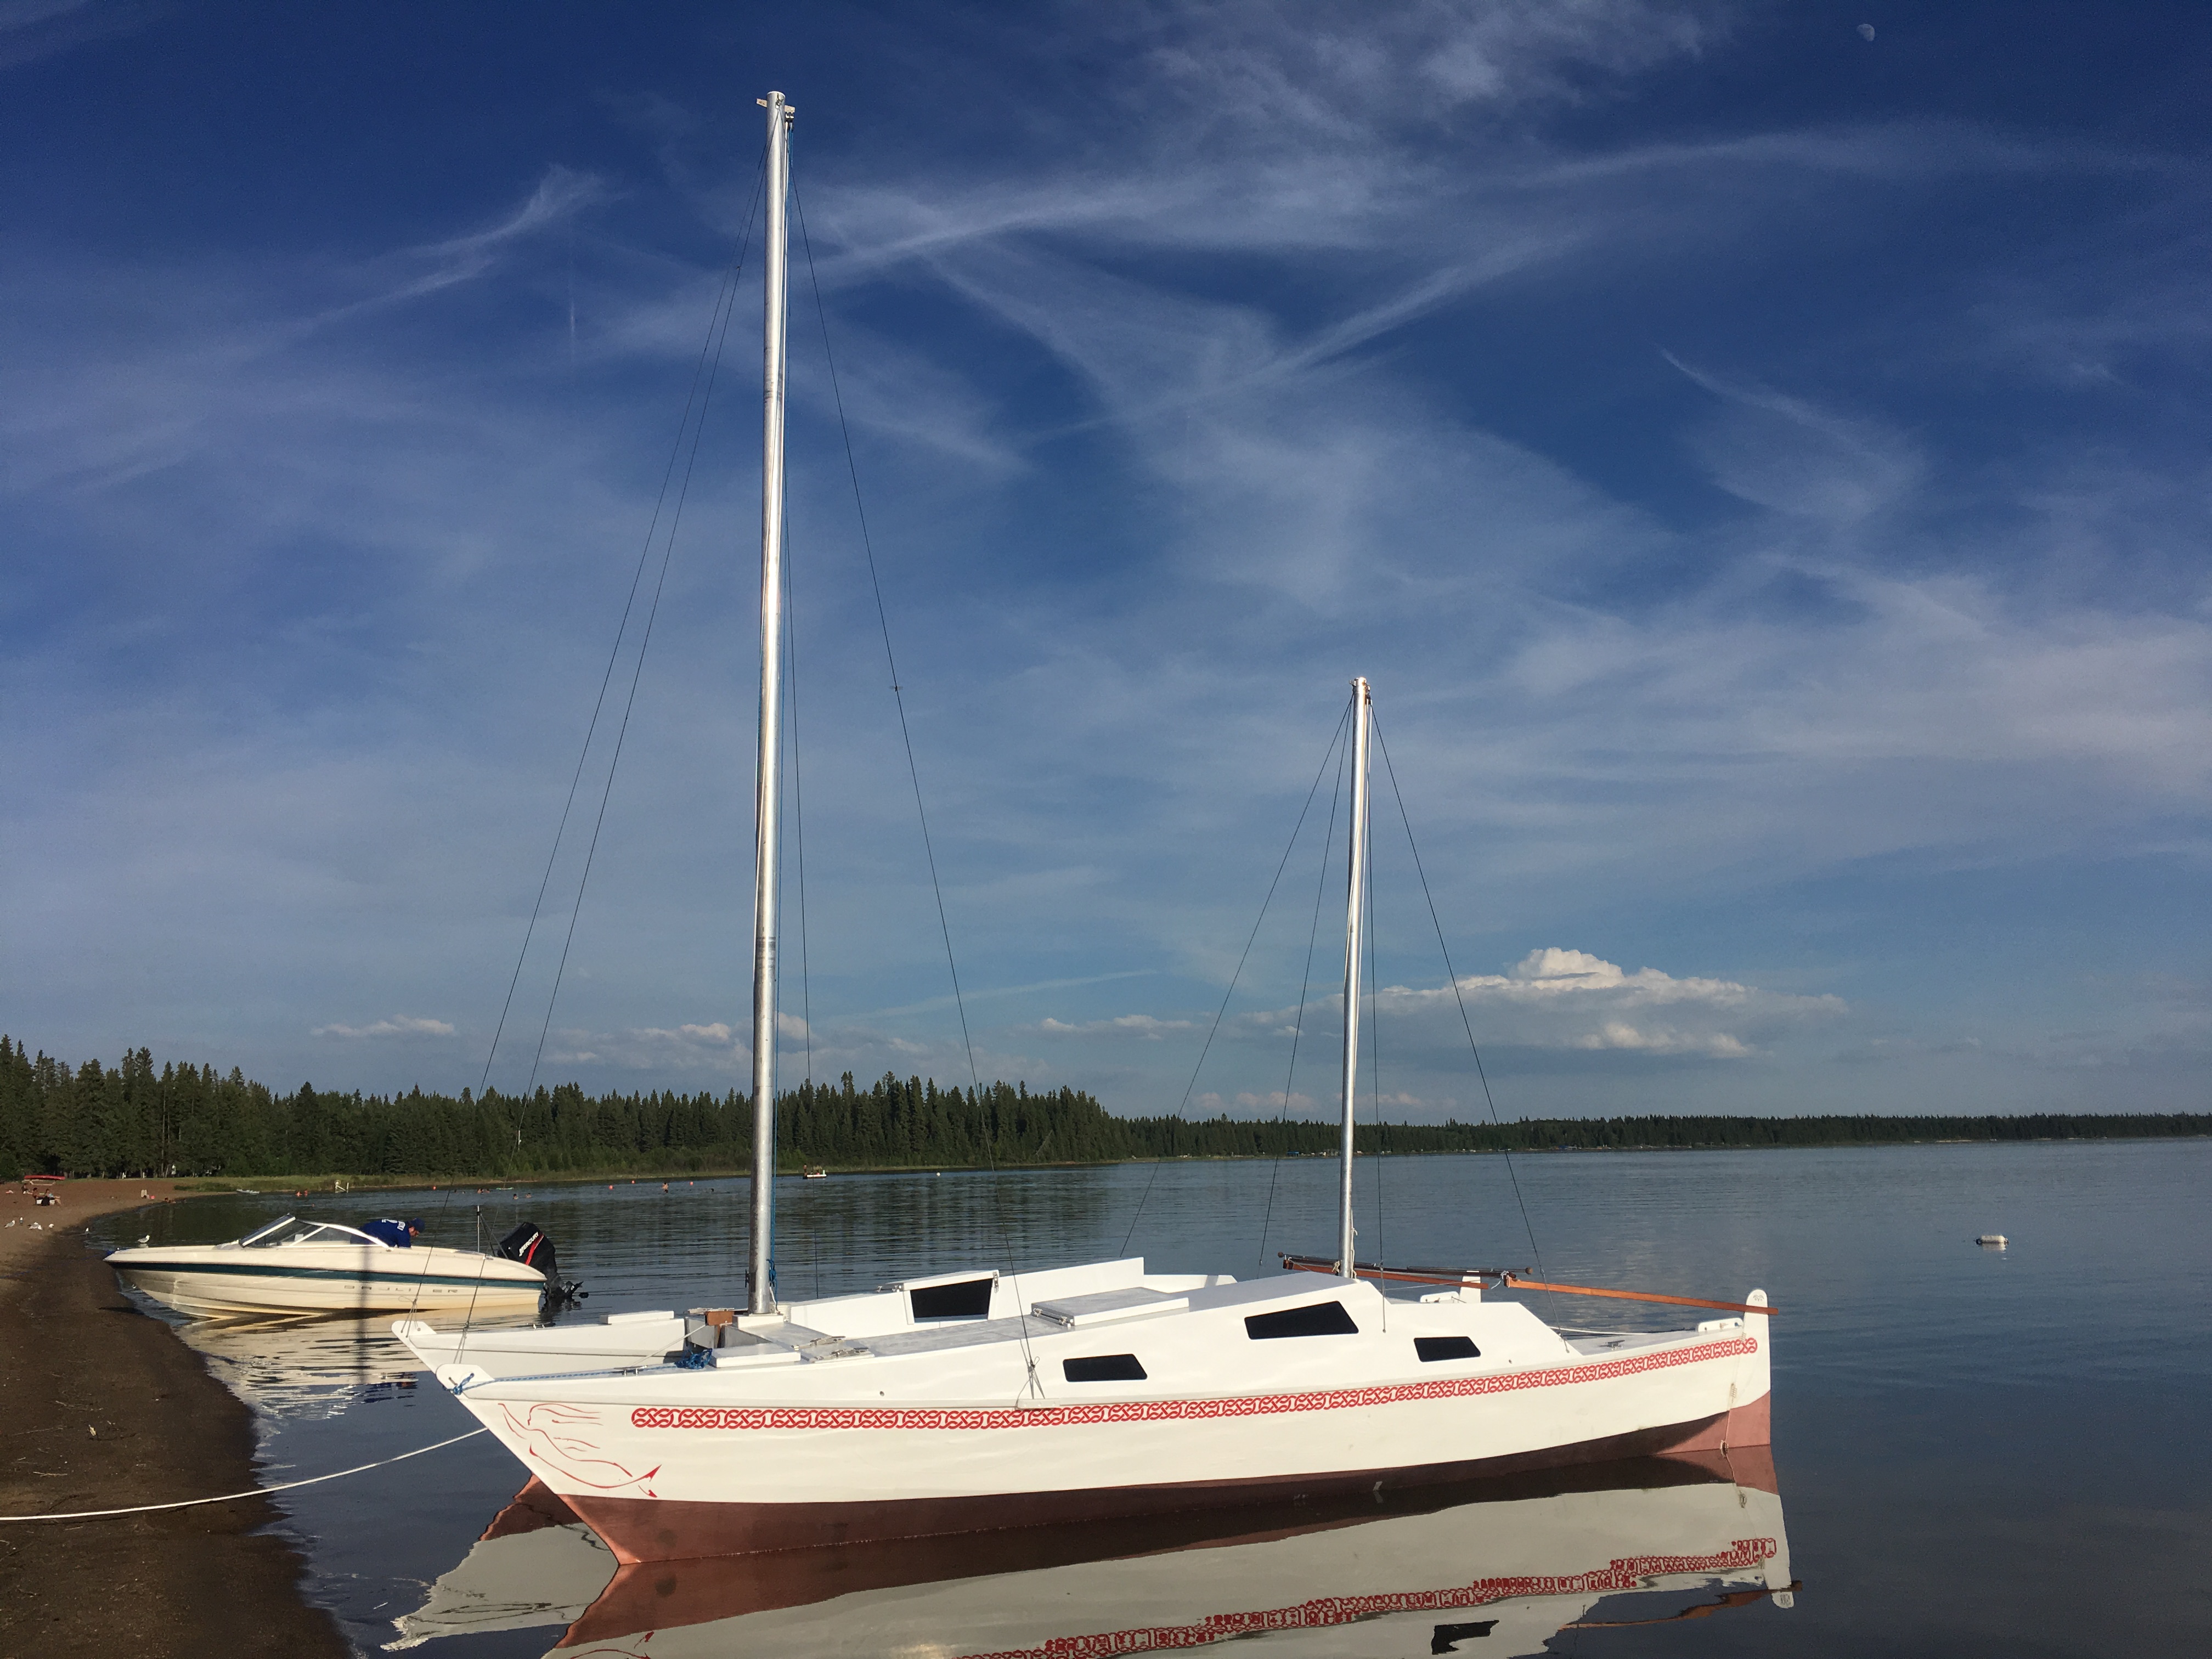
And voila, the Mana 24 Kit #3 is in the water, waiting for adventure.
Note: this series of photos was taken during the first assembly and launch of the boat. There have been some improvements to the trailer adaptation since then, including paint. More changes are planned for next season.

Leave a comment