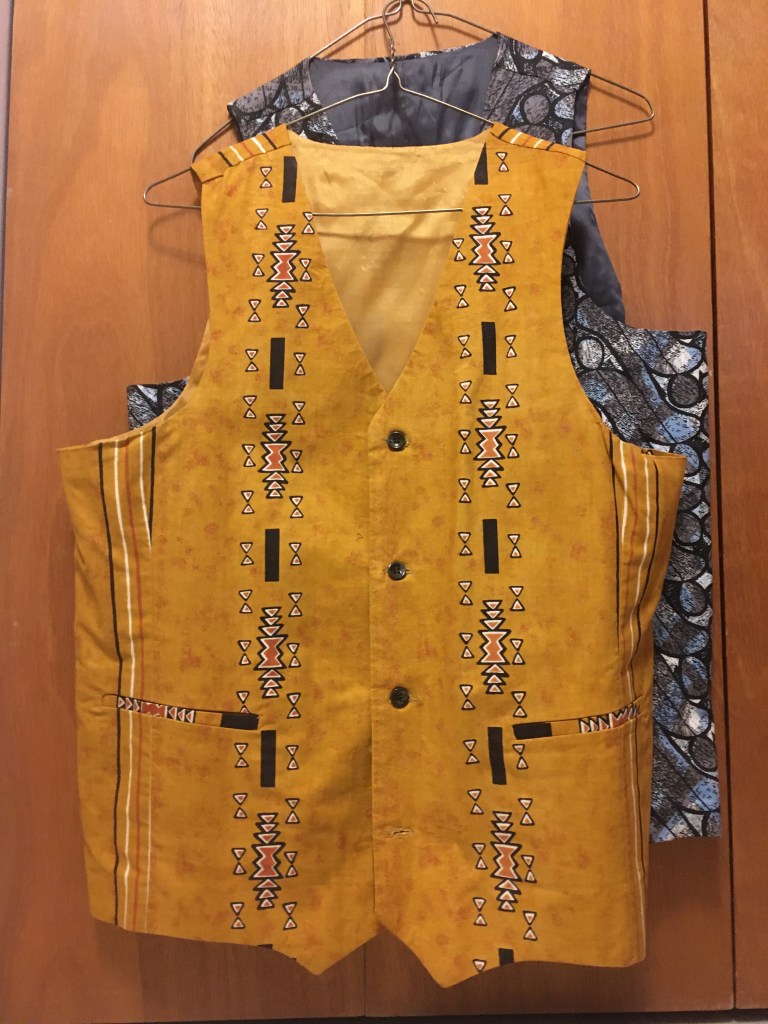
With my sewing experience and knowledge recently gained, it was time to have a second go at making a vest from salvaged blue jean material. Clearly a new pattern was required. Two vests made for me by my friend and professional tailor in Ghana last year hung in my closet – they provided the solution. All that was required now was for me to remember to leave “seam allowances” when cutting the cloth.
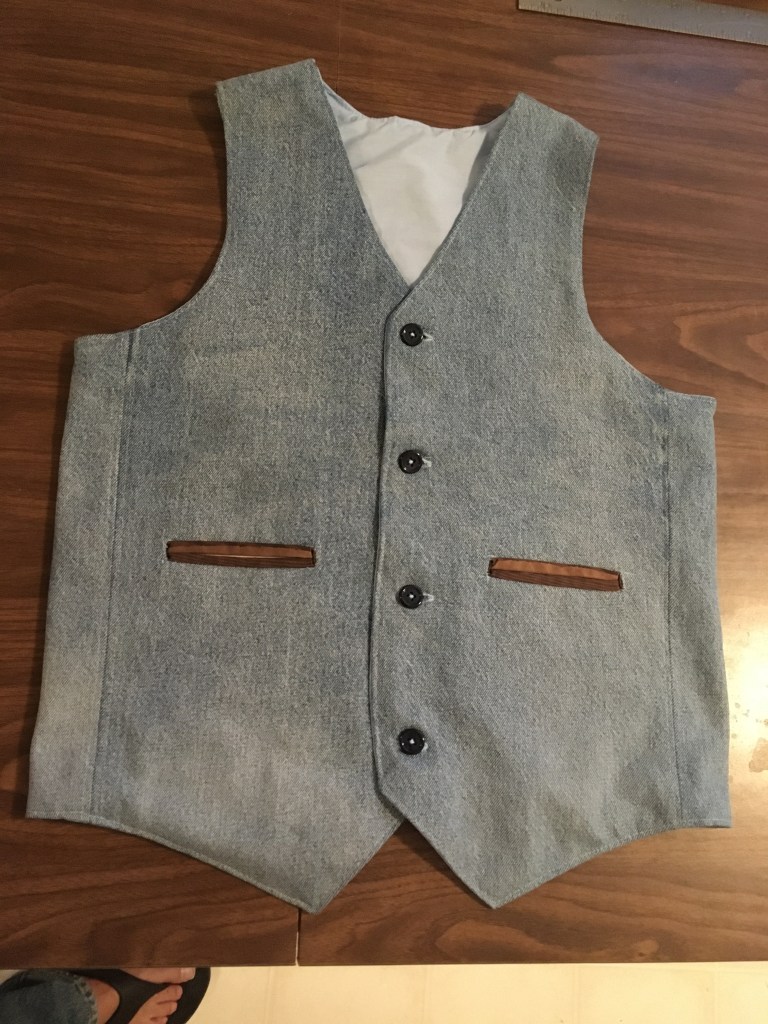
With a lot more confidence, the new pattern was drawn up on brown paper and more jeans ripped apart. The jean panels were not quite wide enough for the back of the vest. I scrounged through a tote of materials my partner had on hand and found a drapery remnant that she had bought many years ago for $1. I even spent $4 for new material for the lining. After some cutting and sewing, here is the result:
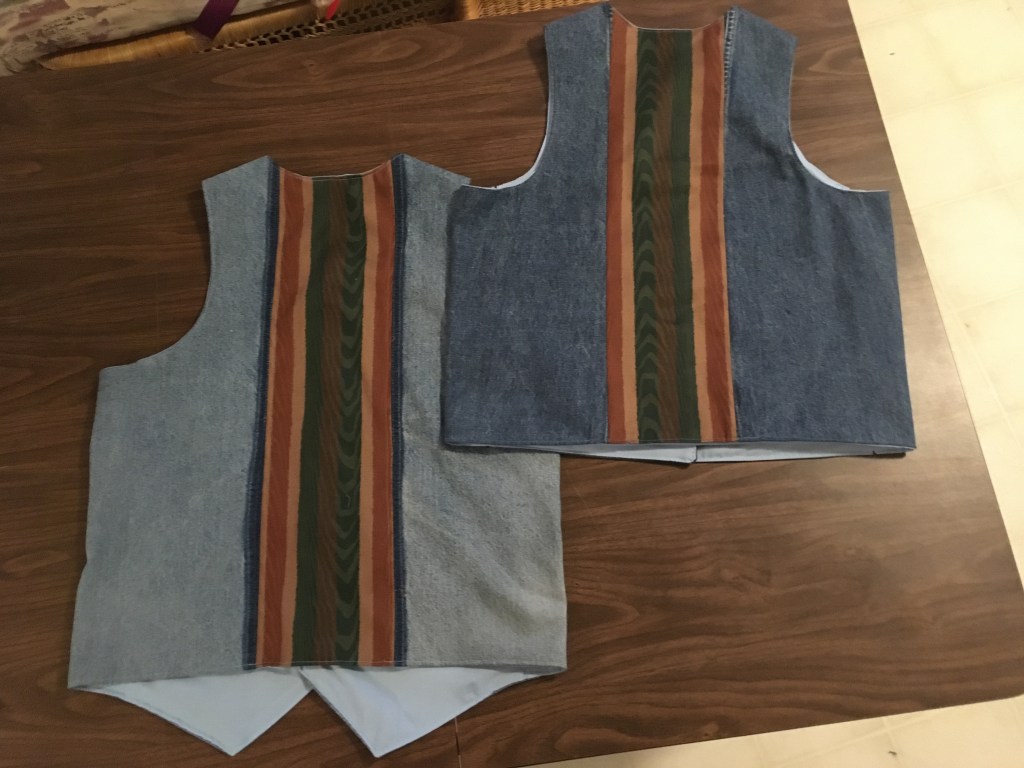
That went so well, a second vest was in order – his and hers.
Since the pattern worked, I went for one more vest, this time with some changes.
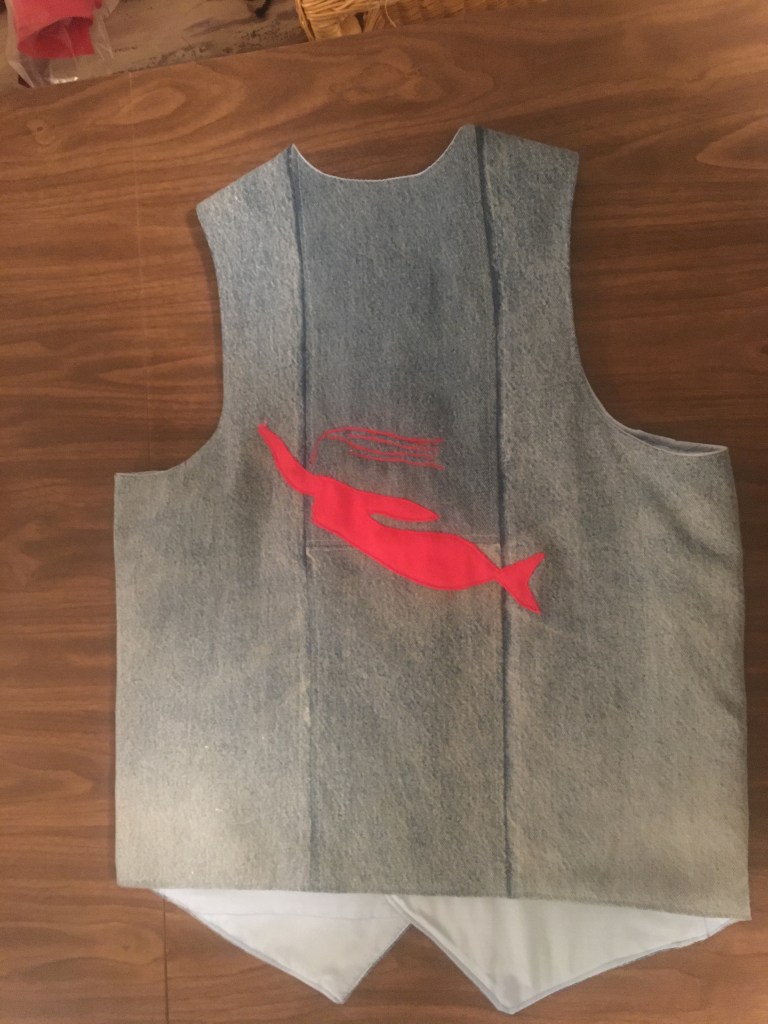
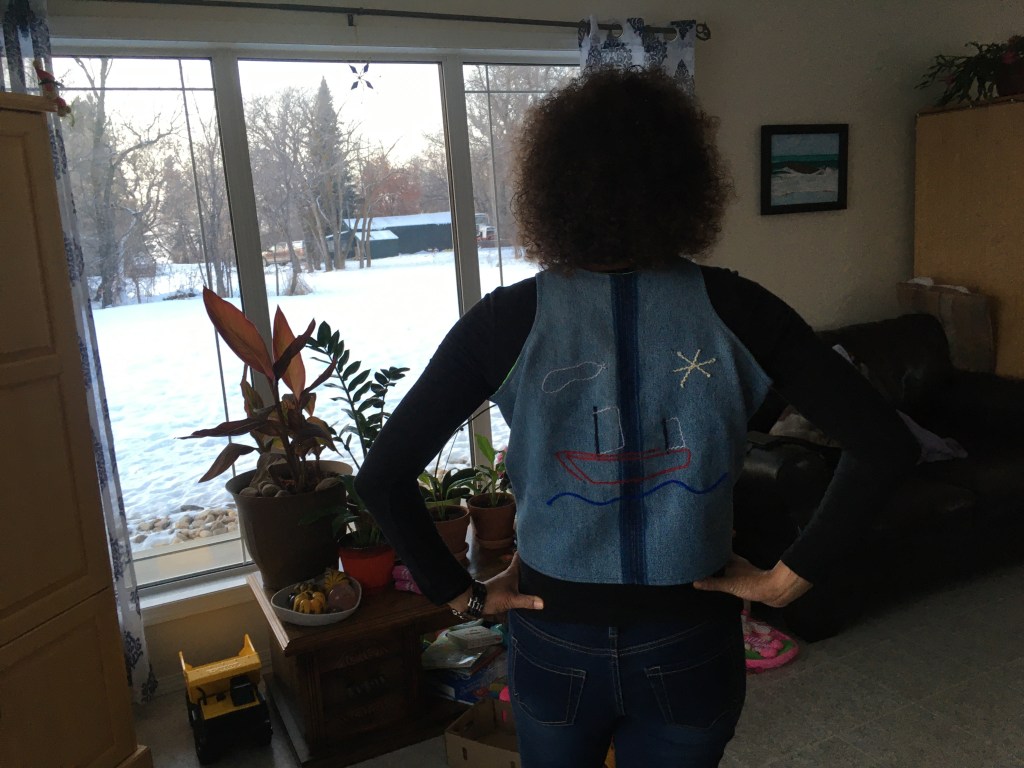
The pile of worn out jeans, the essential ingredient, was getting smaller, requiring “consolidation” – for the front of the vest I was forced to sew pieces together. A third pocket was added to dress it up a bit. And the back panel now features the motif from my sailboat, the Prairie Mermaid, thanks to some fancy embroidery and applique´ work by my partner.
Enough vests for a while. Time to move on to something new.
So what becomes of a neophyte sail-maker when he has no more sails to sew? Well, I have been known to tinker with bicycles and other things but its the wrong time of year for that. Since I am not in the least interested in being either a soldier or a spy, that really leaves one choice.
1956 Model 191B Singer
With the experience of sewing sails, a deck tent and some odds and ends for my sailboat, and with my Mom’s lovely Model 191B Singer sewing machine beckoning me, I decided this winter to extend my sewing experience. There was a pile of old blue jeans in my closet with front legs tattered and full of holes but back leg panels still with some very serviceable life in them.
After ripping the first two pairs of jeans apart I searched the internet and found someone offering a way to make a pattern for a vest. Filled with determination I soon became aware of my lack of knowledge in the field of tailoring.
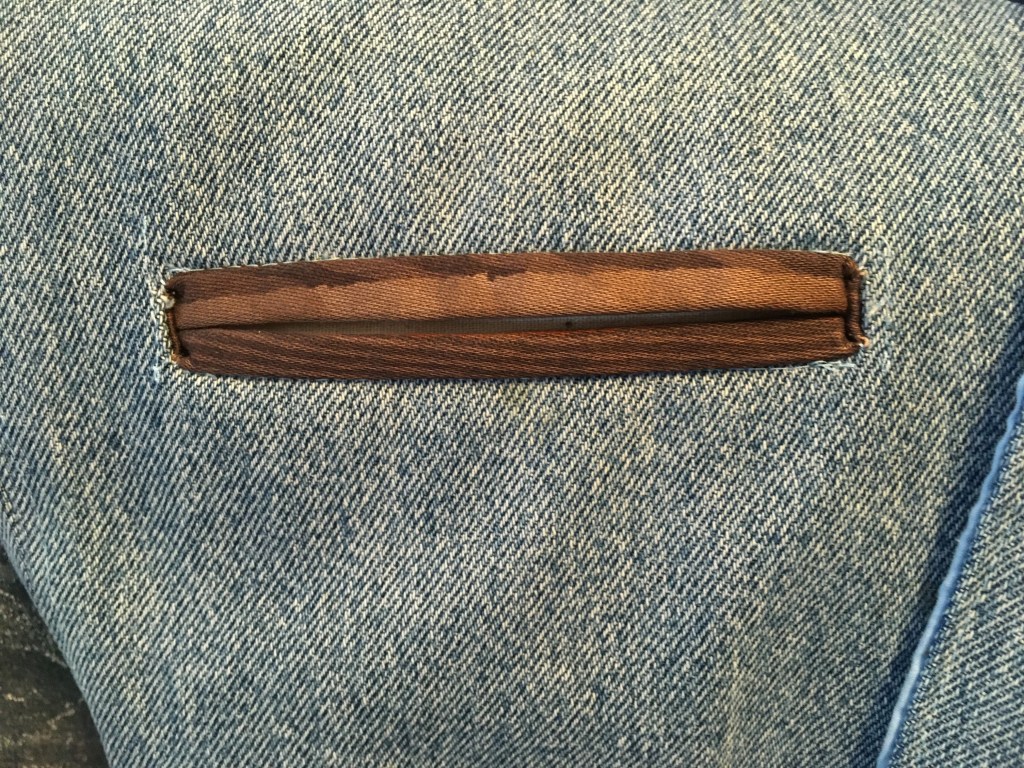
I had no idea that I would not only be learning a new skill but also developing a new vocabulary! As an English literature major I was intrigued to learn the word “welt” not only refers to a swelling resulting from a blow but also is the term for the special pieces sewn around the opening to a pocket. And in learning how to construct the welts on the vest I discovered I would be using the technique known as “sew in the ditch”. In case you’re wondering, this does not refer to planting wheat in a trench.
A welt , sewn in place using the “stitch in the ditch” technique
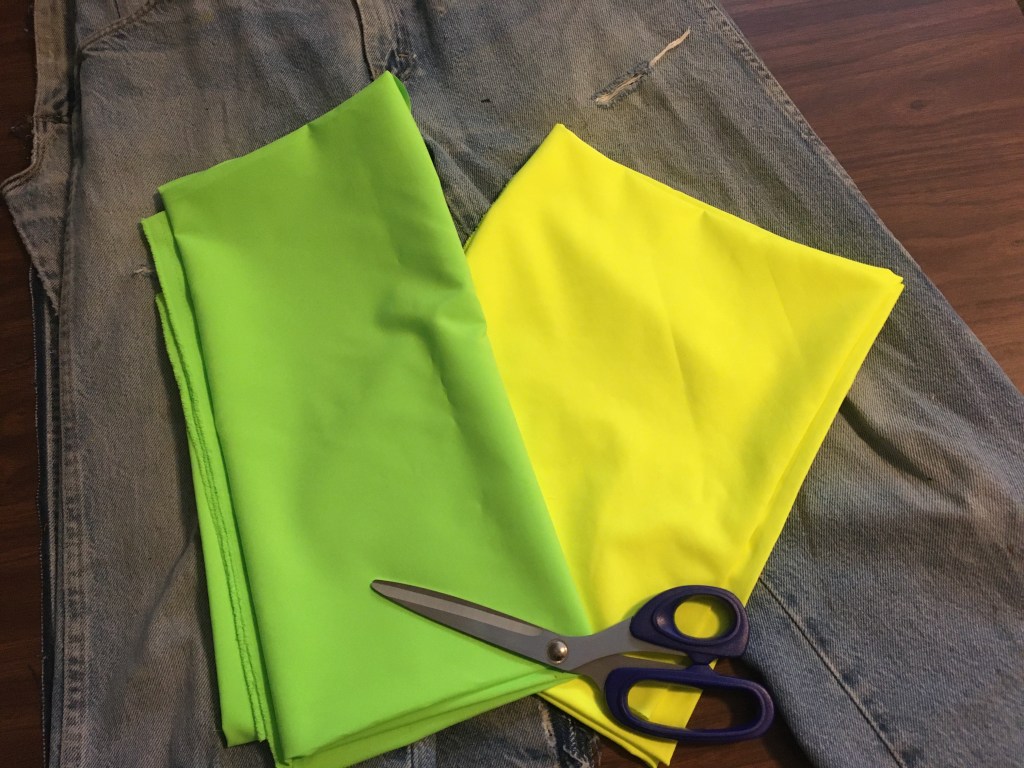
I had decided to add a lining to the vest. On hand was some light cloth purchased two years earlier to make a pennant for the Prairie Mermaid. There were two colours from which to choose. Neither were perhaps a colour I would have selected for this purpose but since I had it on hand, I chose the lime green and proceeded.
At this point I still had not understood the geometry and sequence of adding a lining to a piece of clothing in such a way as to end up with no exposed seams. You sew the outer front panels to the outer back panels, do the same for the lining, and then lay the outer layer and the lining face to face, sew them you together and then turn them inside out, right?
Wrong! Its not nearly so simple. That definitely does not work – take my word for it. Soon I was back on the internet to learn how to assemble a lined vest. After several fudged attempts during which my ripping skills were given more practise, I finally had a completed vest. (By the way, “ripping” as it applies to a tailoring skill has become as much a part of my sewing experience as the sewing itself!)
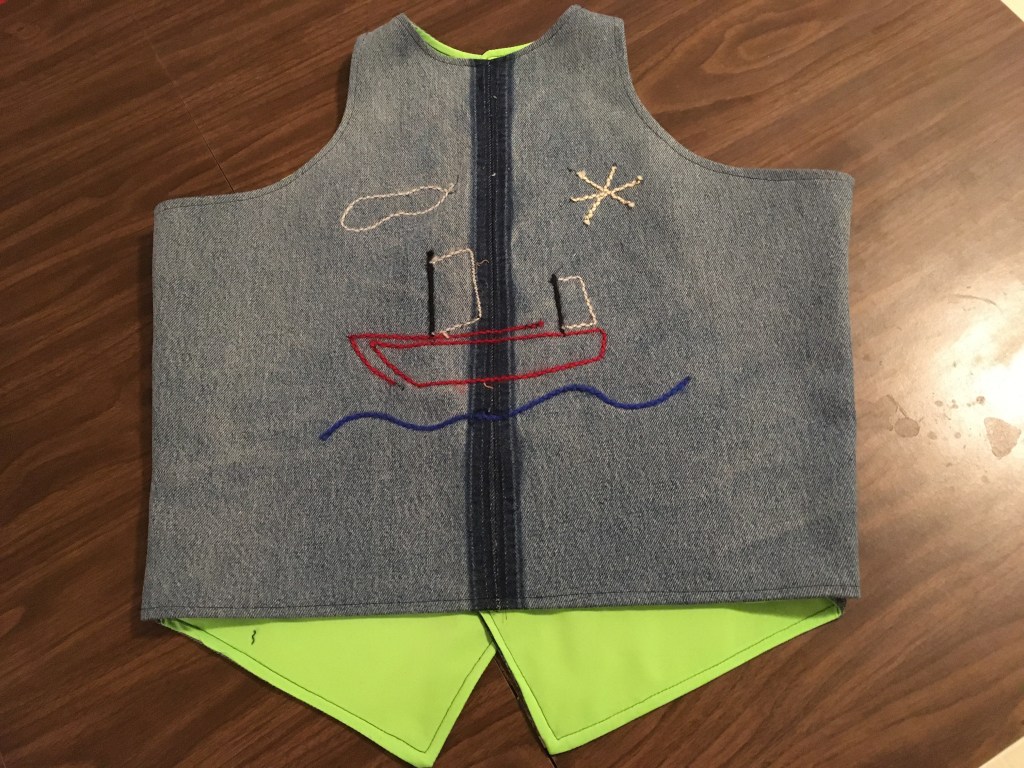
There was an unique element on the back. I discovered a feature of the zig zag attachment for the Singer making it possible to add cord or yarn to cloth. Presto – a picture of my Mana catamaran appeared.
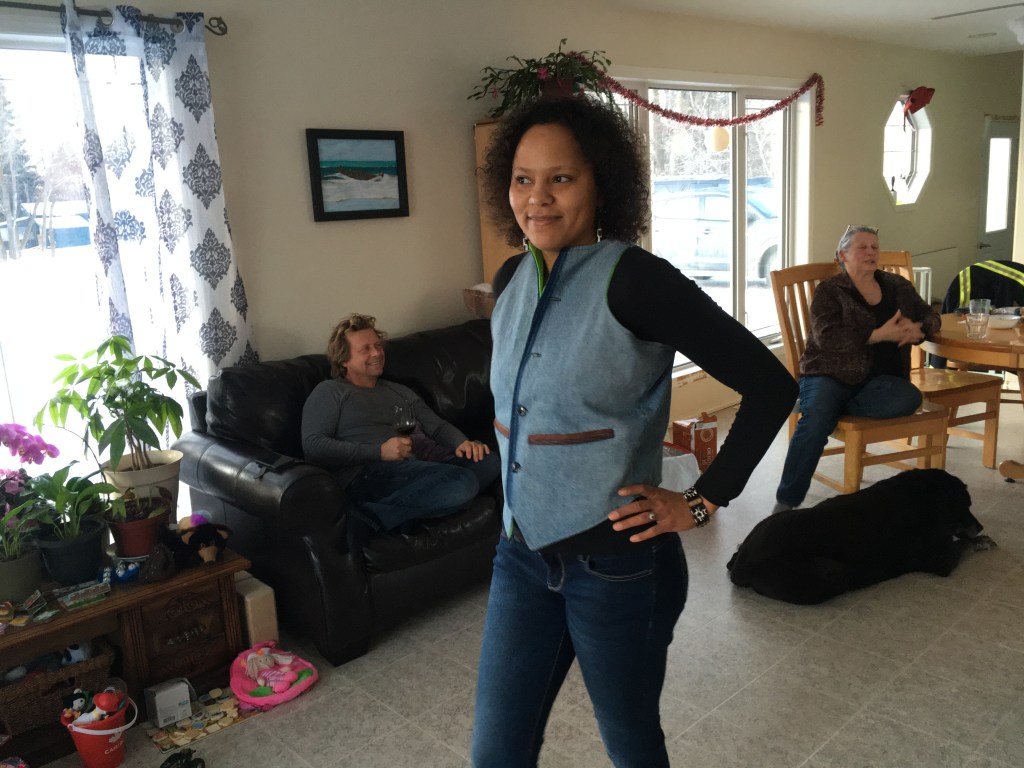
Time for the ultimate test – how did it look on me? Well, I was able to get it on, just barely, but I could hear seams being stretched to their limit. The vest was much too small for me. What had gone wrong? Had I measured incorrectly? No, that was not it.
I queried my partner for her insight. She asked a simple question, “How much seam allowance did you leave?” Seam allowance? There had been no mention of seam allowance in the instructions for the pattern. I had never even heard the expression, much less take it into account. It was another of those terms to become part of my new vocabulary – seam allowance, a most critical part of tailoring.
Well, no worries. There were more jeans from which to make a new vest. All I needed to do was to find someone for whom this vest would be a good fit. A visit to my daughter’s shortly after provided the solution. While I told her of my tailoring venture, she tried it on and immediately fell in love with it. And as it sometimes occurs, serendipity was in the room. It happened to be her birthday – the vest suddenly became her birthday present!
It was back to the drawing board for the tailor. Stay tuned for Part 2 of “Vested Interests”.